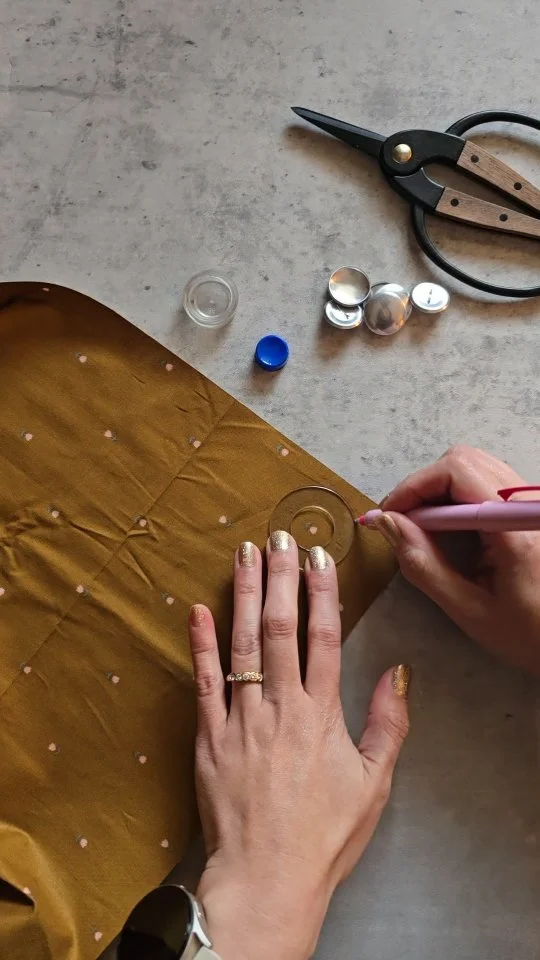
Wrap Up Quilt + Bonus Quillow Tutorial
Wrap Up Quilt is here!
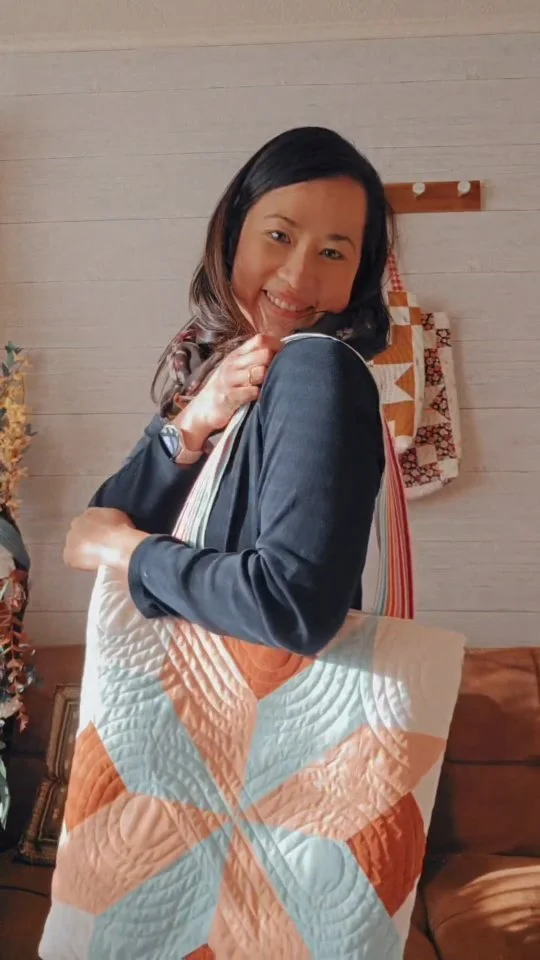
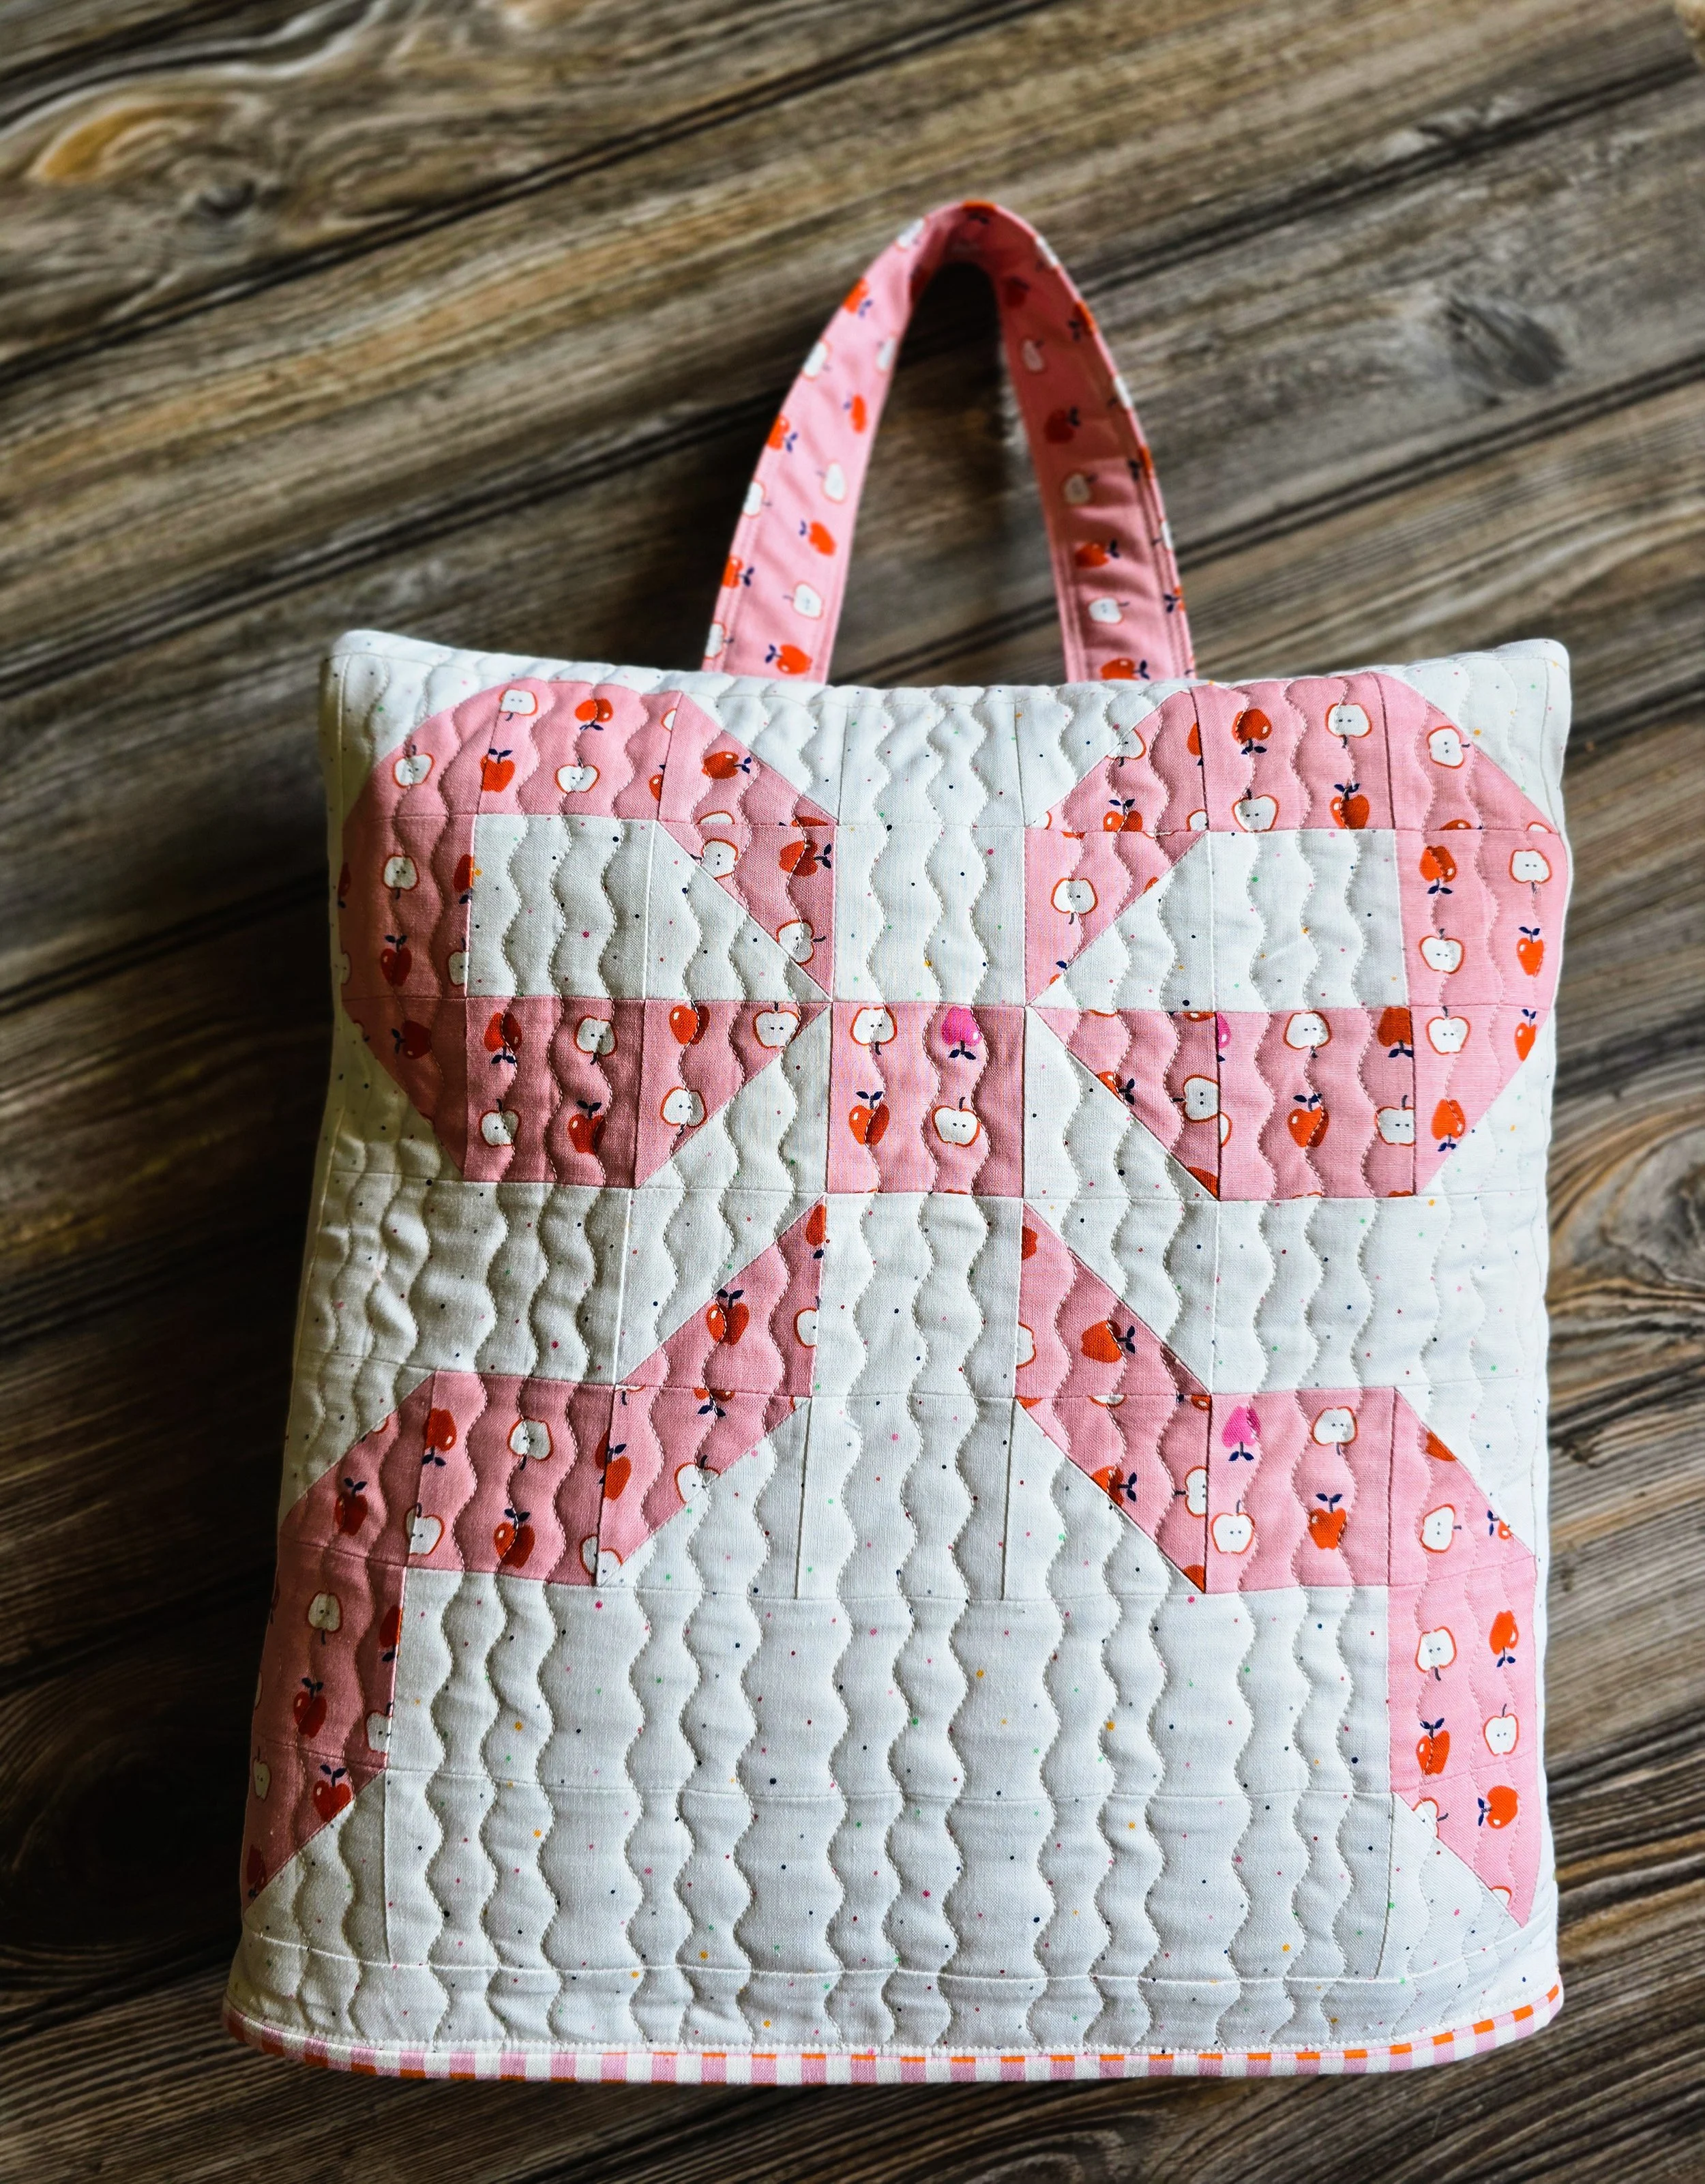
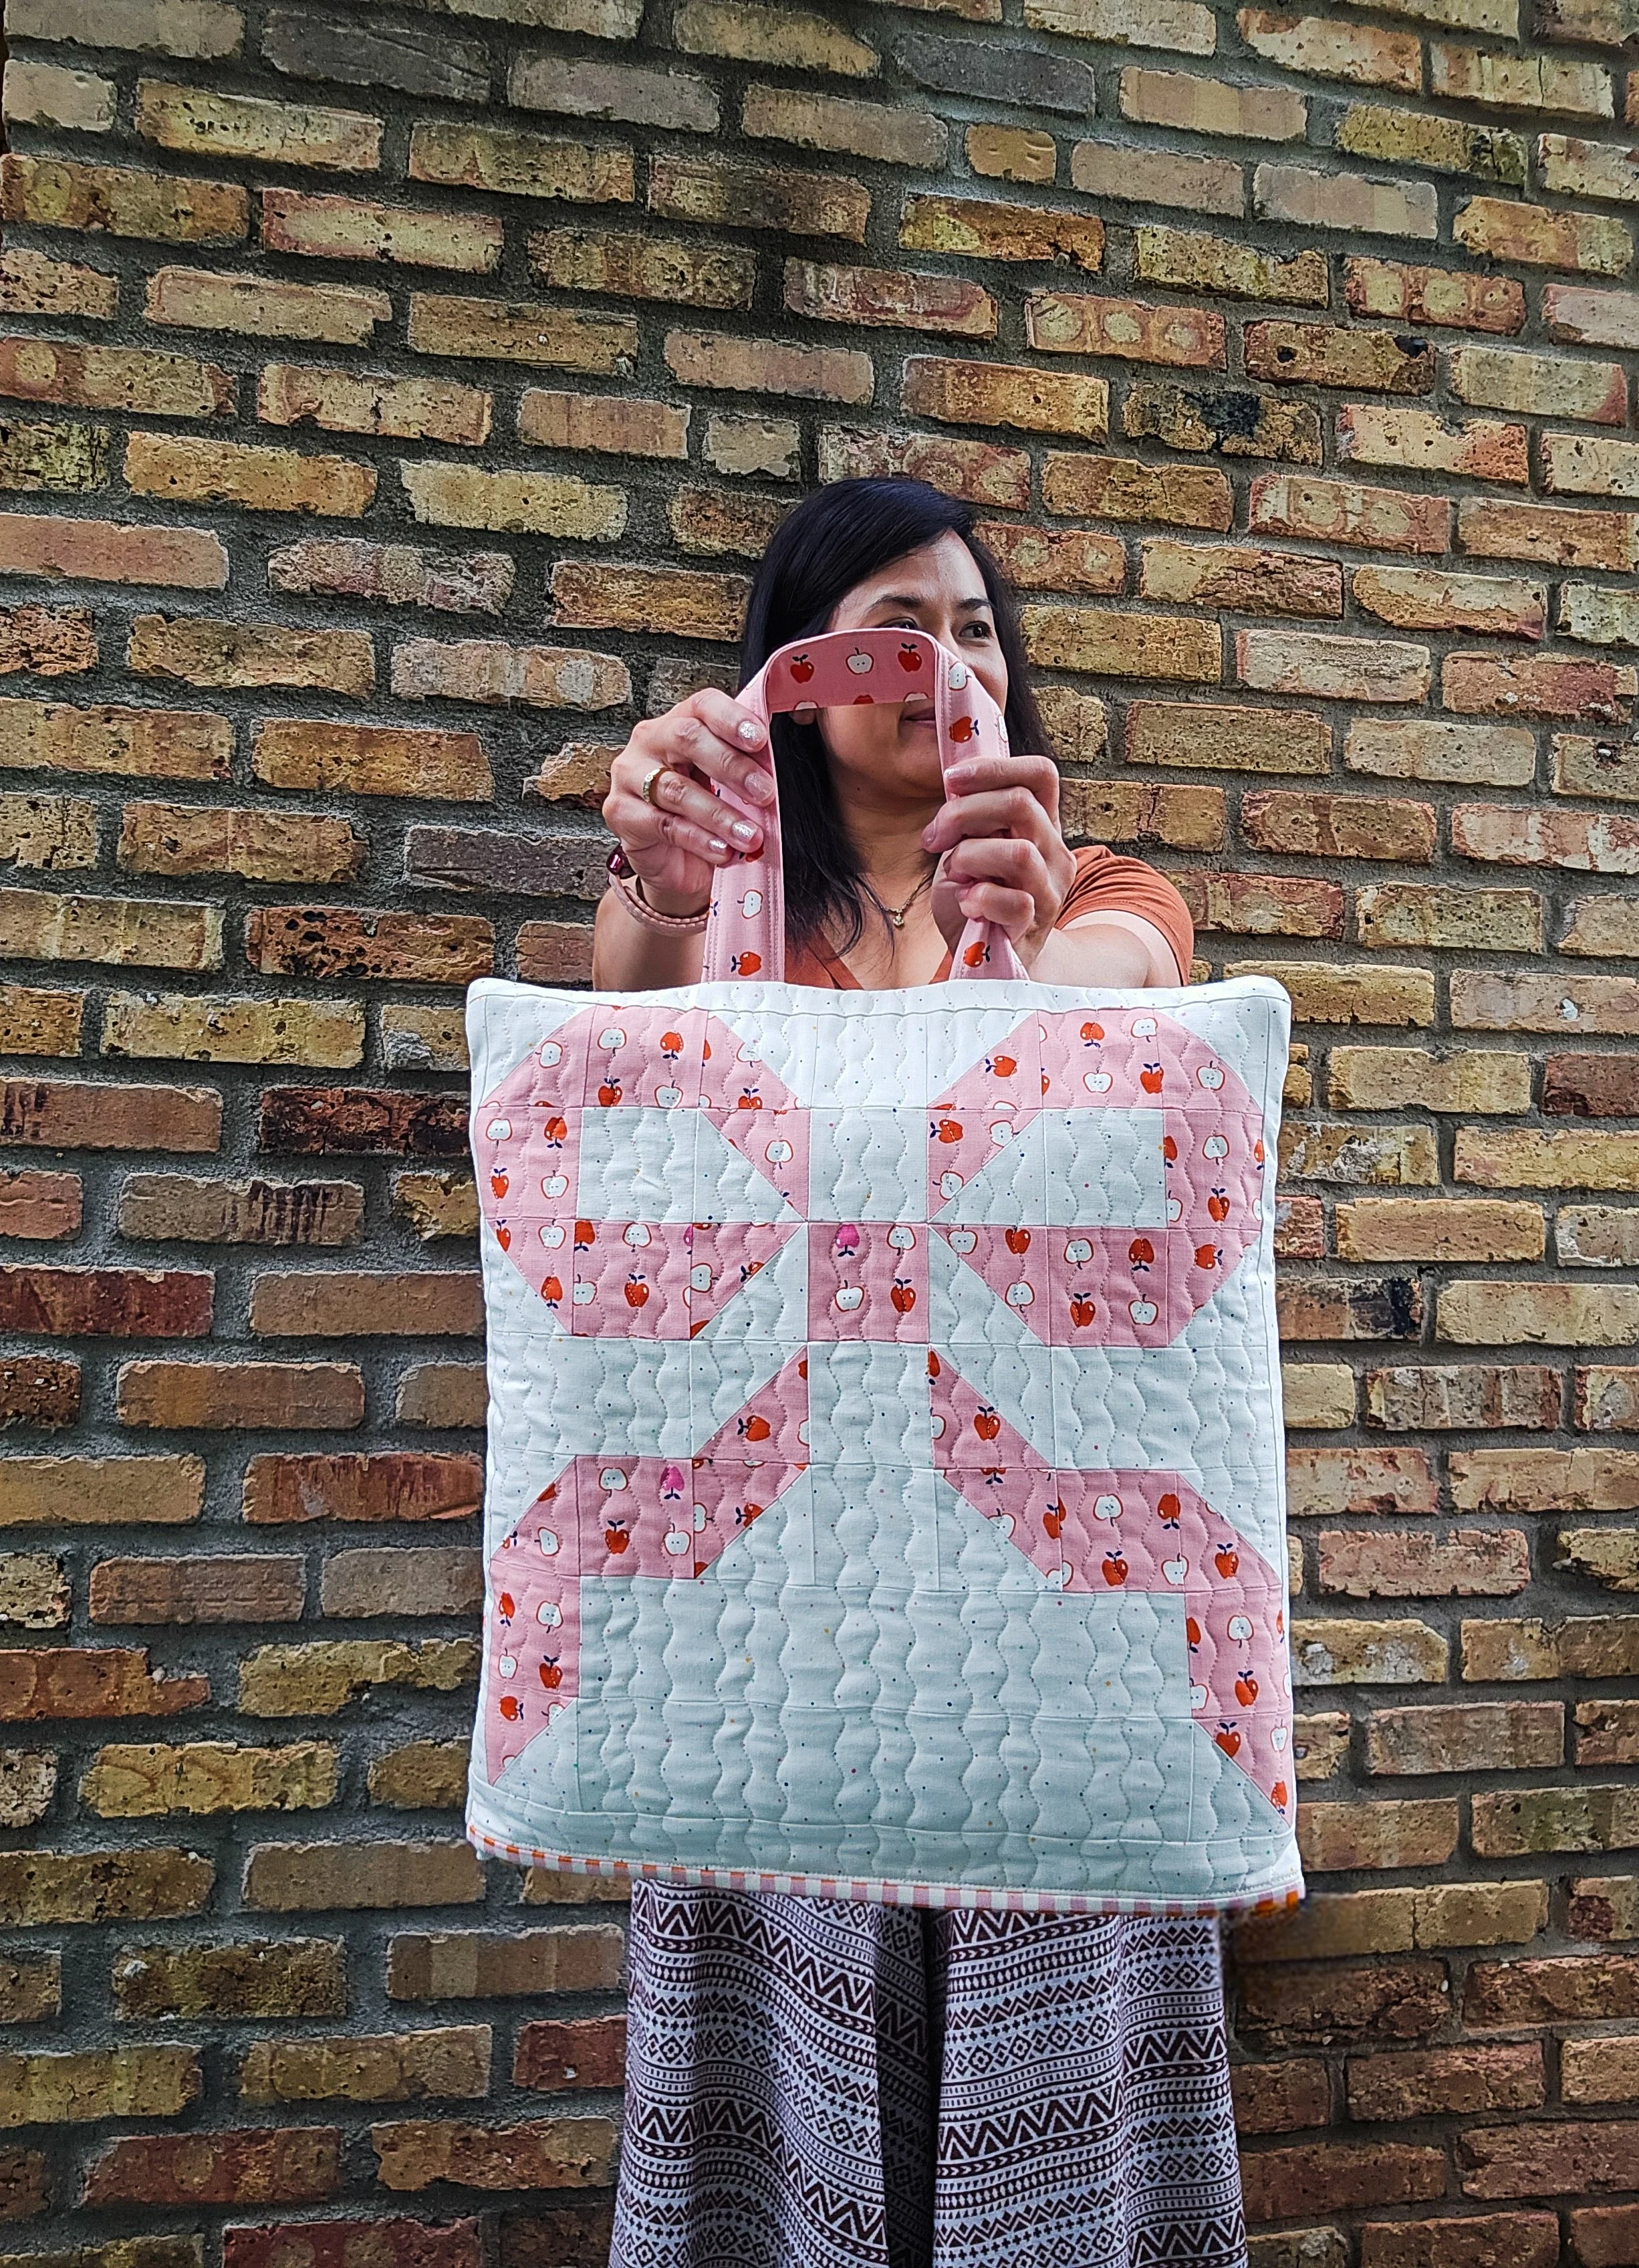
Summer may not be over yet, but cozy season is starting to sneak in. Road trips, cabin weekends, back-to-school sleepovers, and eventually those cool evenings when having a quilt nearby just feels right. I love having a quilt along for all of it, but let's be honest, quilts aren't always the easiest things to carry around. So I thought it would be fun to give my Wrap Up Quilt a little extra purpose. With one extra Wrap Up block, I turned it into a pocket that the whole quilt can tuck into, added a handle, and now it doubles as a pillow when it's all folded up.
Meet the Wrap Up Quillow!
get to know wrap up quilt
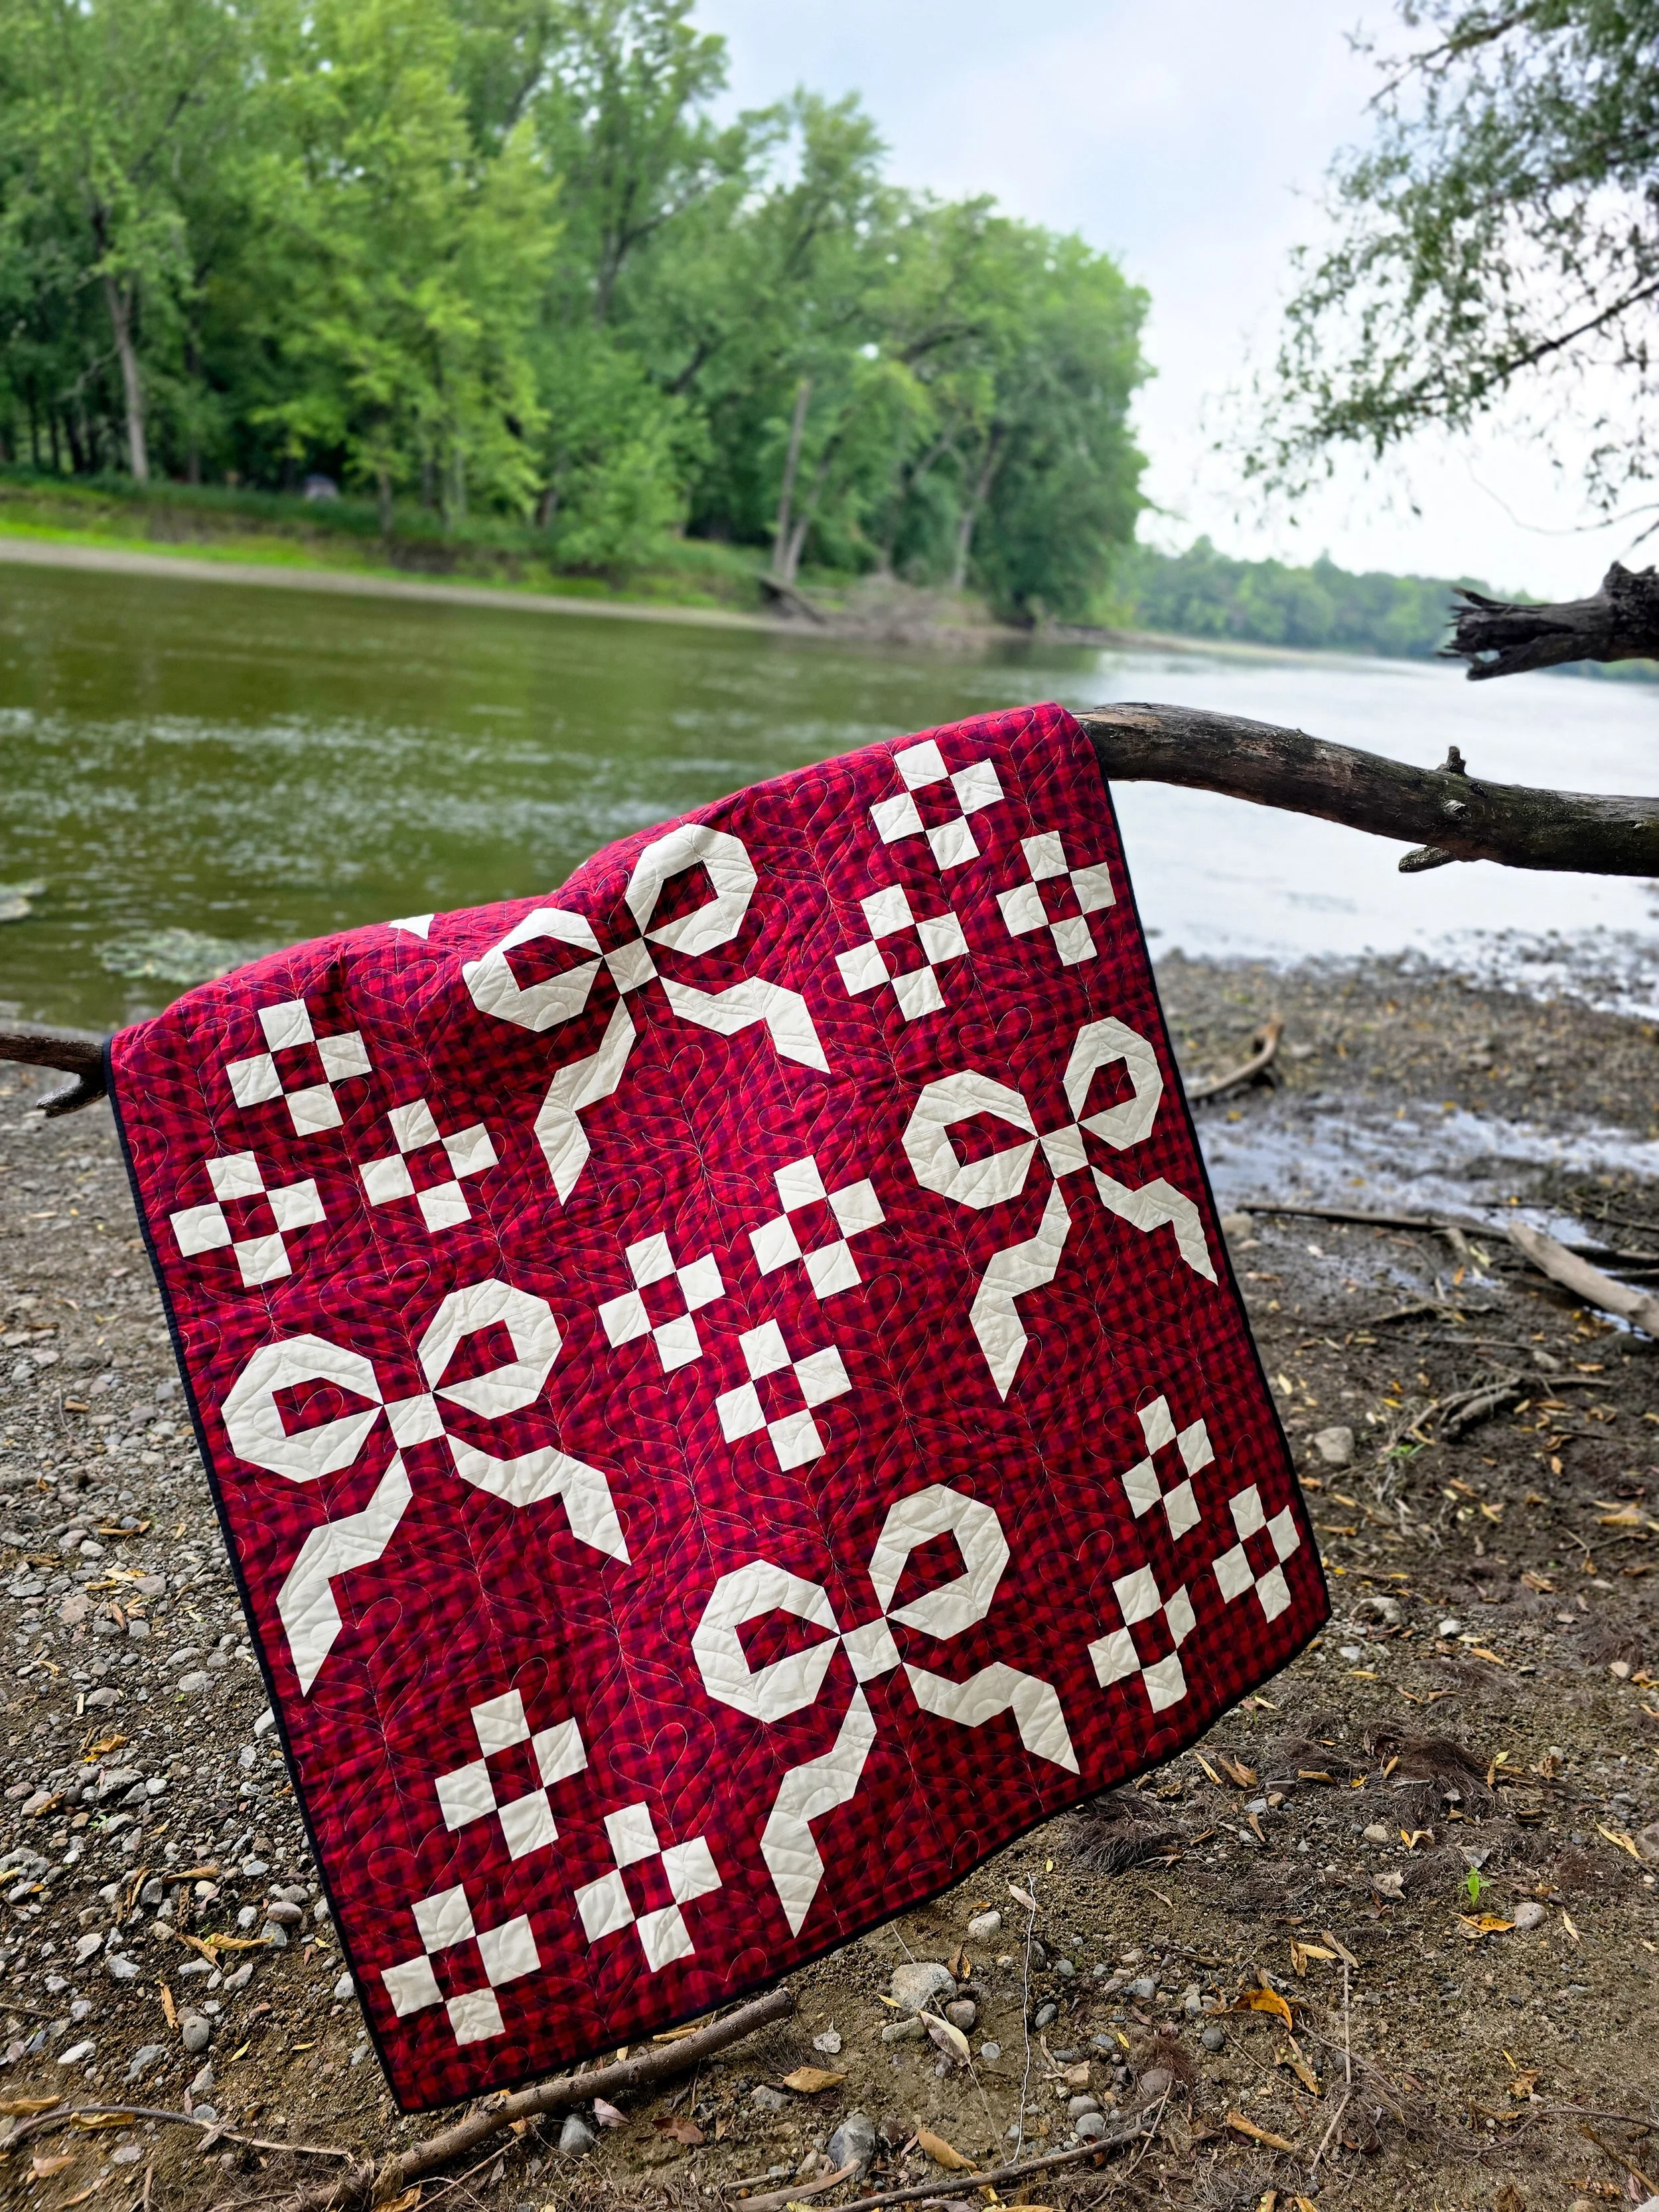
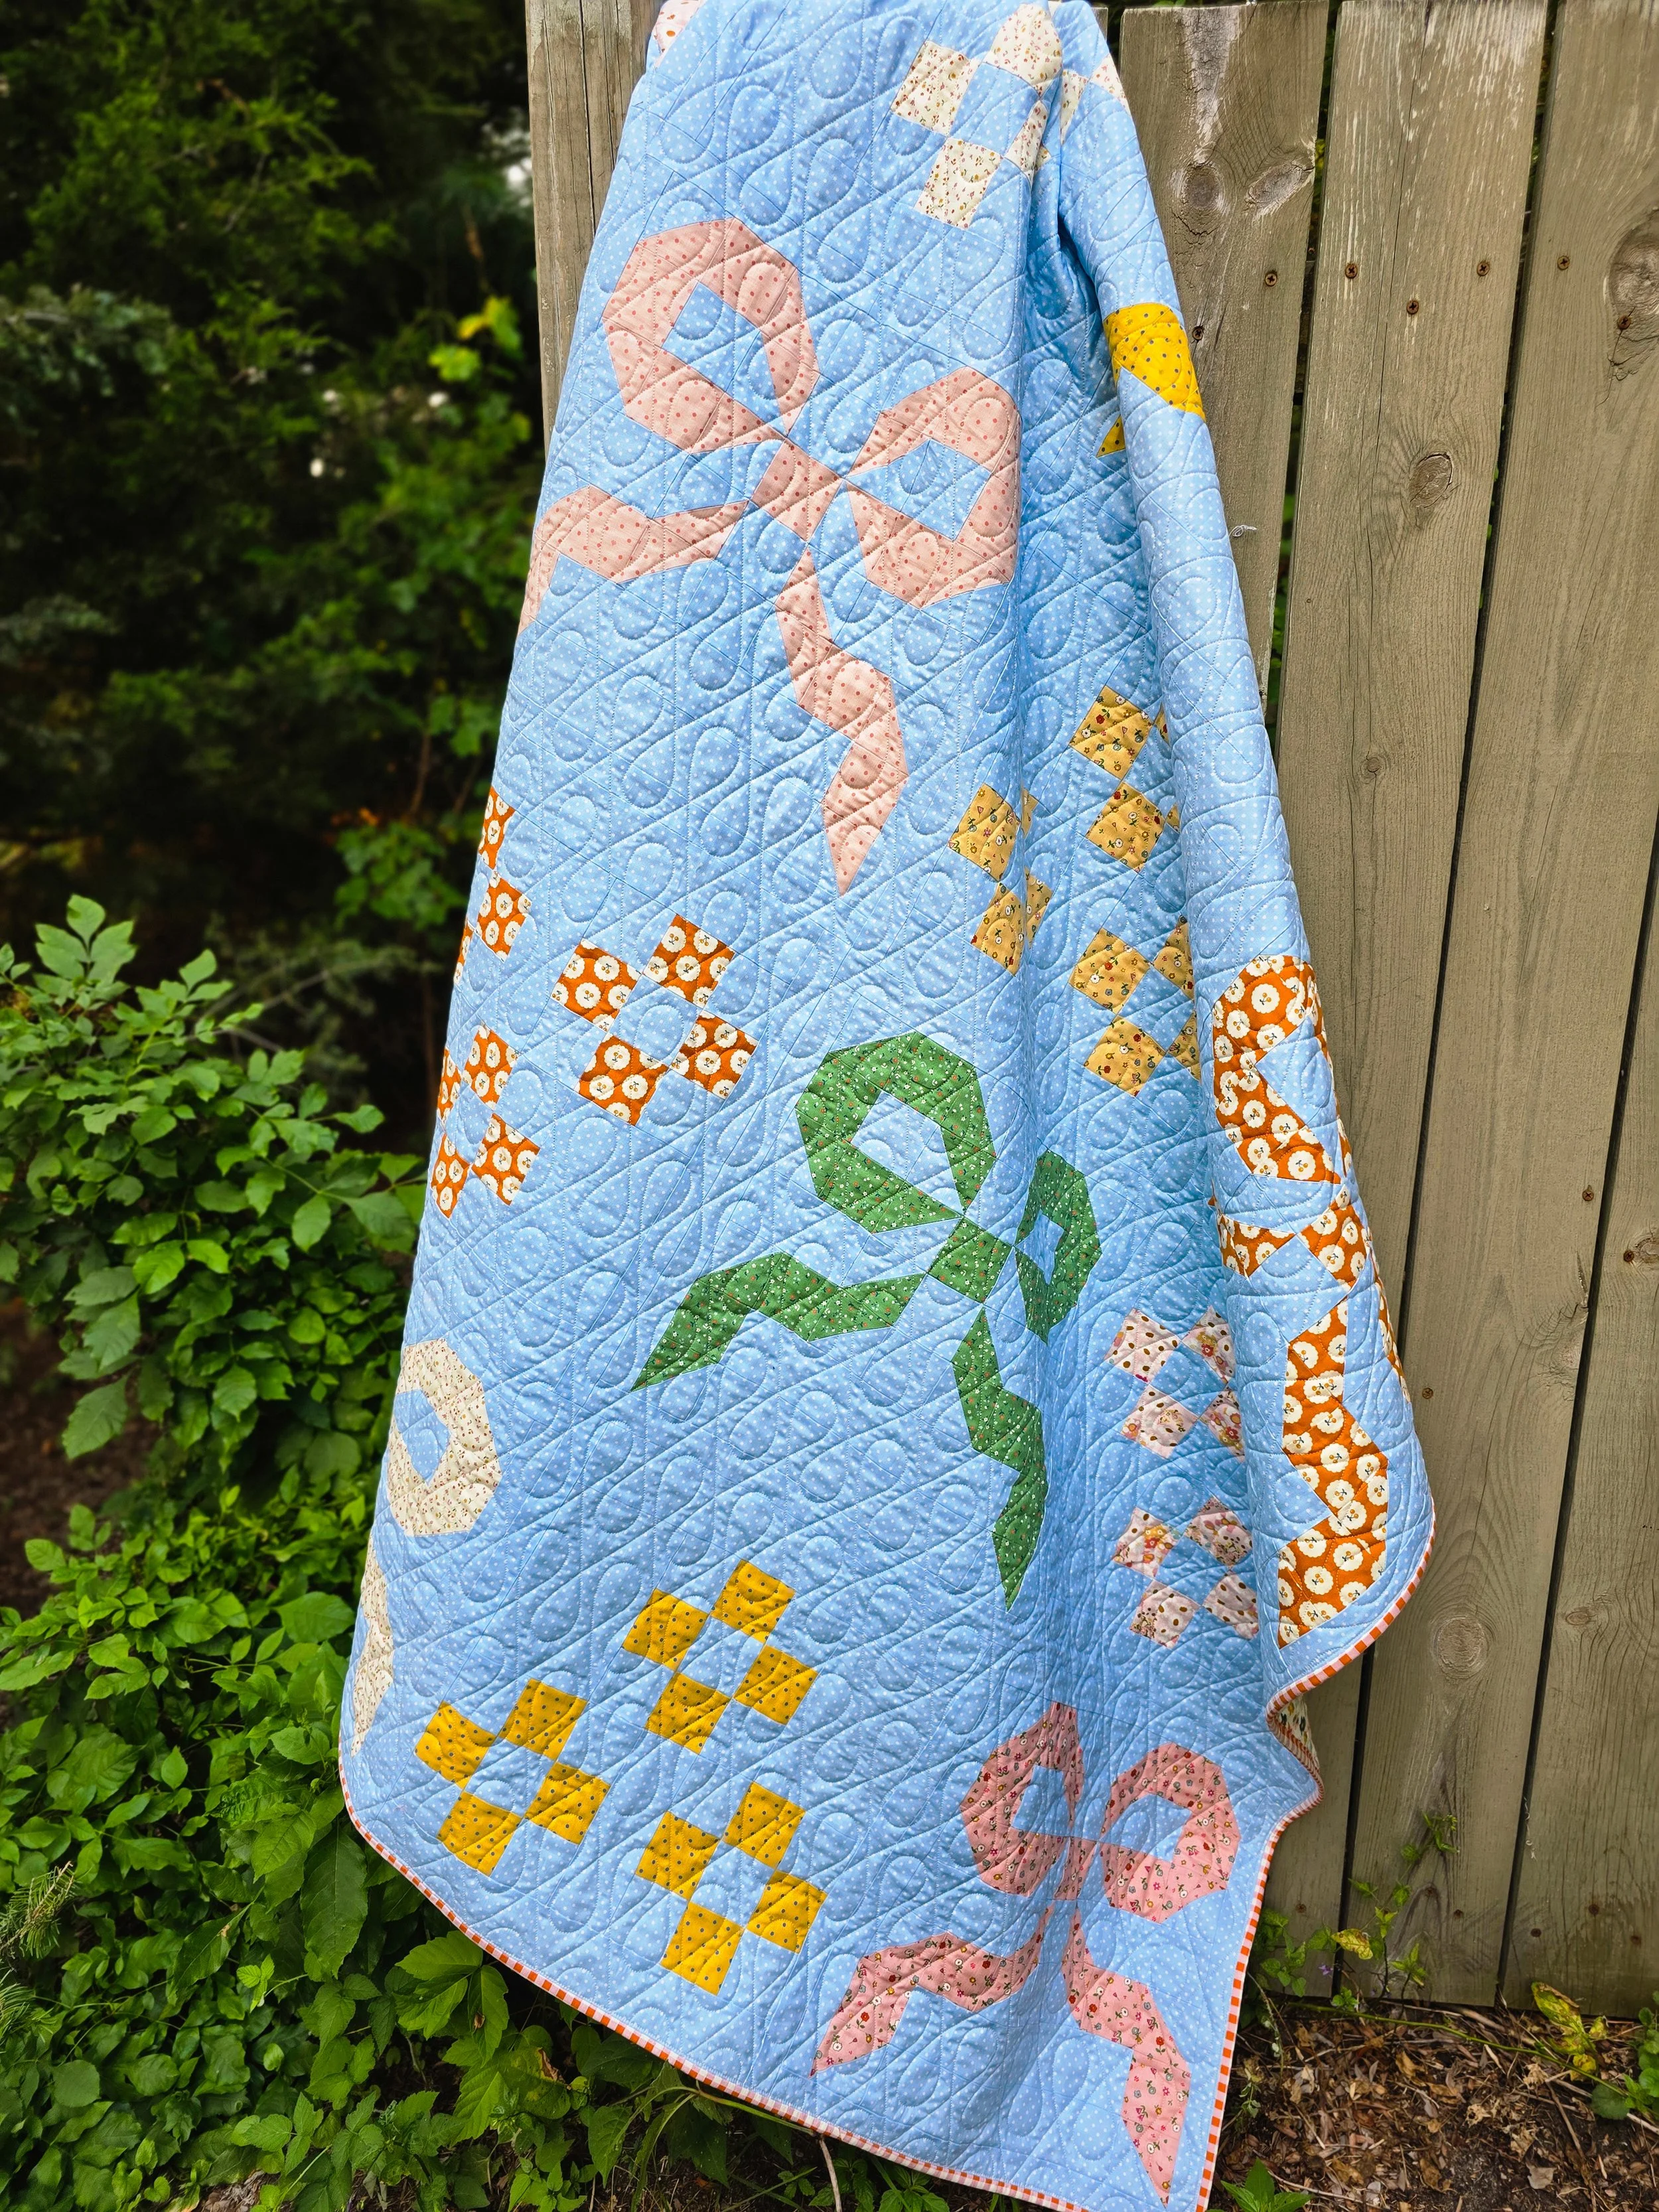
Before we get to the quillow part, let me tell you a little about the quilt tucked inside. :)
Wrap Up is made with alternating Bow and Heart blocks and comes together in two different versions. The Limited-Color Version keeps things simple with a smaller palette, while the Multi-Color Version lets you bring in more of your favorite fabrics and is fat quarter and fat eighth friendly. The pattern includes five sizes, so you can make anything from a sweet Baby quilt to a Bed size.
Ready to Make the Quillow?
If your Wrap Up Quilt is already finished, you're most of the way there! We're basically making one more block, turning it into a quilted pocket, and adding a handle.
Here's what you'll need:
Finished Wrap Up Quilt – I used the Small Throw, 64" x 64", or make the lap size with this Wrap Up Quilt Kit
Fabric for (1) additional Wrap Up block ((1) FQ for background, (1) F8 for accent)
Fabric for the pocket backing (3/4 yard)
Fabric for the handle ((1) F8)
Fabric for binding the pocket (1/4 yard)
A little note: This post contains affiliate links, which means I may earn a small commission when you purchase through one of my links, at no additional cost to you. It helps support my work and lets me keep creating and sharing fun tutorials like this one. Thank you for your support!
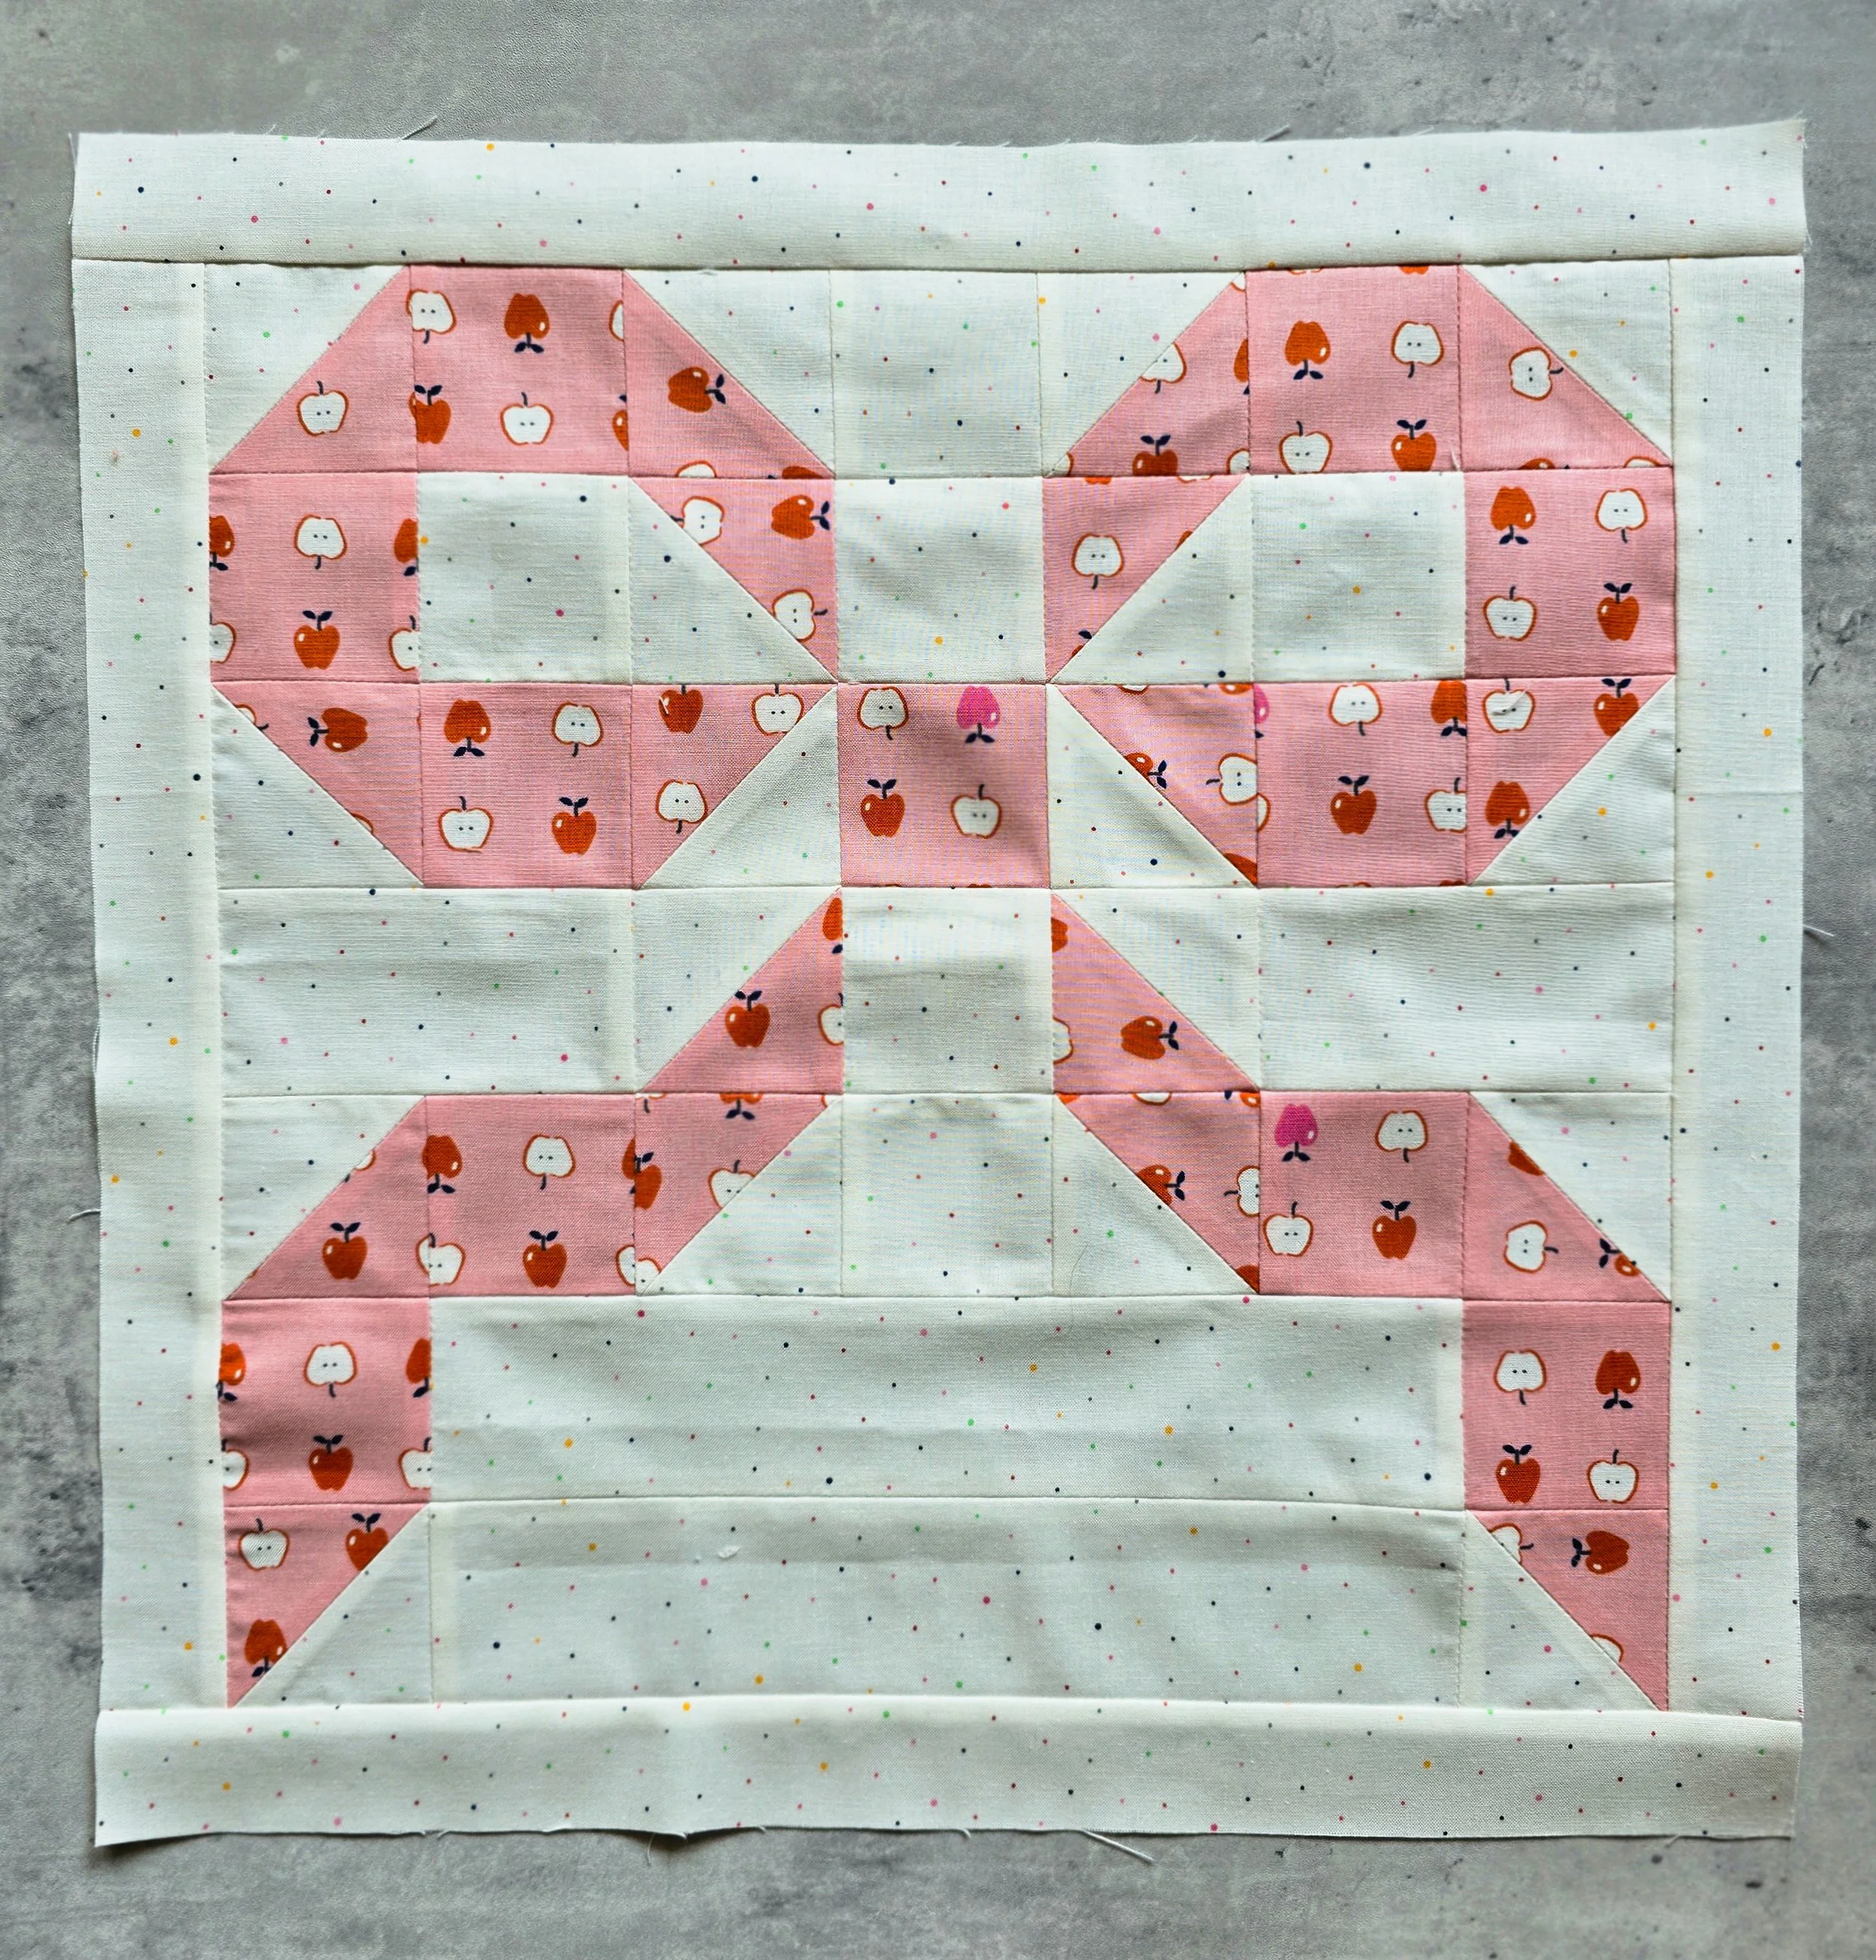
Make the wrap up Quillow Pocket
You’ll need the following pieces to make (1) additional Wrap Up block for the quillow pocket.
From Background Fabric, cut:
(9) BG1, (2) BG6, (2) BG8, (6) BG10, (2) BG11, (2) BG12
From Accent Fabric, cut:
(9) A1, and (11) A4
From Backing and Batting, cut:
(1) 20" x 20" from each (Using a longarm machine? Cut your backing and batting to 24" x 24" instead. This gives you approximately 4" of extra material on all four sides for loading and quilting.)
Follow the Multi-Color Version instructions in the Wrap Up Quilt pattern to make (1) Bow Block using the pieces above. Your block will measure 16 1/2" x 16 1/2" unfinished and finish at 16" x 16".
A quick note about size: I'm using the small throw Wrap Up Quilt (64" x 64") and one regular 16" finished Wrap Up block for my pocket. This size worked really well for mine, but if you're making a larger quilt or just want a roomier pocket, you can add a simple border around your block.
Cut (2) 2" x 16 1/2" strips and sew them to two opposite sides, then cut (2) 2" x 19 1/2" strips and sew them to the remaining sides. Your bordered block should measure 19 1/2" x 19 1/2". After quilting, trim it to 19" x 19".
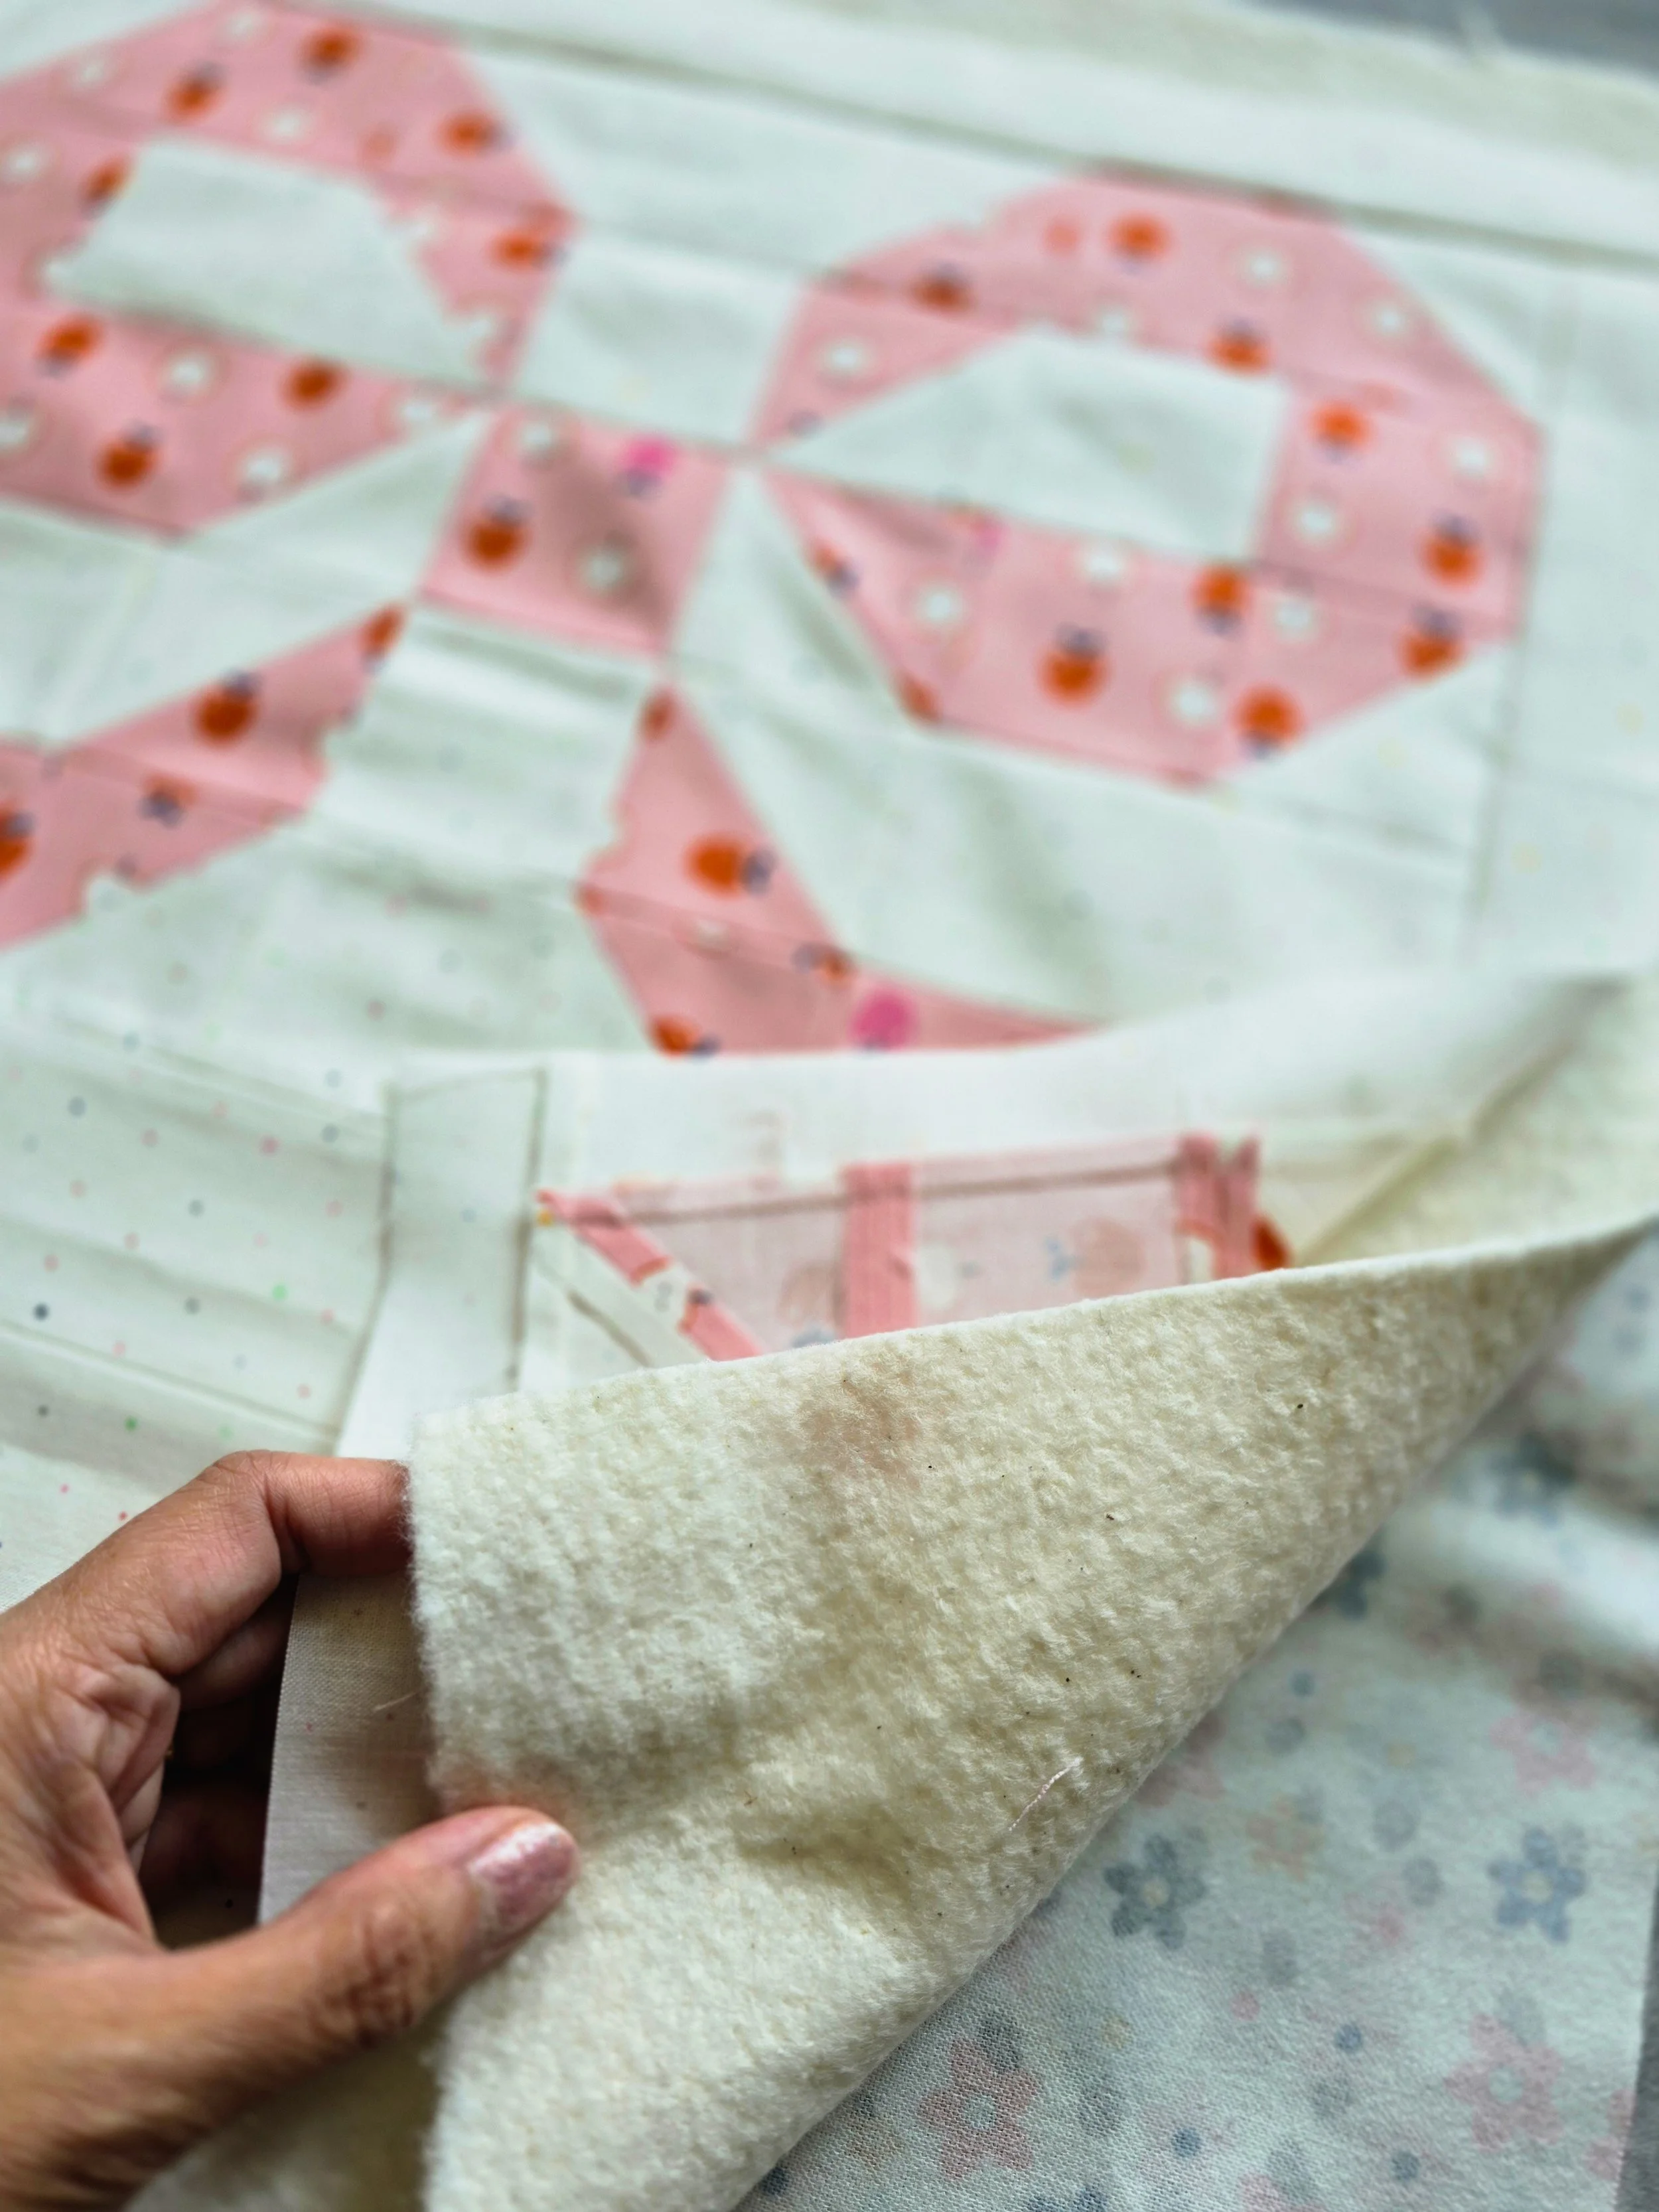
Quilt the wrap up block
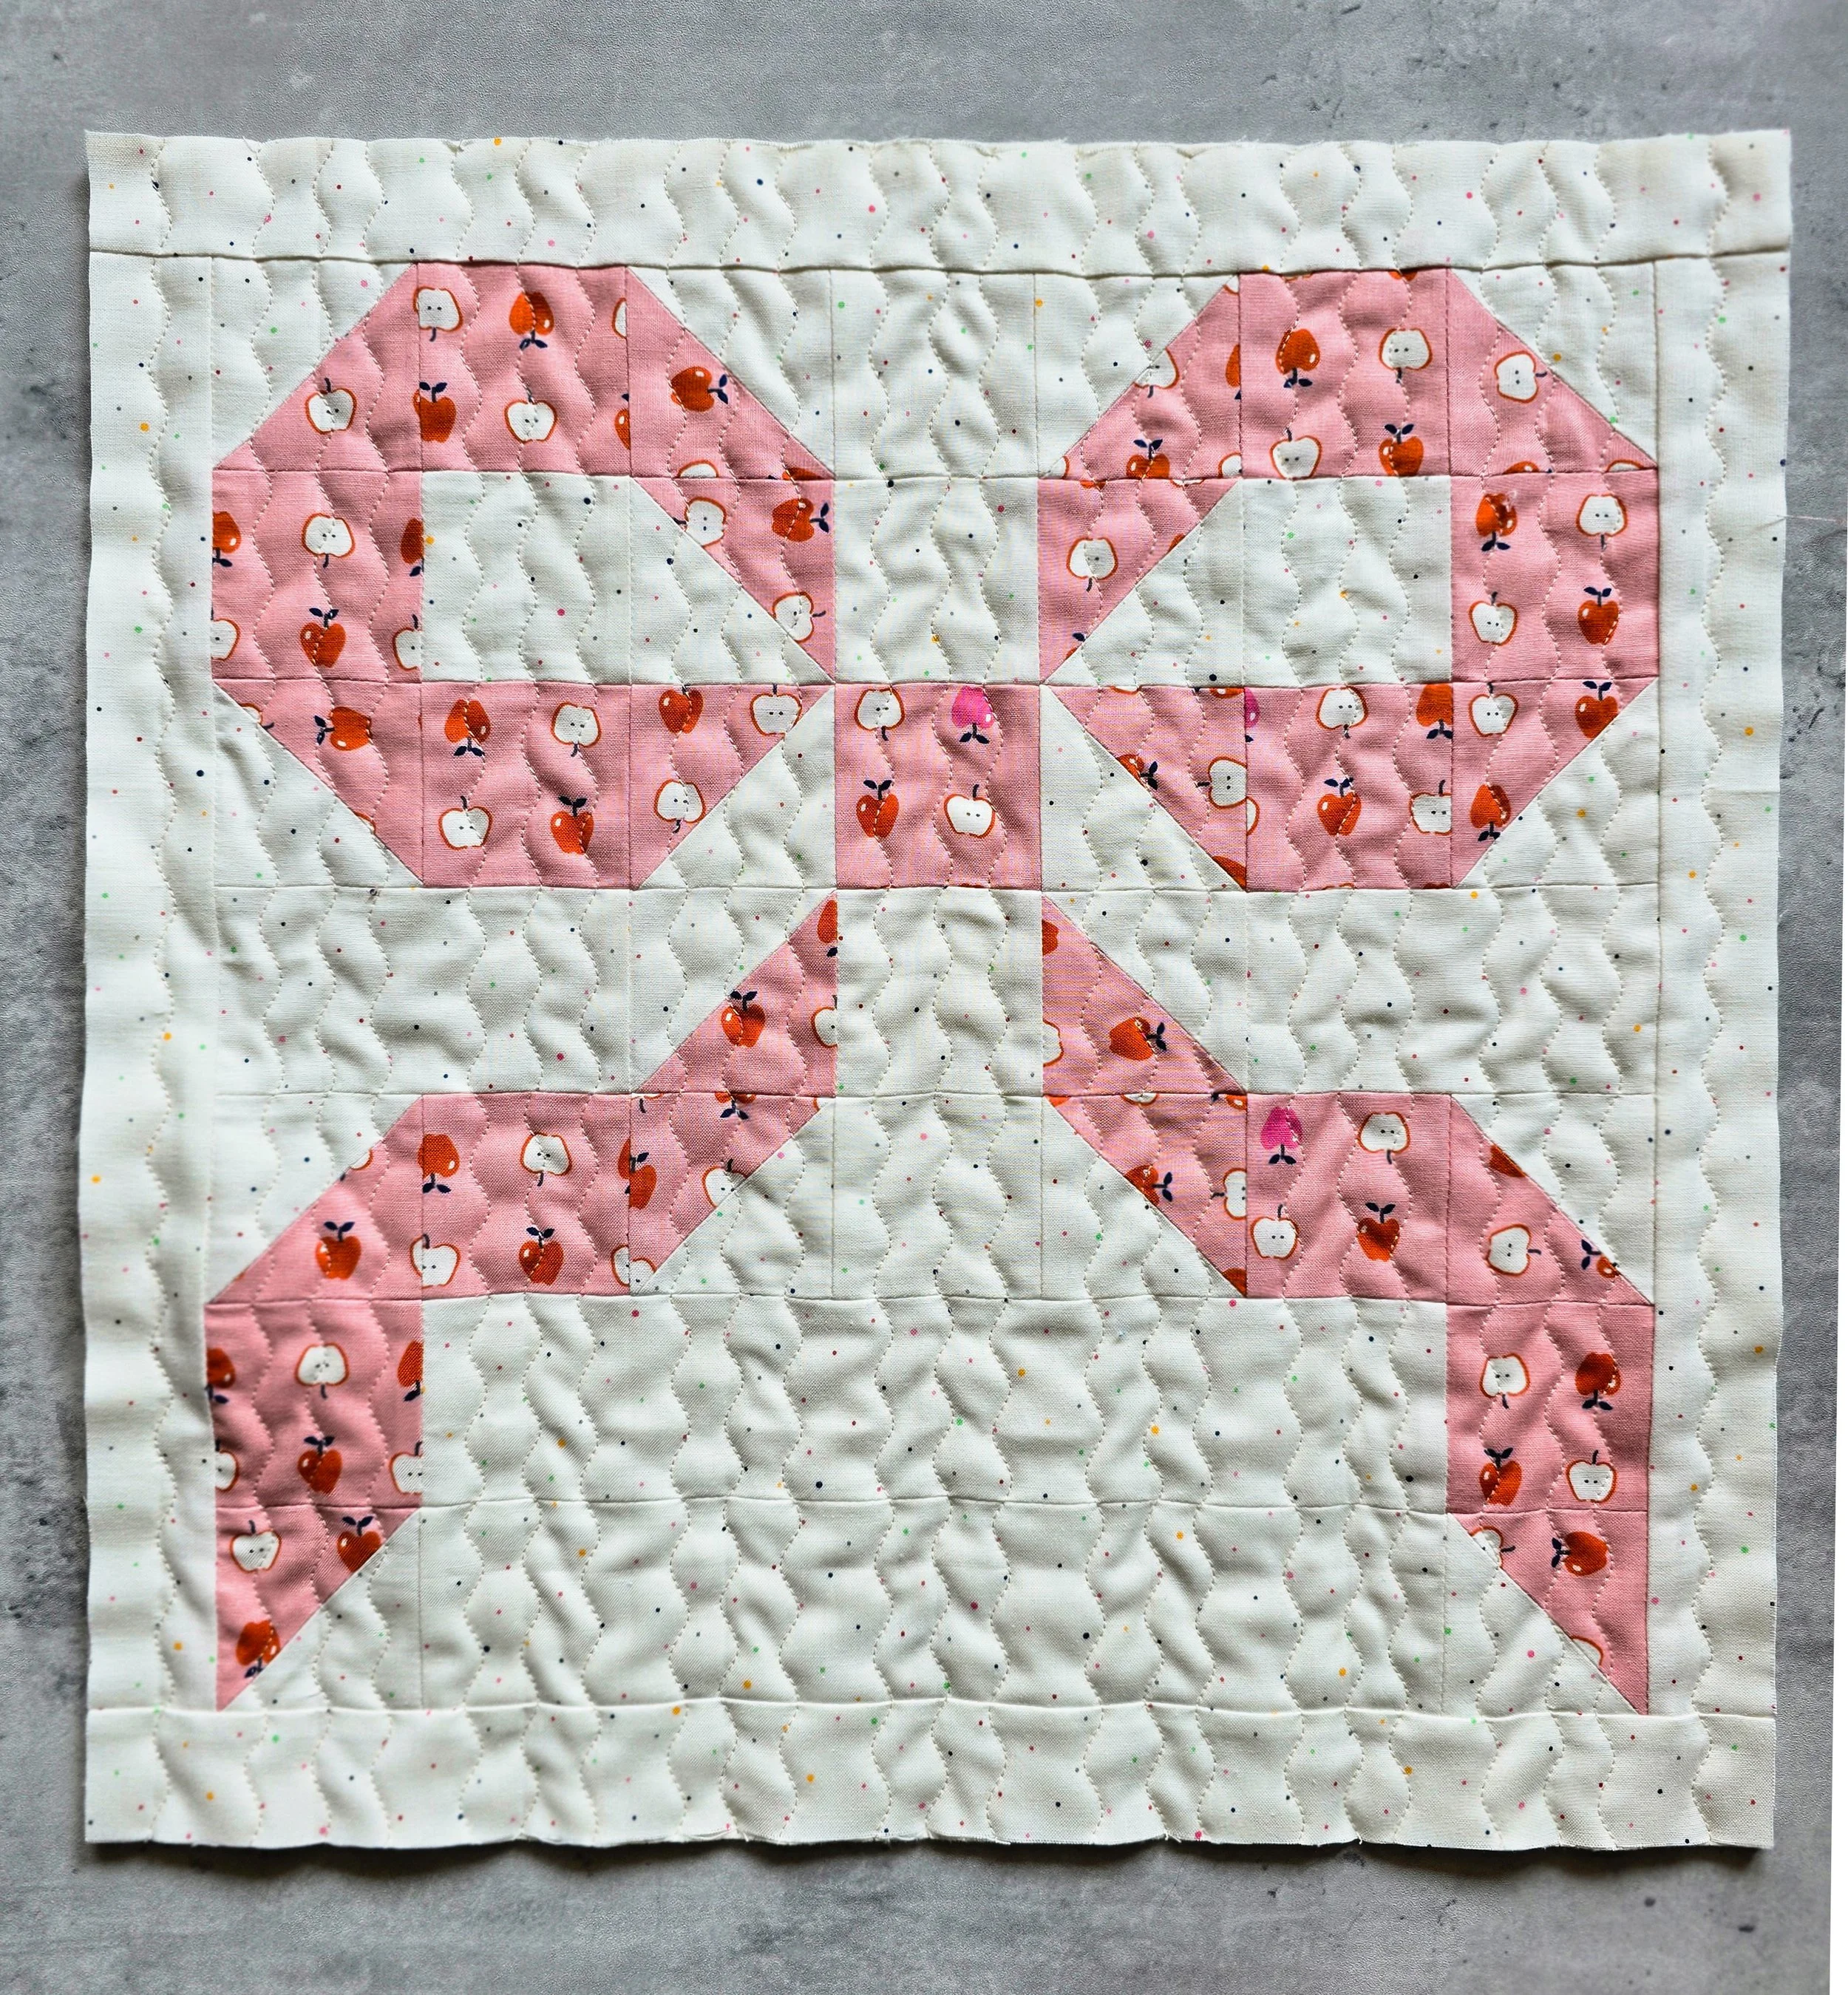
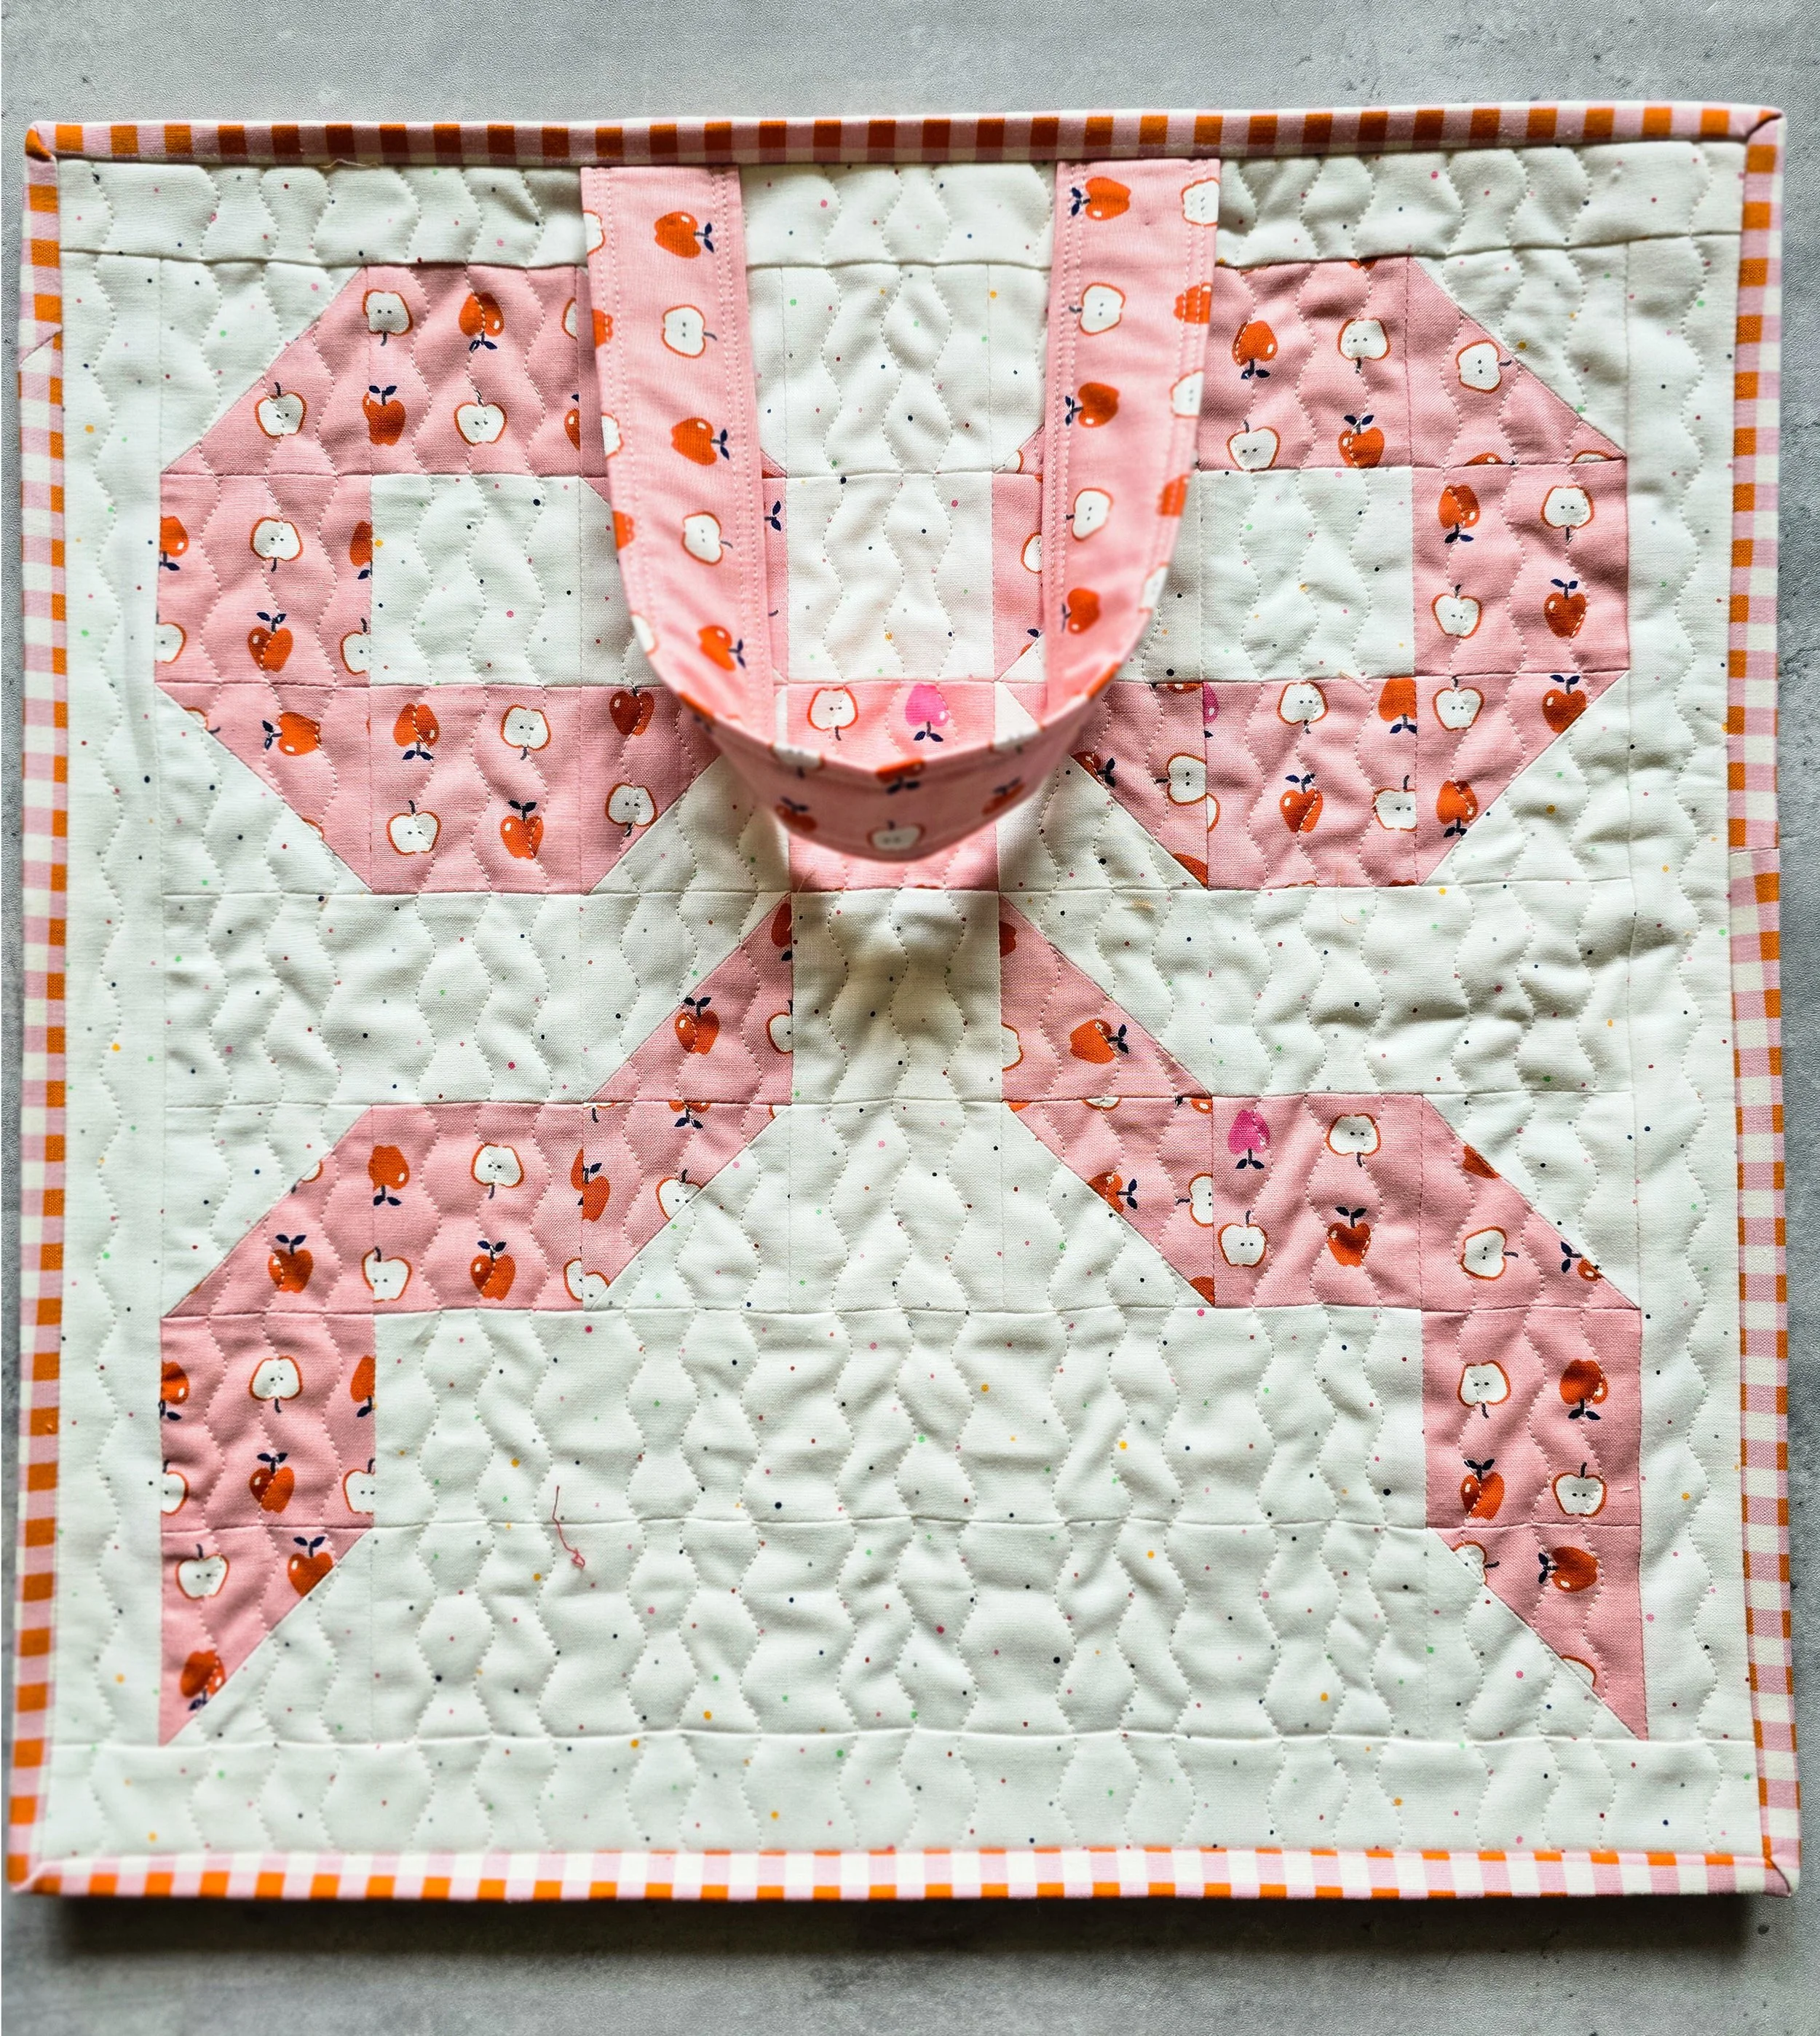
Cut your batting and backing slightly larger than your pocket block. Layer your pocket with the backing right side down, batting in the middle, and Wrap Up block right side up. Baste the layers together using your favorite method. Quilt as desired. I kept mine simple with vertical wavy lines on my sewing machine. Once you're finished quilting, trim and square up the pocket to 16" x 16".
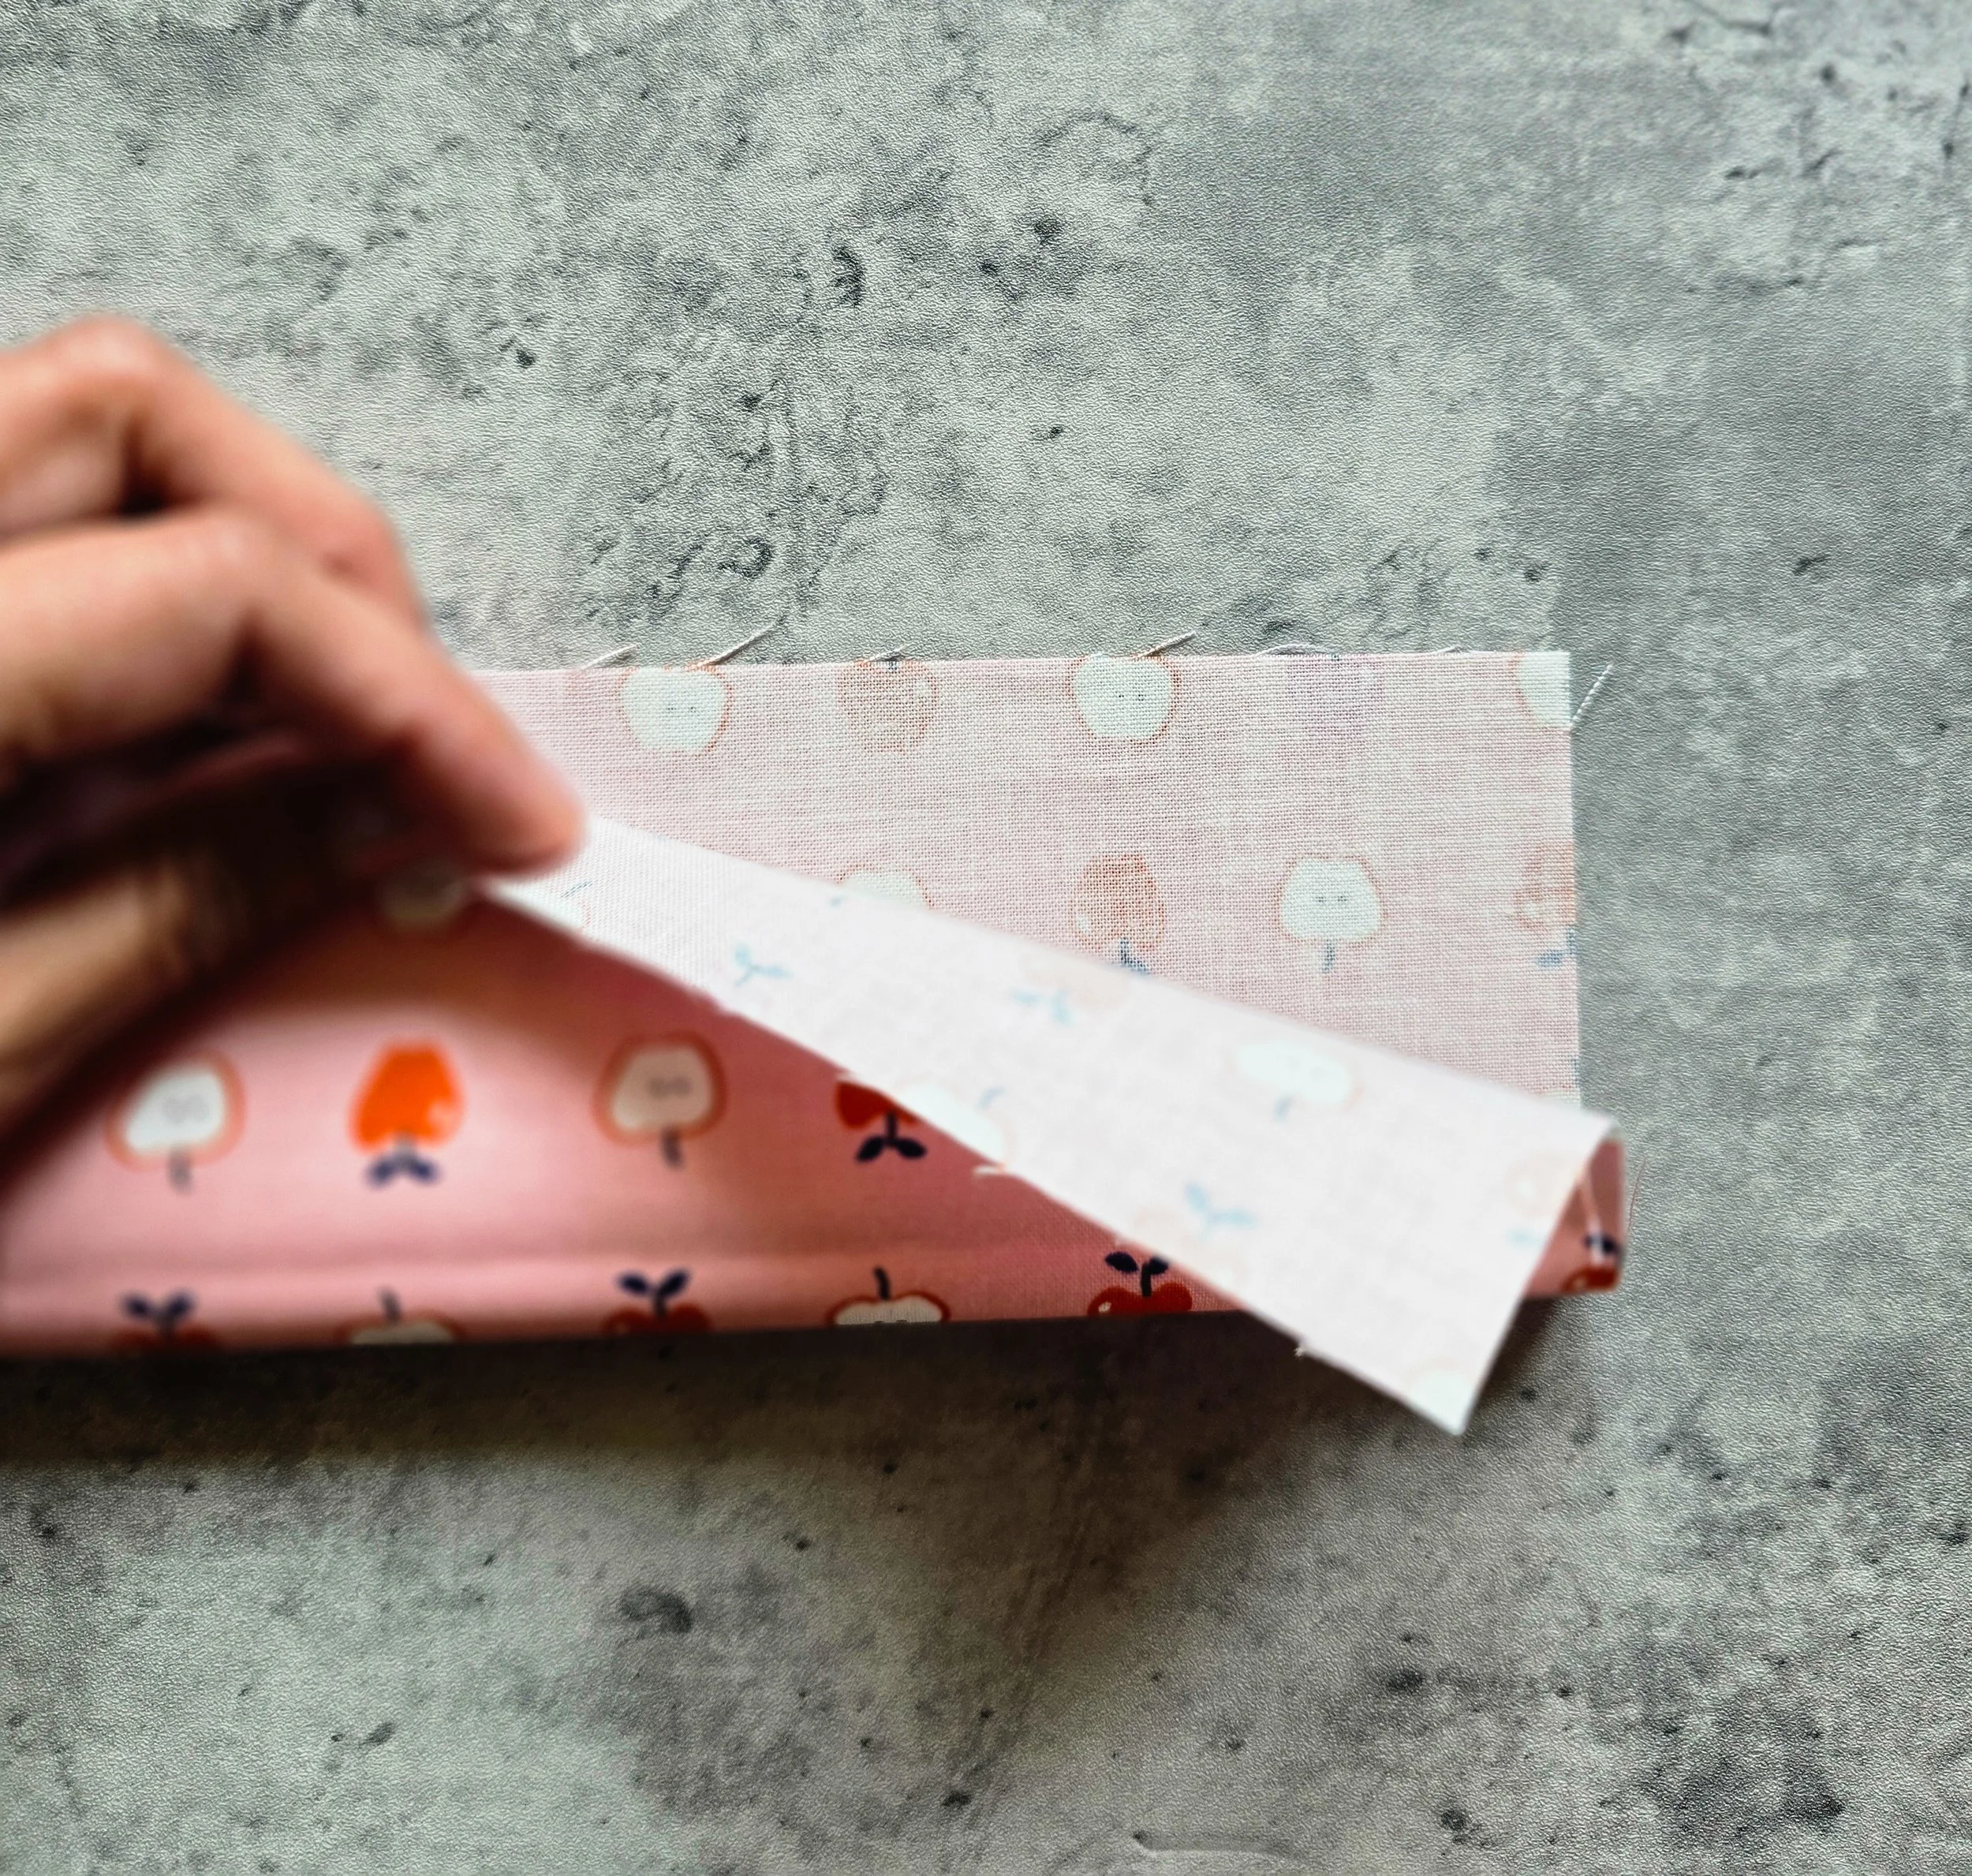
Make the Handle
You can make a shorter handle for carrying your quillow by hand, or make it a little longer if you'd like to carry it over your shoulder.
For a hand-carry handle, cut: (1) 6" x 15" fabric rectangle, and (1) batting strip slightly less than 1 1/2" x 15". (I used the 15" handle for mine.)
For an over-the-shoulder handle, cut: (1) 6" x 24" fabric rectangle, and (1) batting strip slightly less than 1 1/2" x 24".
TIP: I like to cut the batting just a smidge narrower than 1 1/2". That little bit of extra room makes it easier to fold the fabric around the thickness of the batting and get a nice, clean fold.
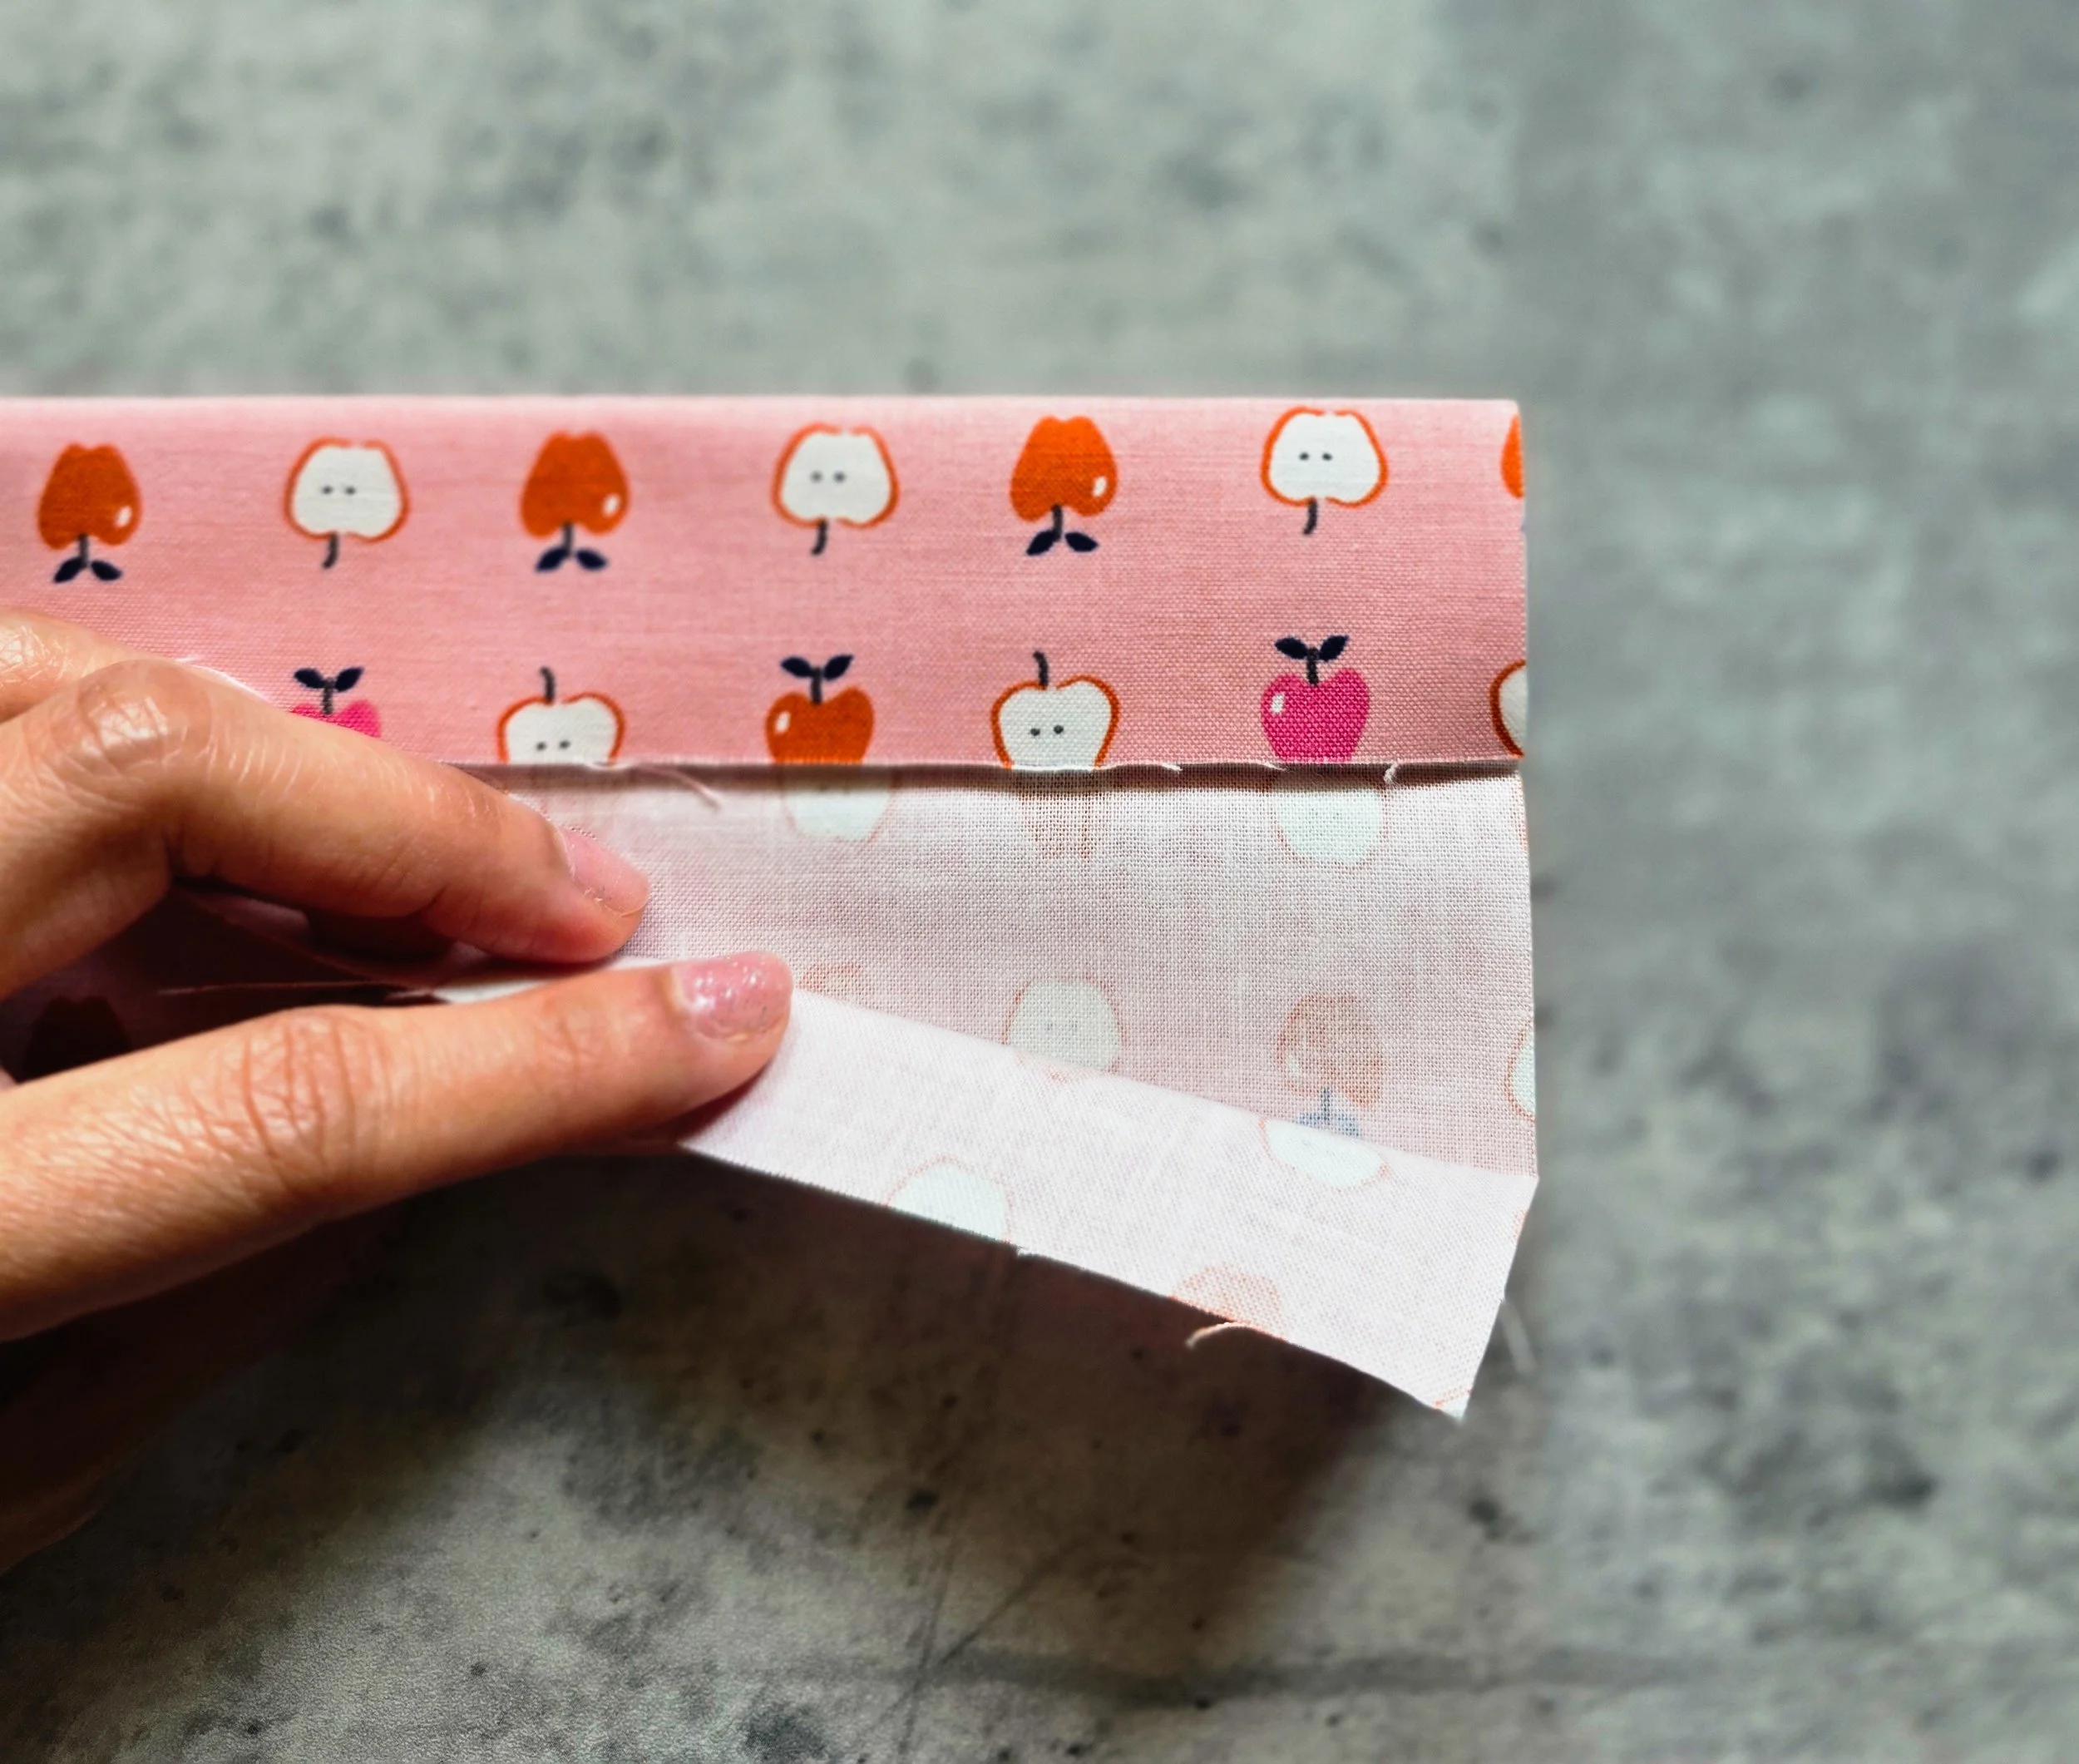
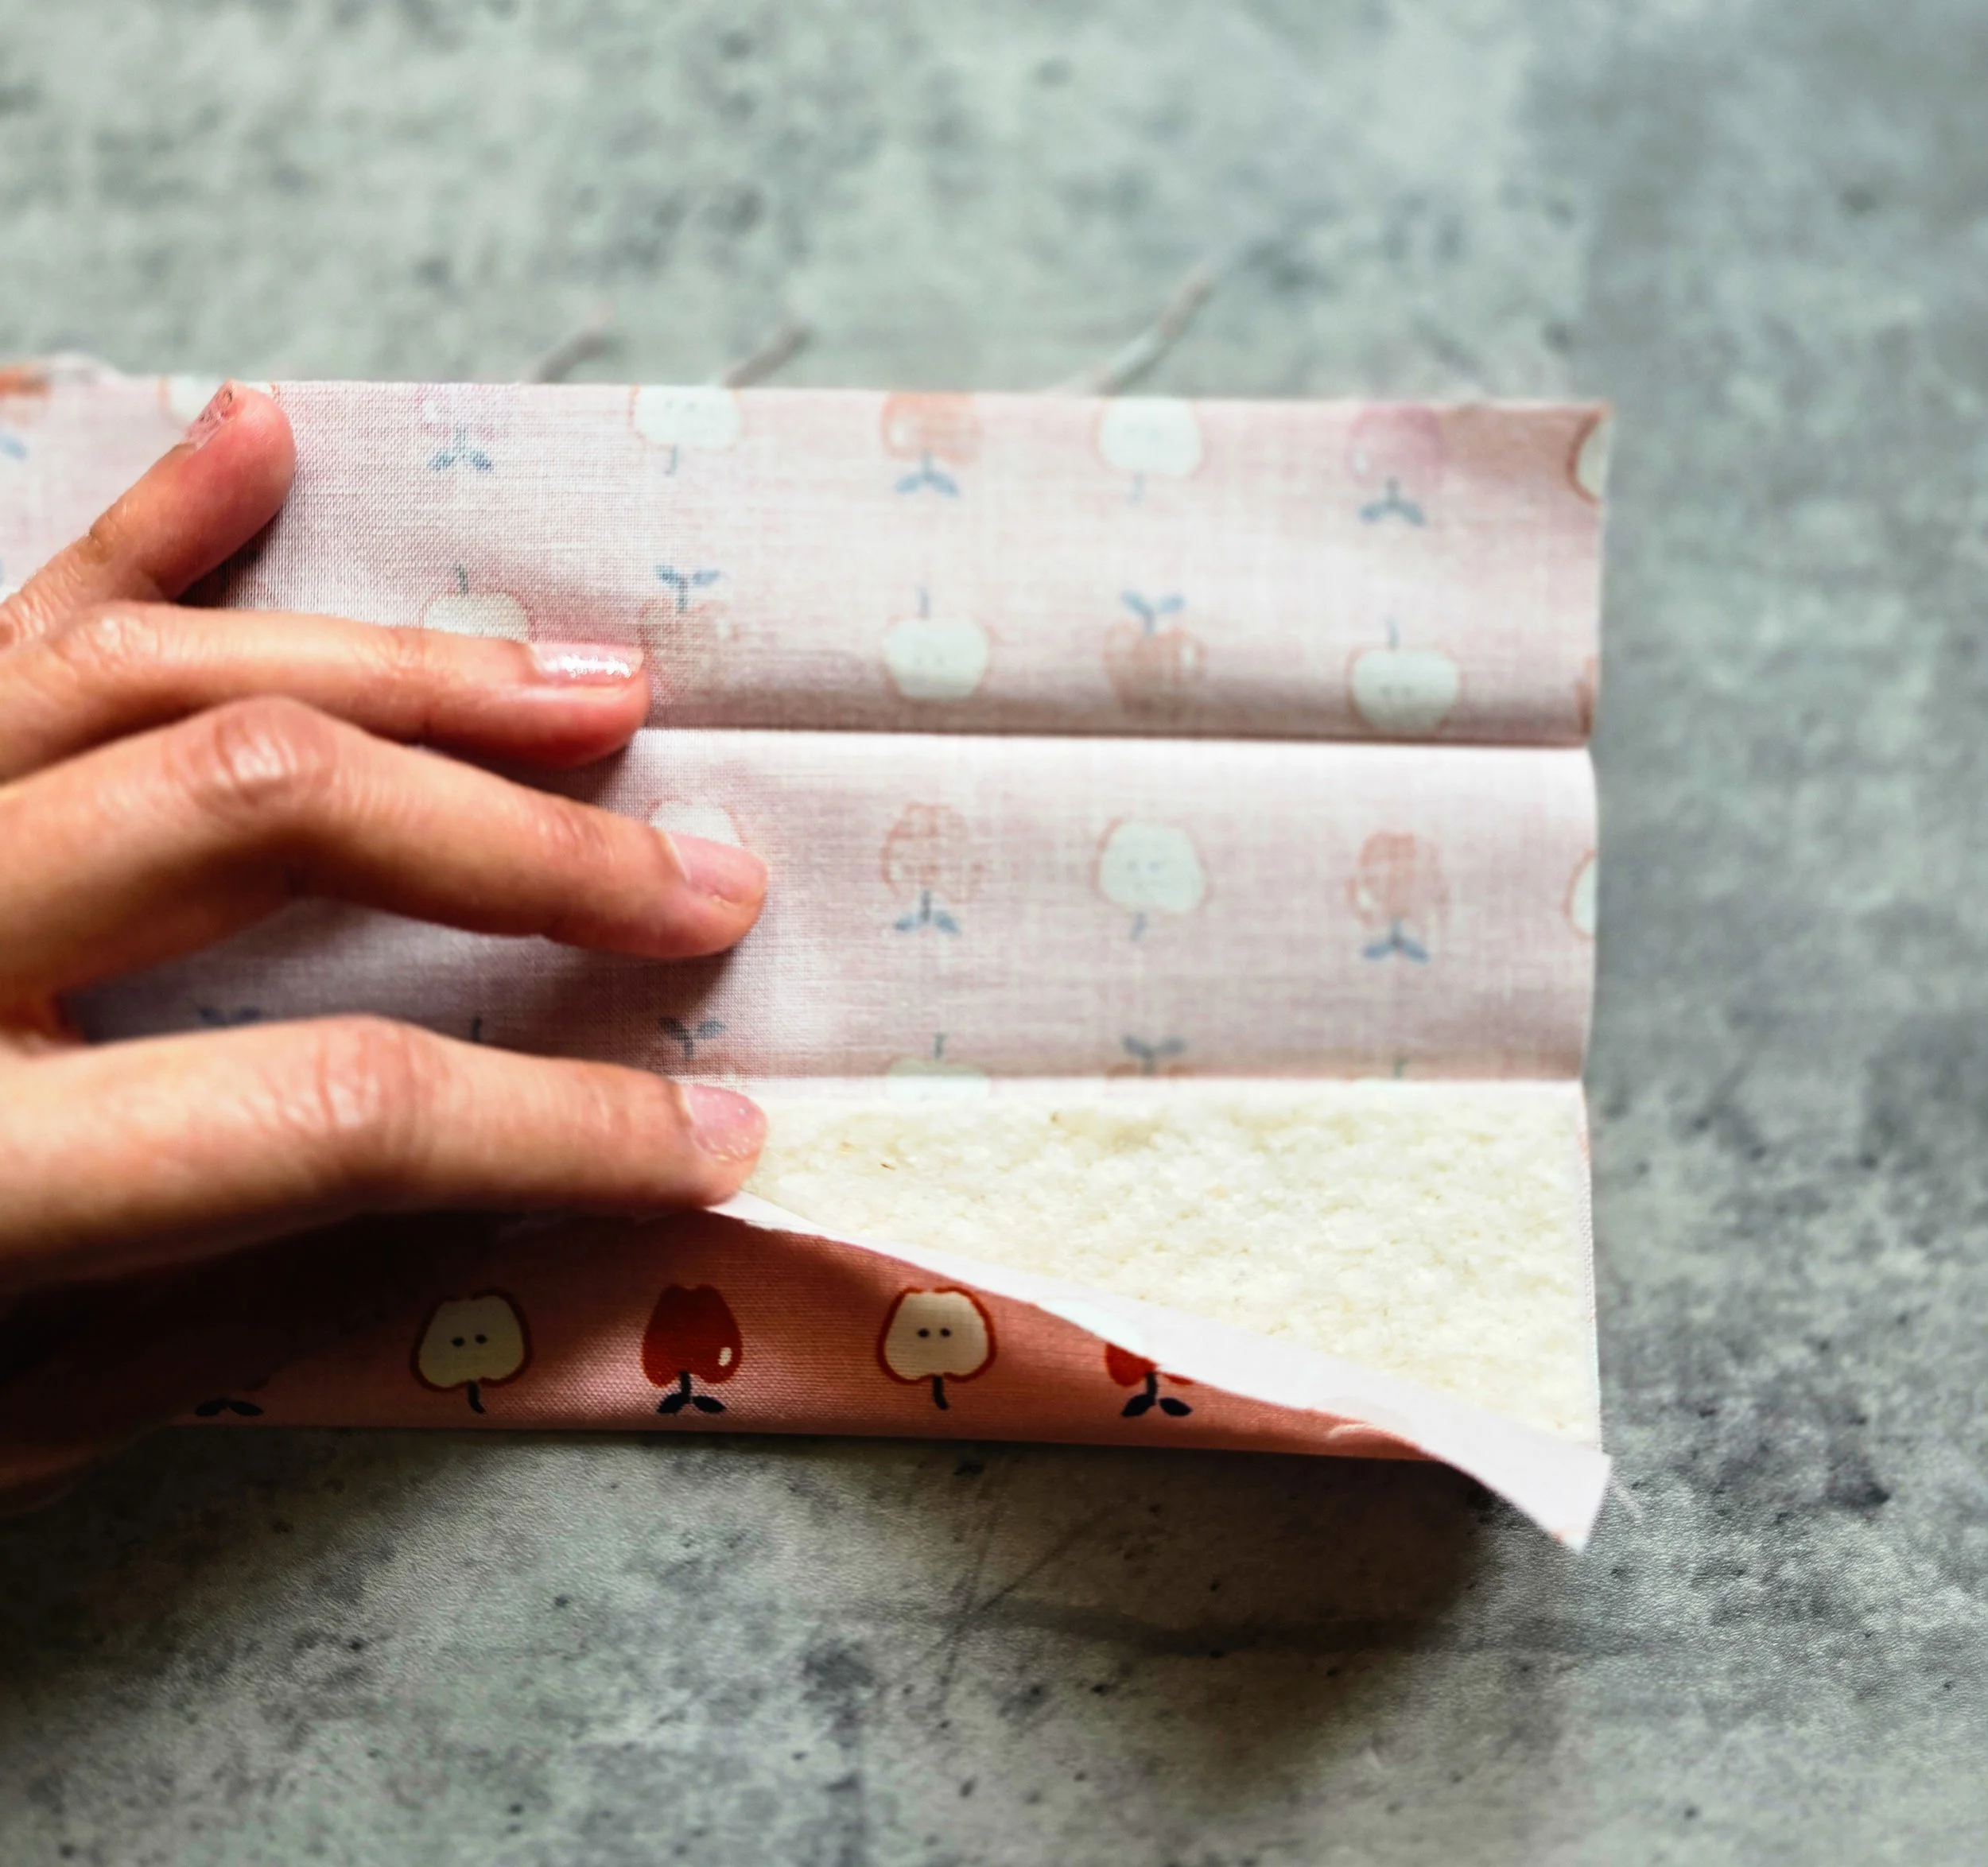
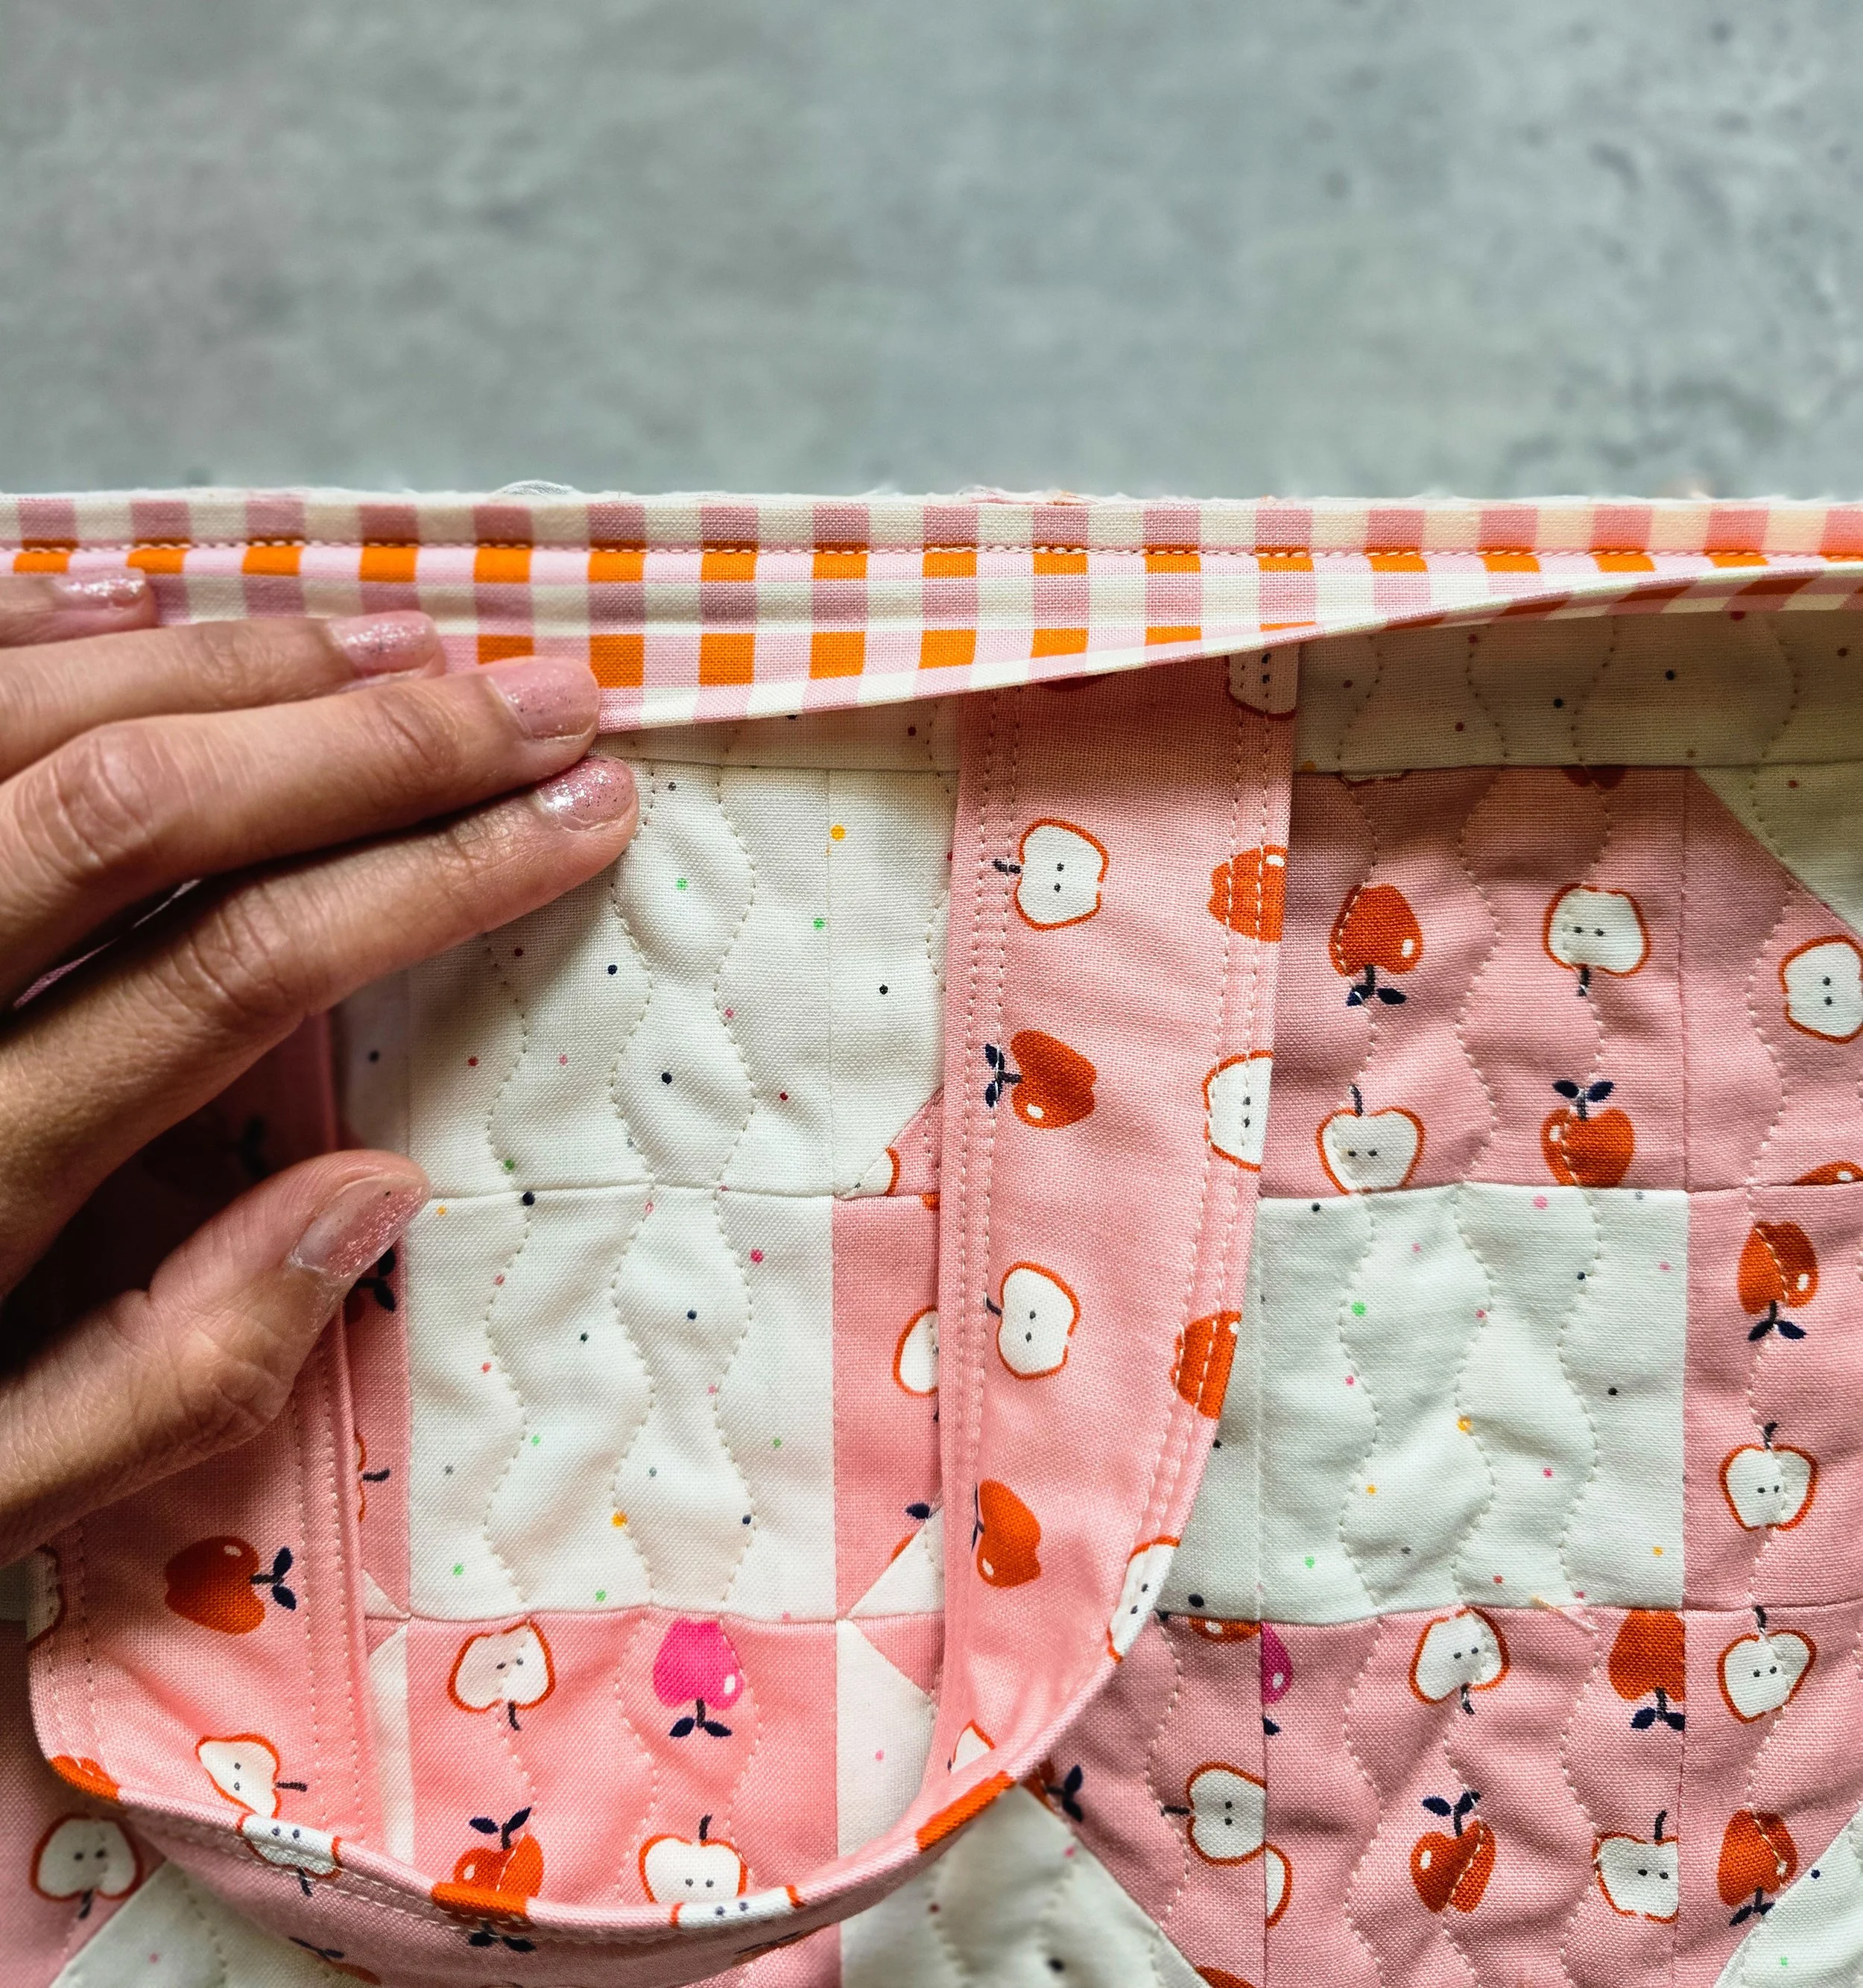
Fold the handle fabric in half lengthwise and press to create a center crease. Open it back up. Place the batting along one side of the center crease. Fold the fabric over the batting, then continue folding to enclose the batting and all the raw edges. Press well. Topstitch 1/8" from both long edges to secure the layers. For a little extra detail, you can add a second line of topstitching 1/4" from each long edge. It's optional, but I like the finished look, and the extra stitching helps keep the layers nice and secure with all the grabbing and carrying your quillow will get. Your finished handle should measure approximately 1 1/2" wide.
Attach the Handle
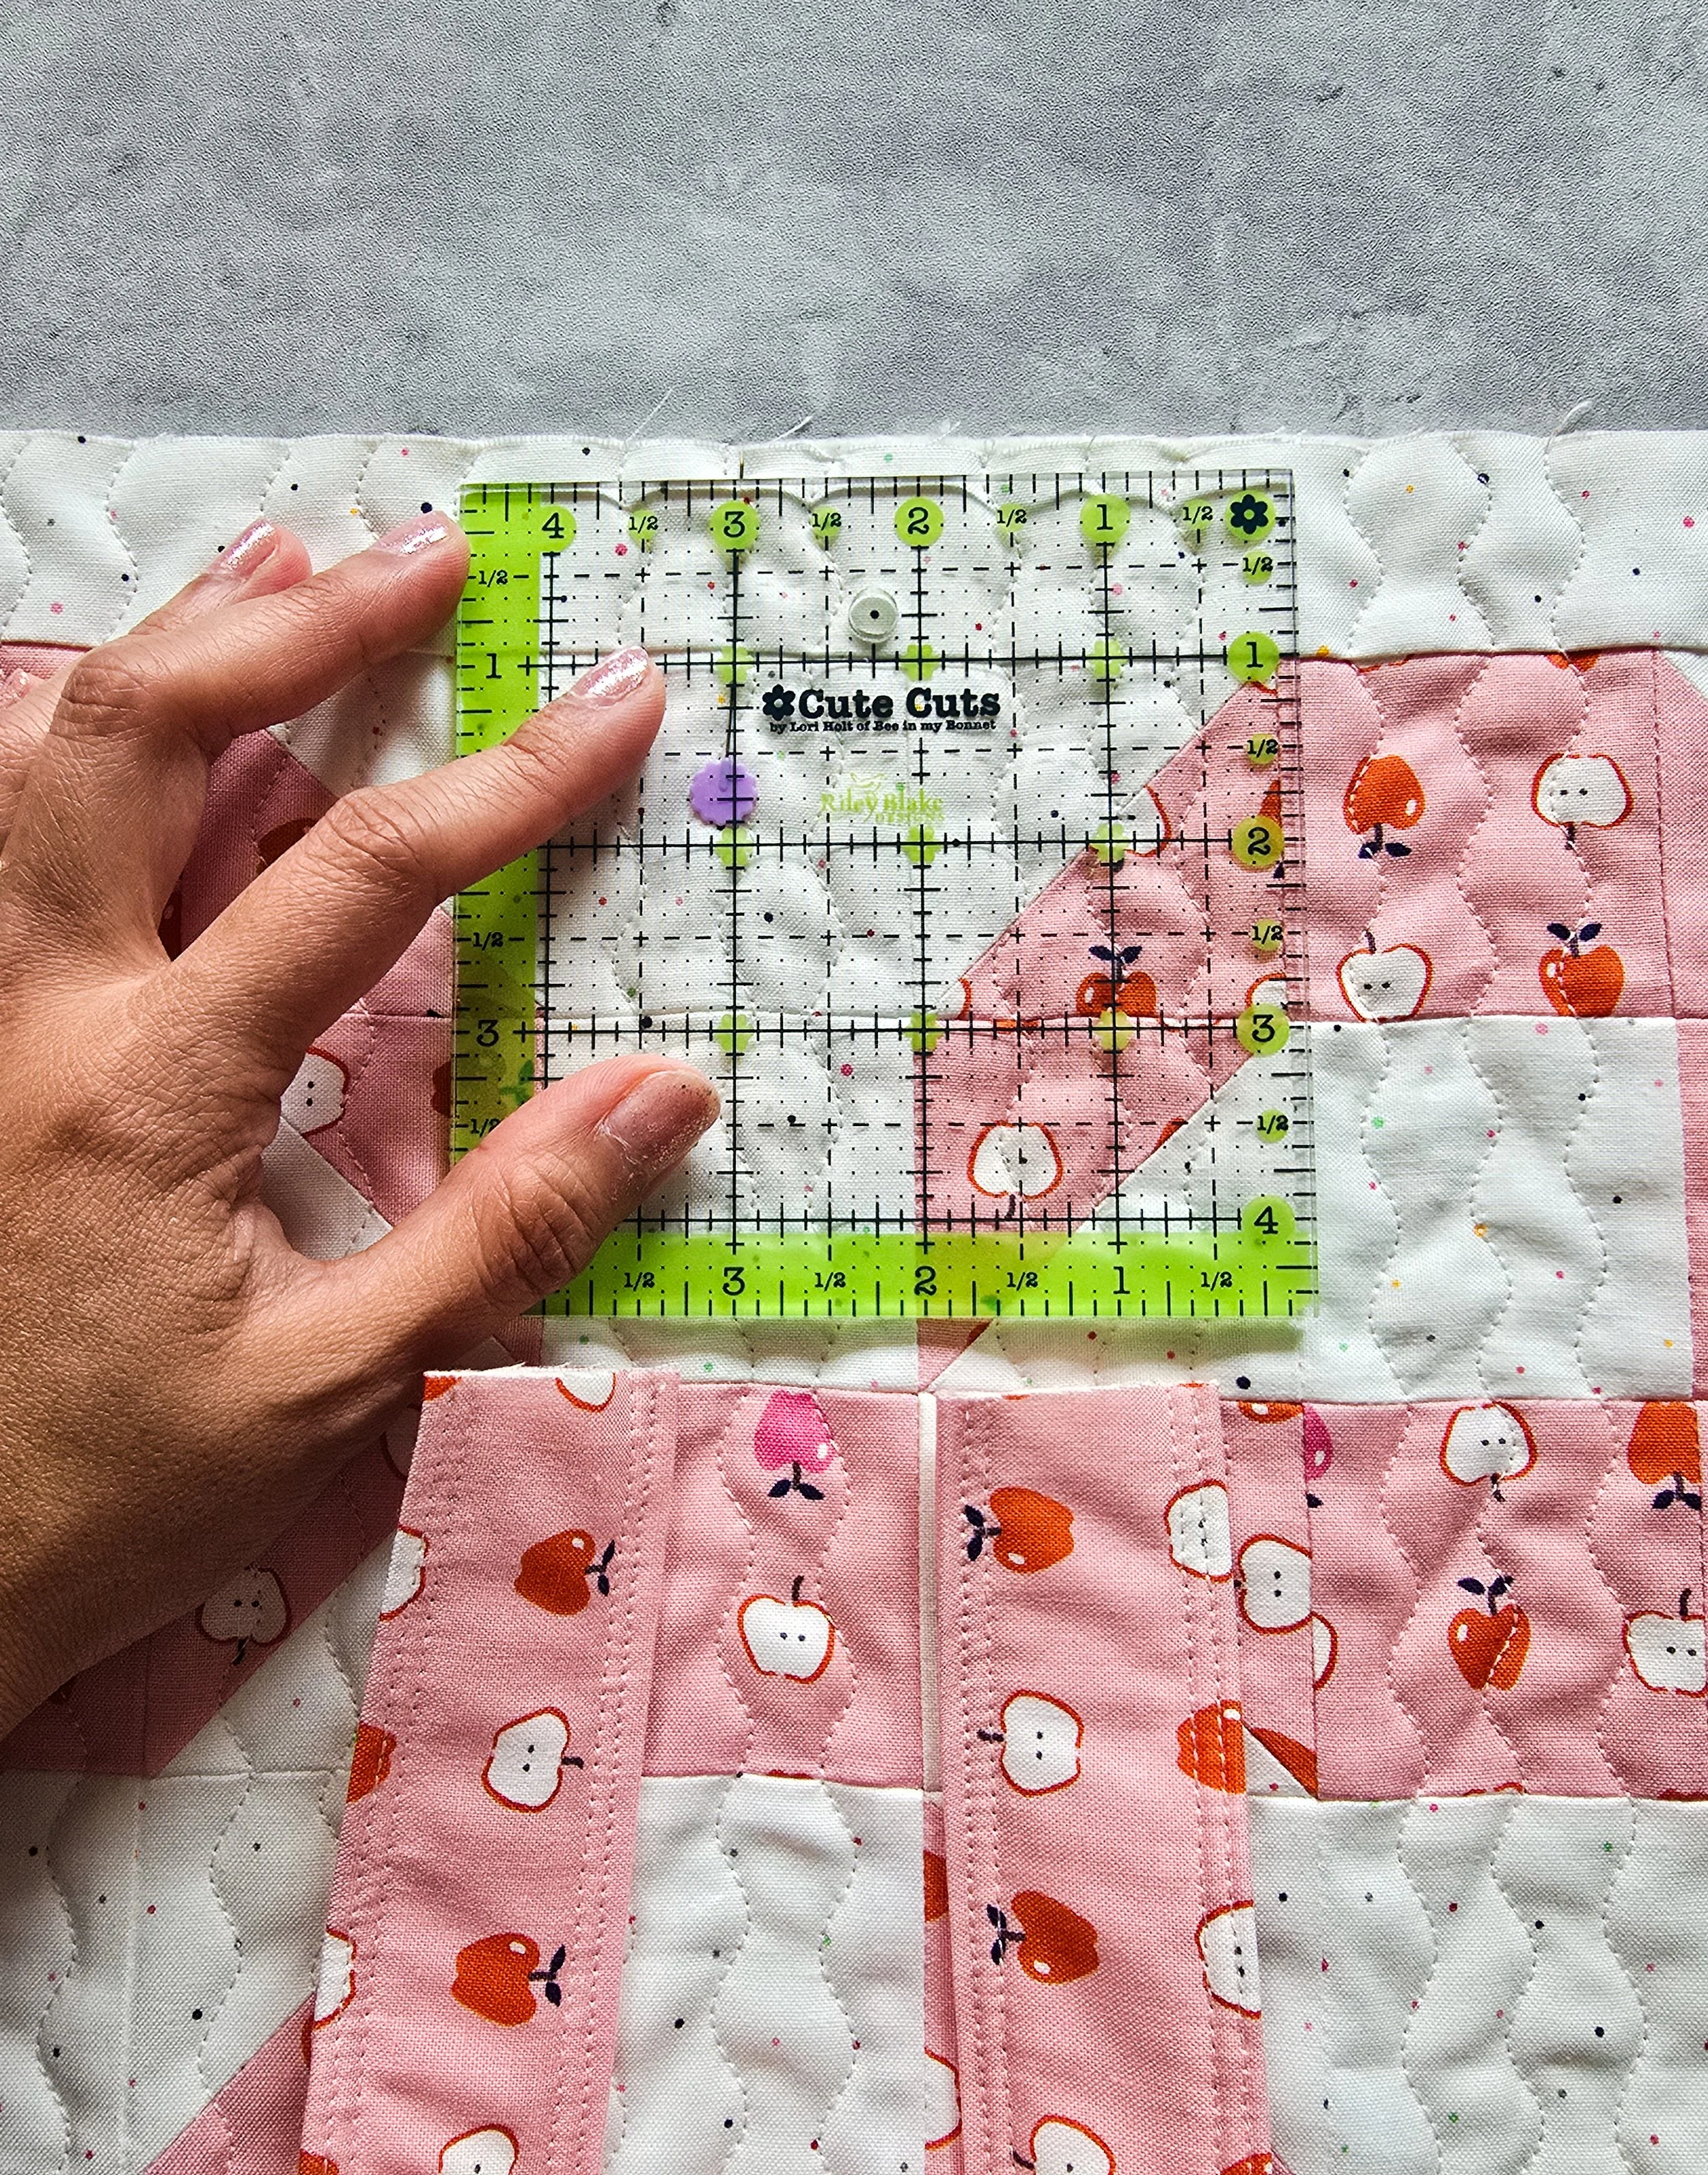
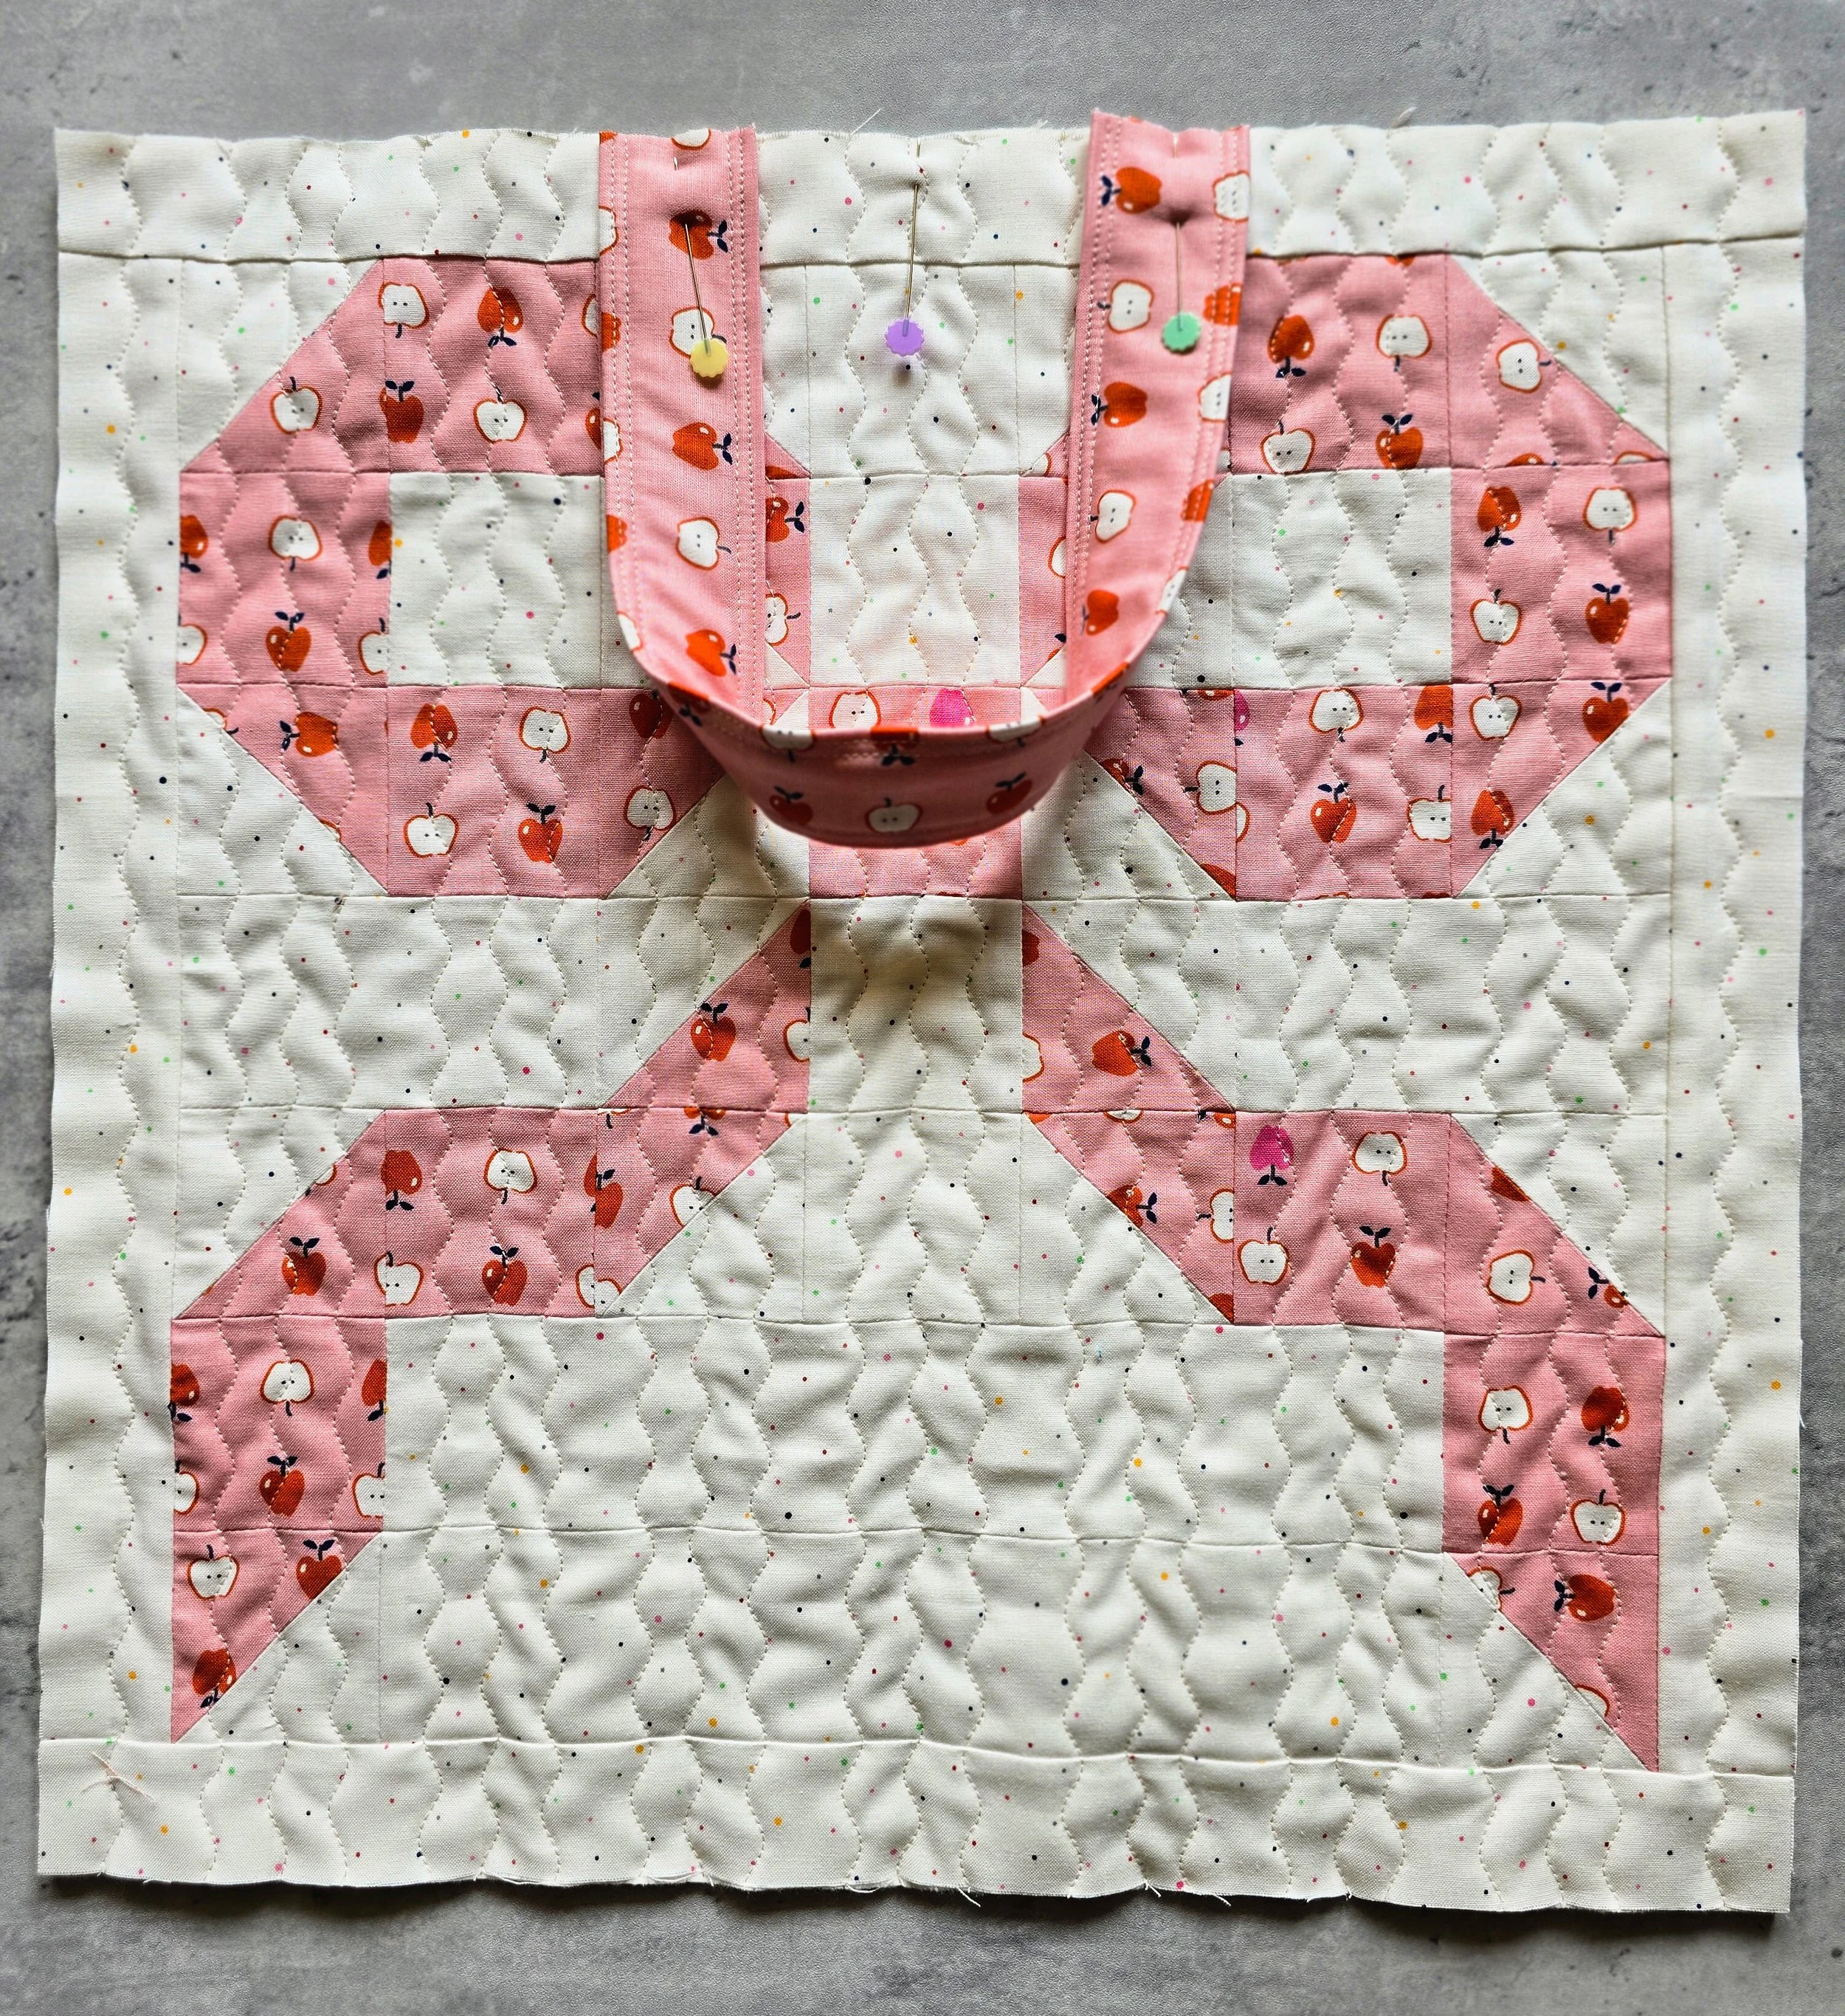
Find and mark the center of the bottom edge of your pocket. Measure 3" from the center in each direction and mark both points. Position one end of the handle at each mark, aligning the raw edges of the handle with the raw edge of the pocket. Make sure your handle isn't twisted. Baste the handle ends in place about 1/8" from the edge, then bind the pocket on all four sides just as you would a regular quilt.
Attach the Pocket to the Quilt
You can place the pocket wherever you'd like on the back of your quilt. I chose the bottom center so when the quilt is open, the pocket doubles as a cozy little spot to tuck your feet into. :)
With the quilt and pocket right sides facing up, find and mark the center along the bottom edge of each. Lay the quilt flat with the right side facing down. Flip the pocket over so it's also right side facing down, then match the center marks and line up the bound edge of the pocket with the binding edge of the quilt. Pin or clip in place.
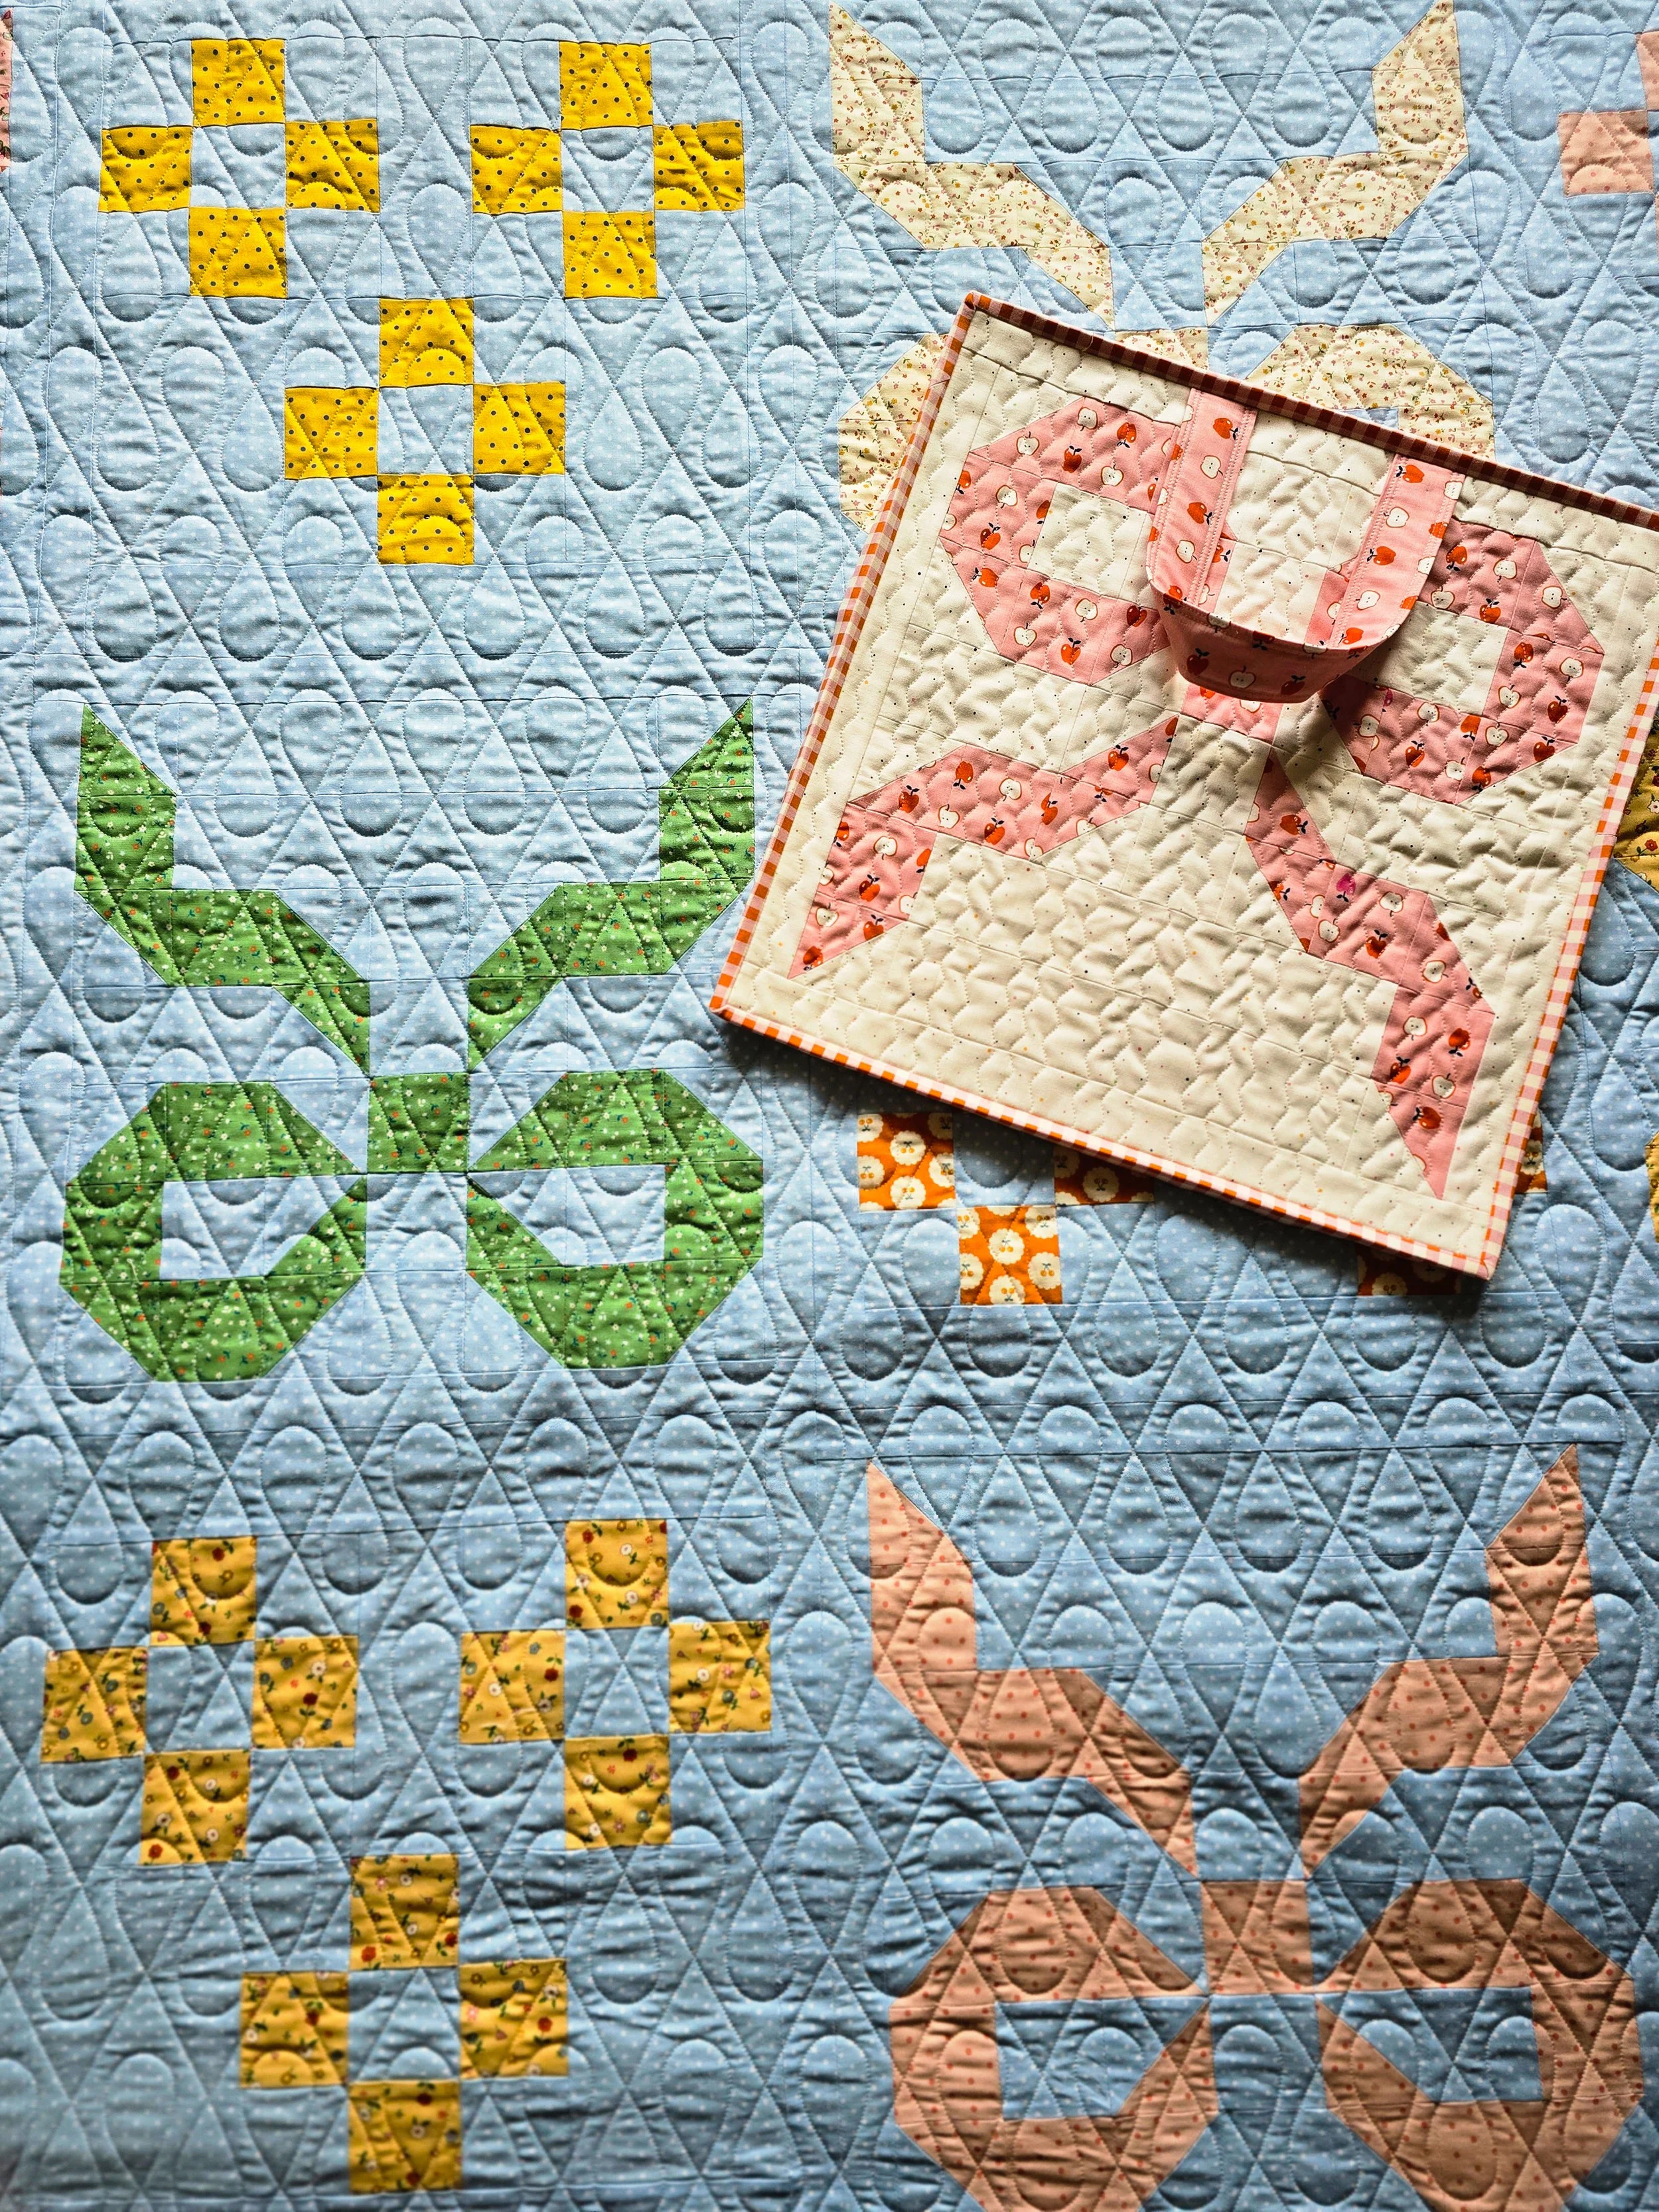
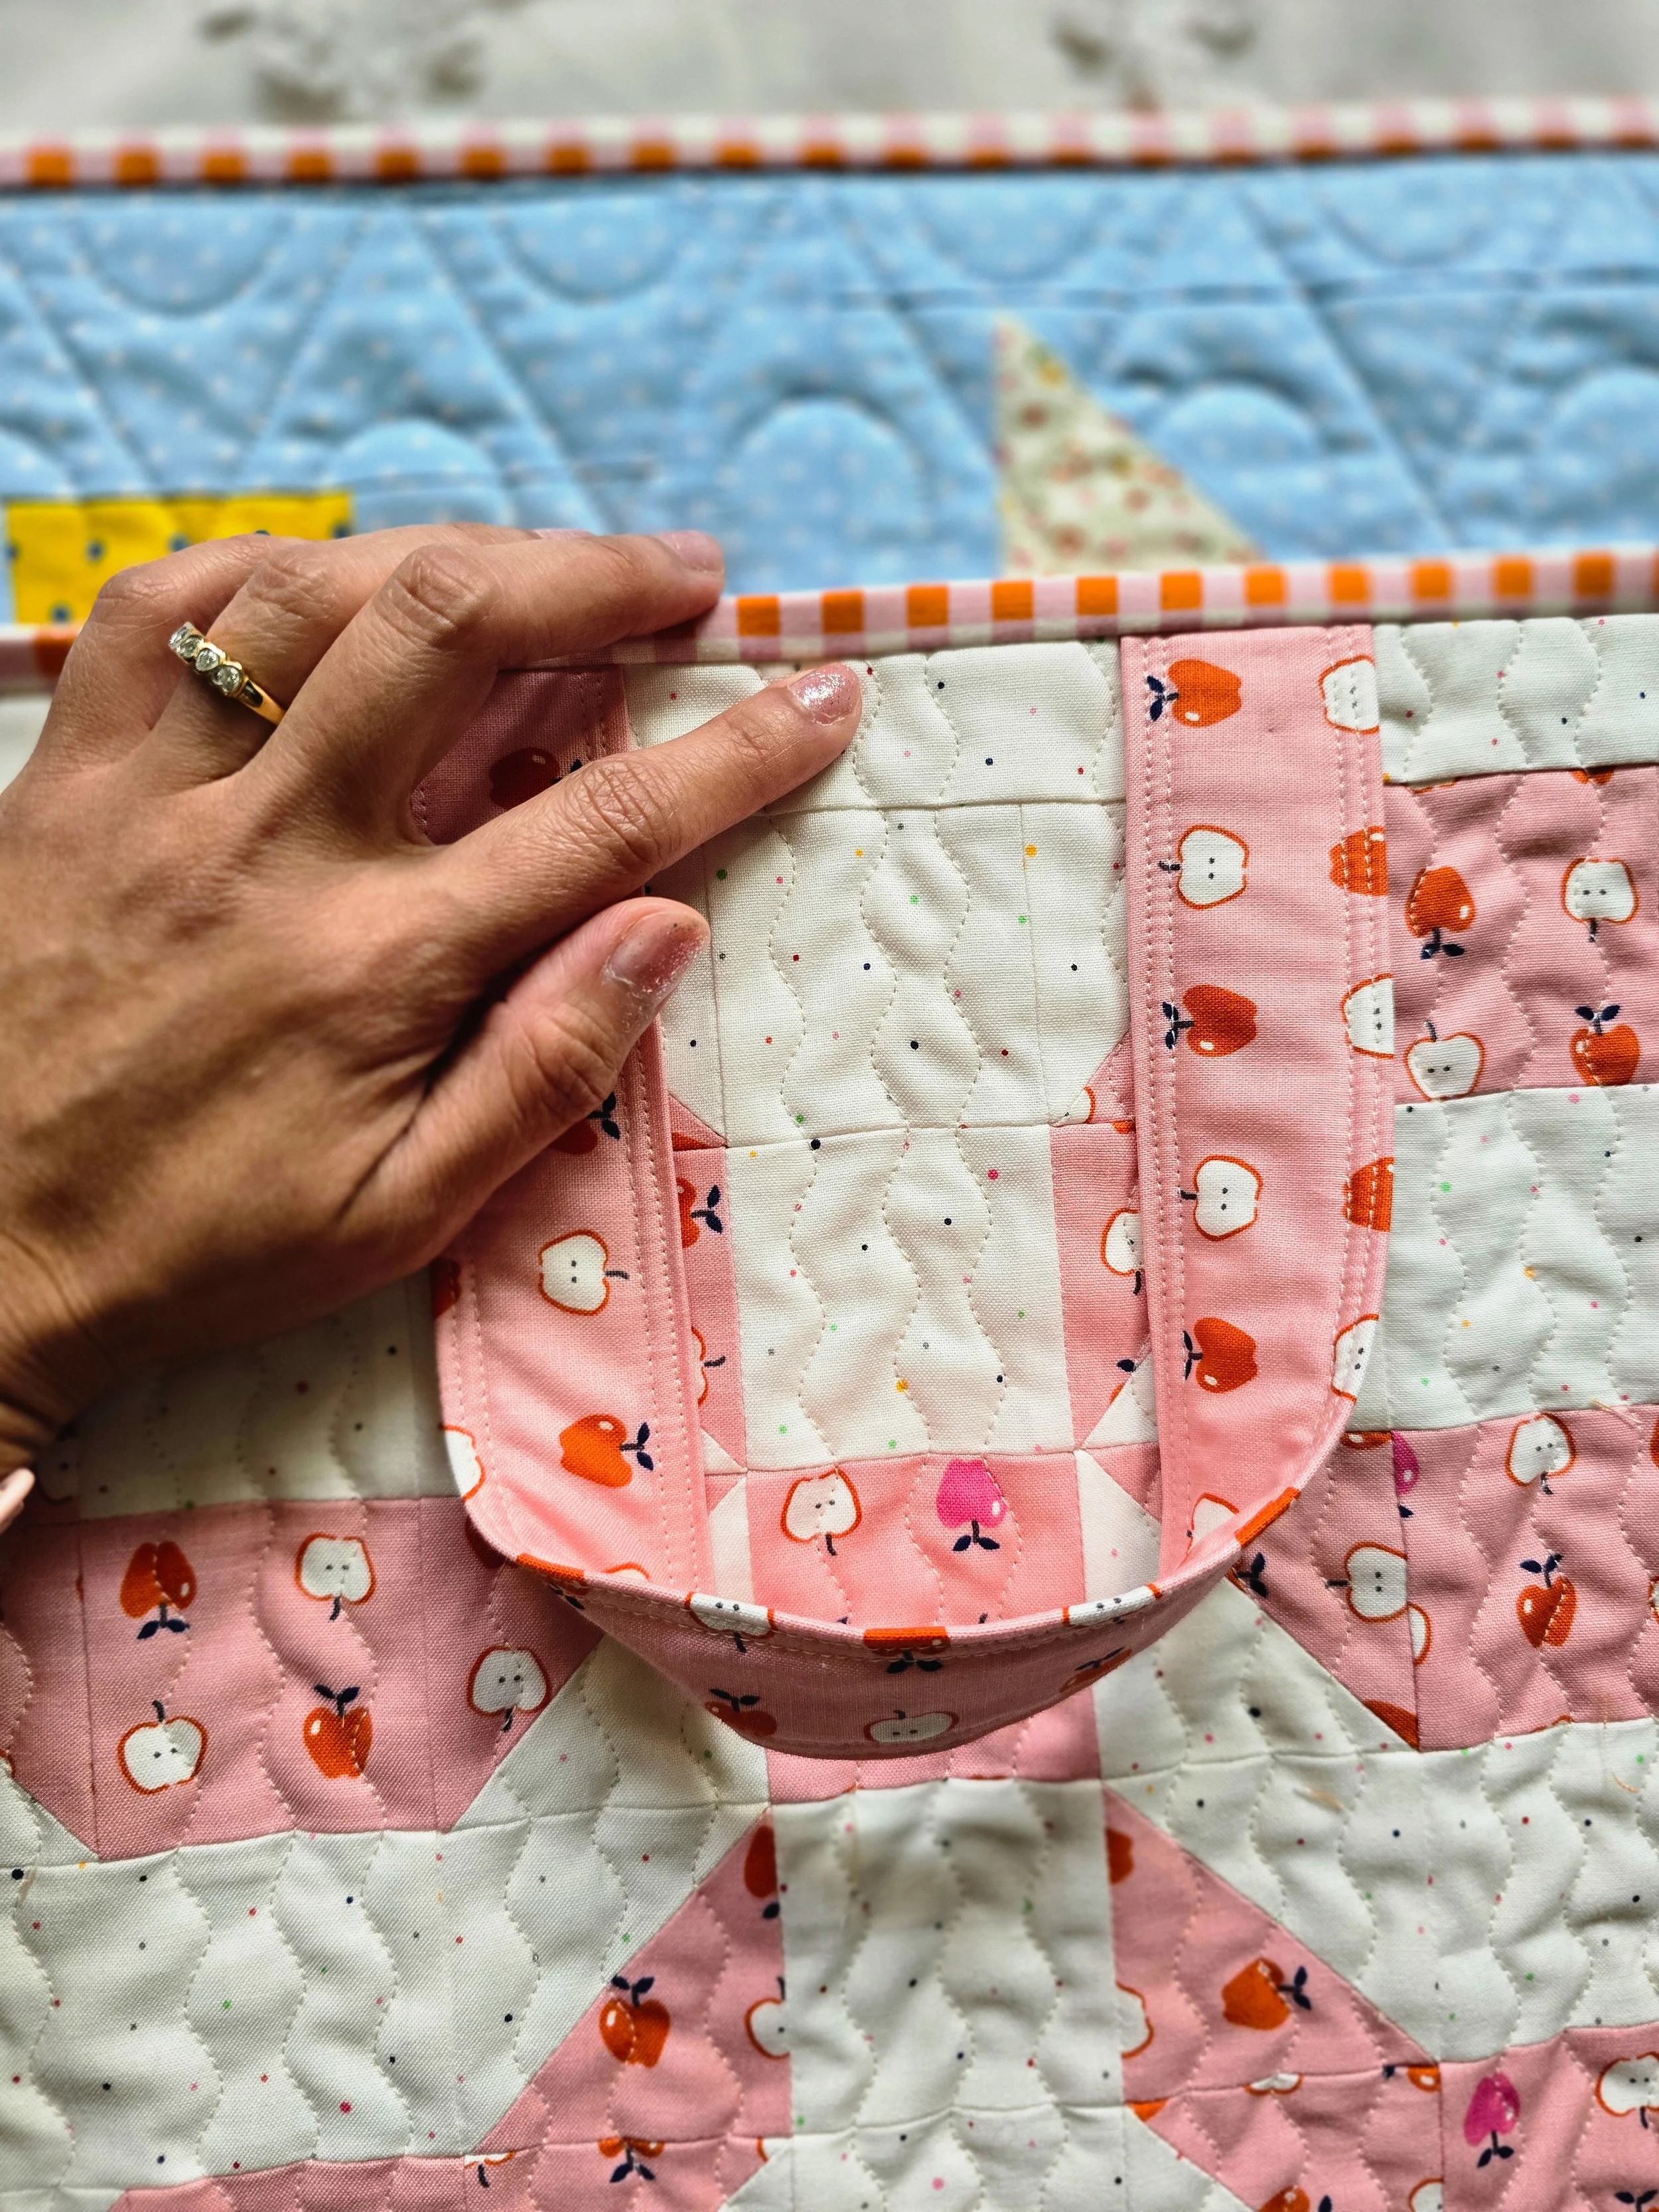
Stitch in the ditch along the pocket binding on three sides, backstitching at the beginning and end to secure your stitches. Leave the side closest to the center of the quilt open. This opening is where you'll tuck the folded quilt into the pocket.
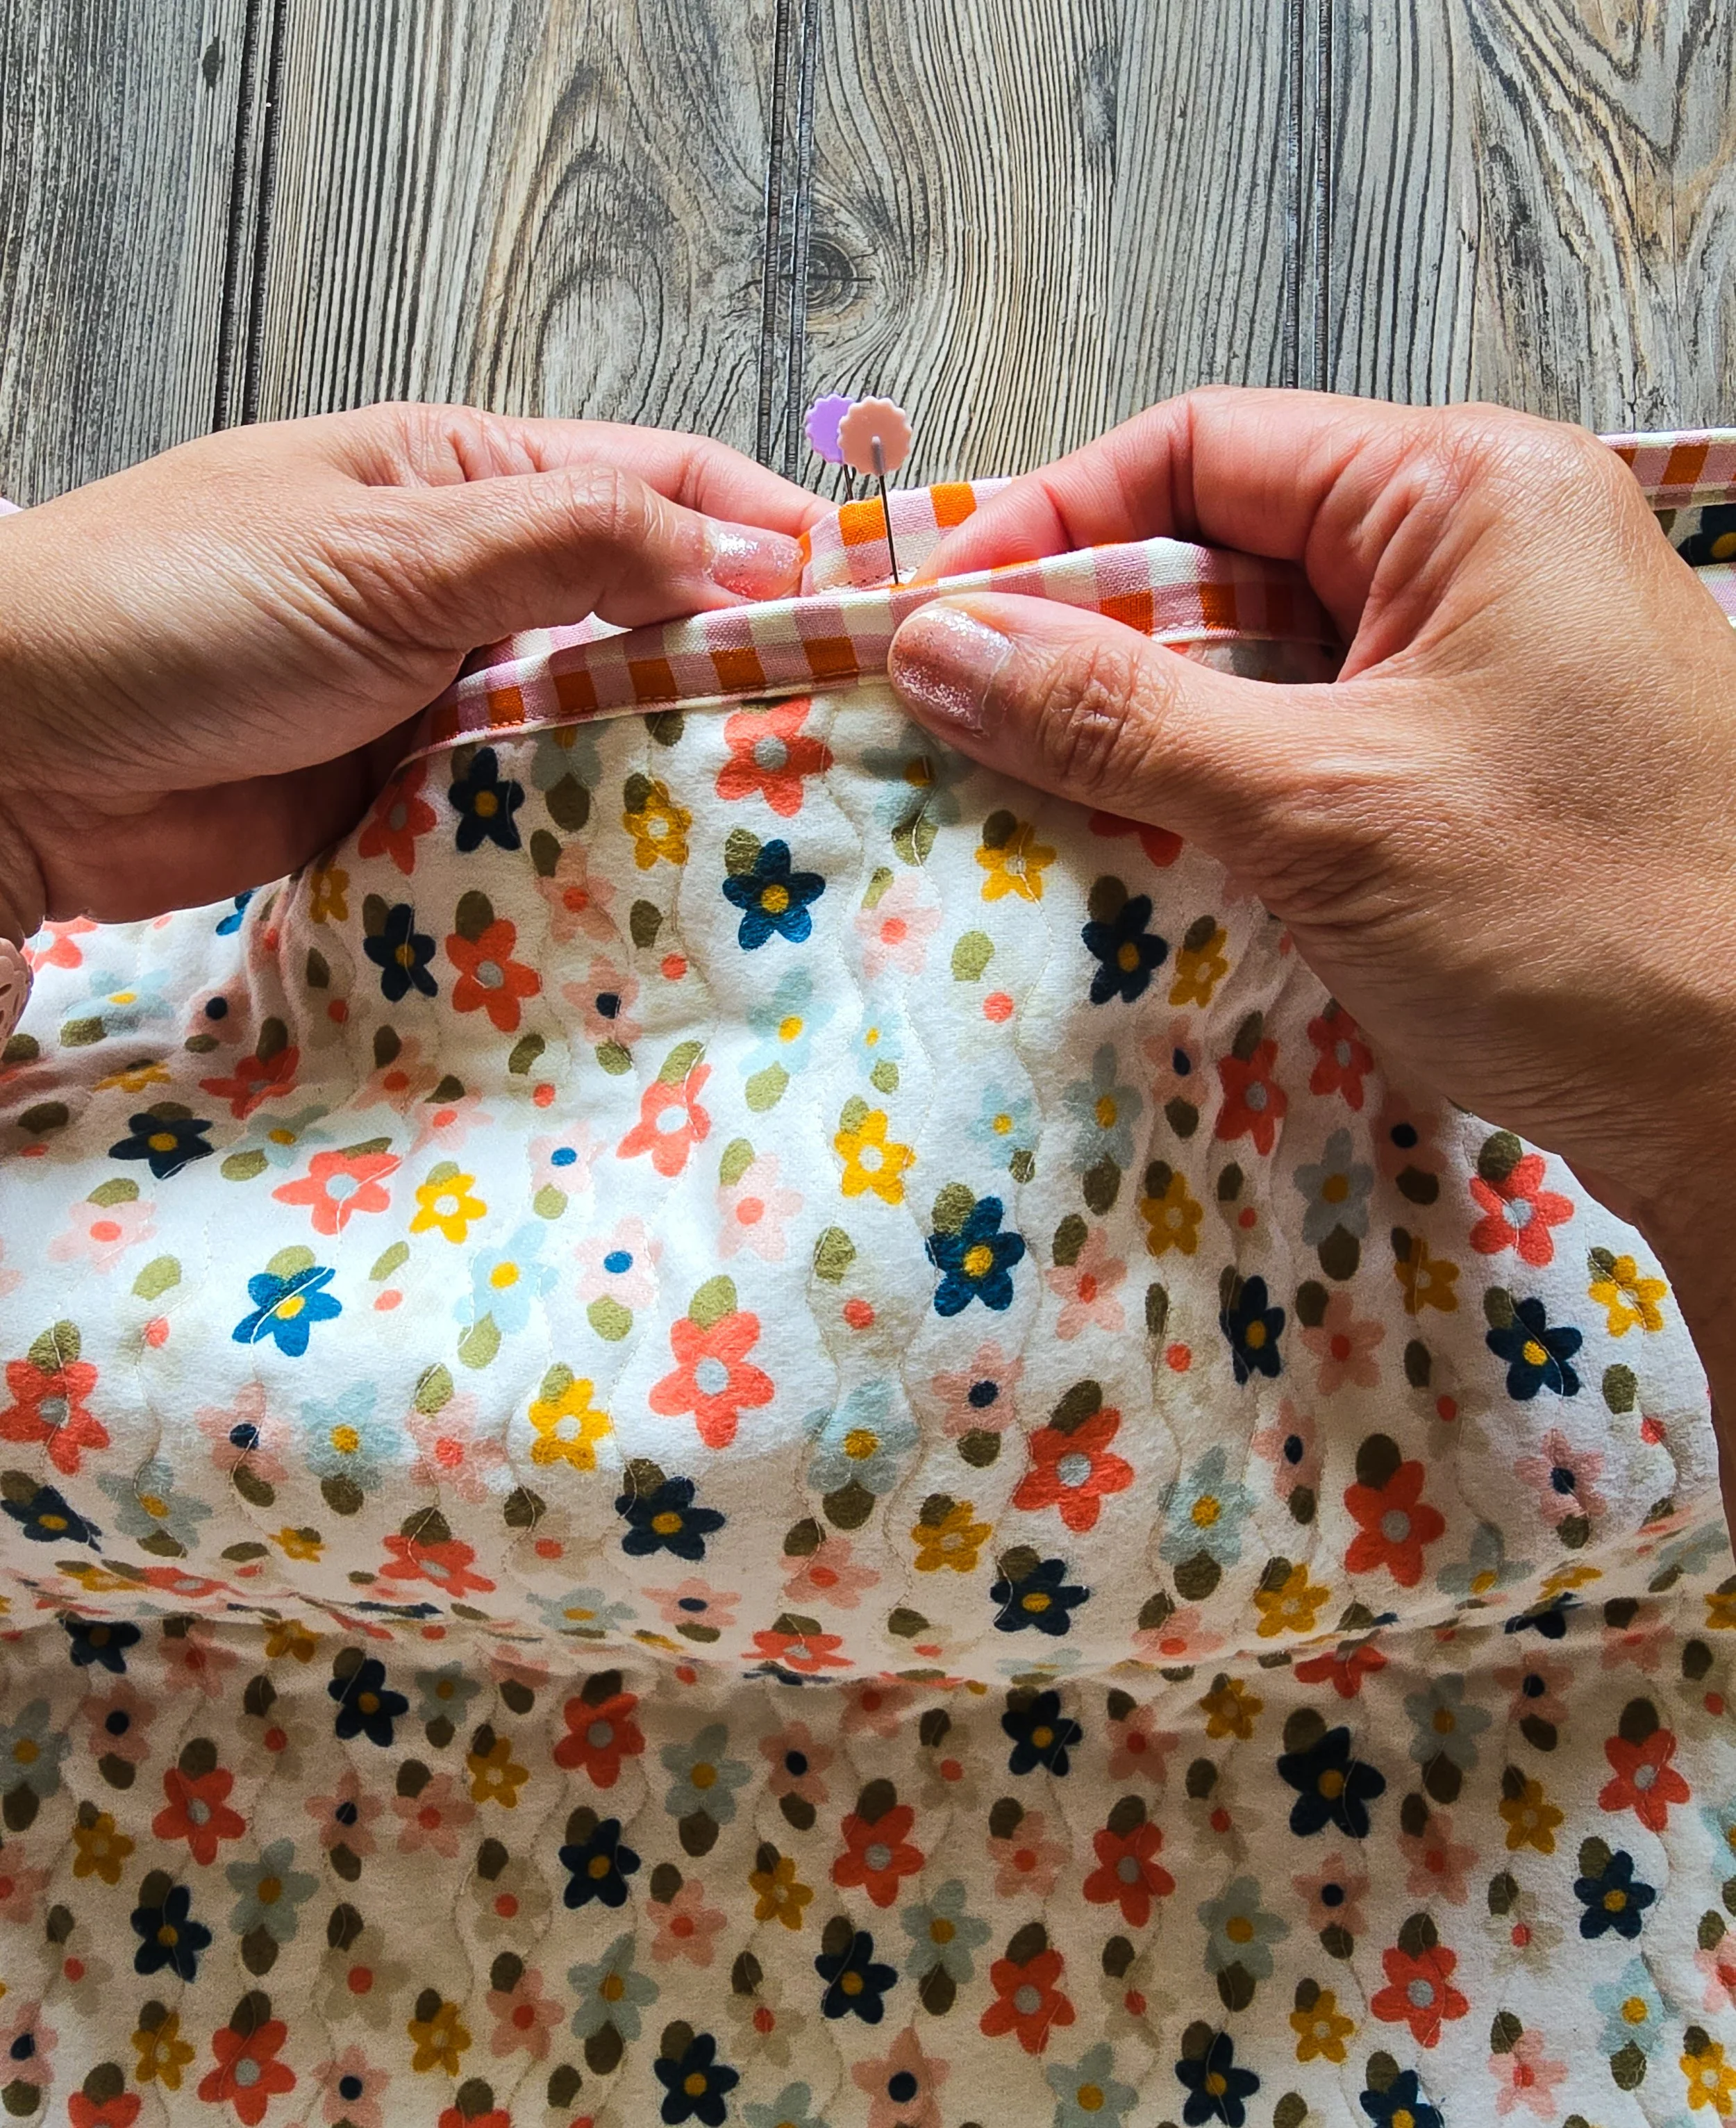
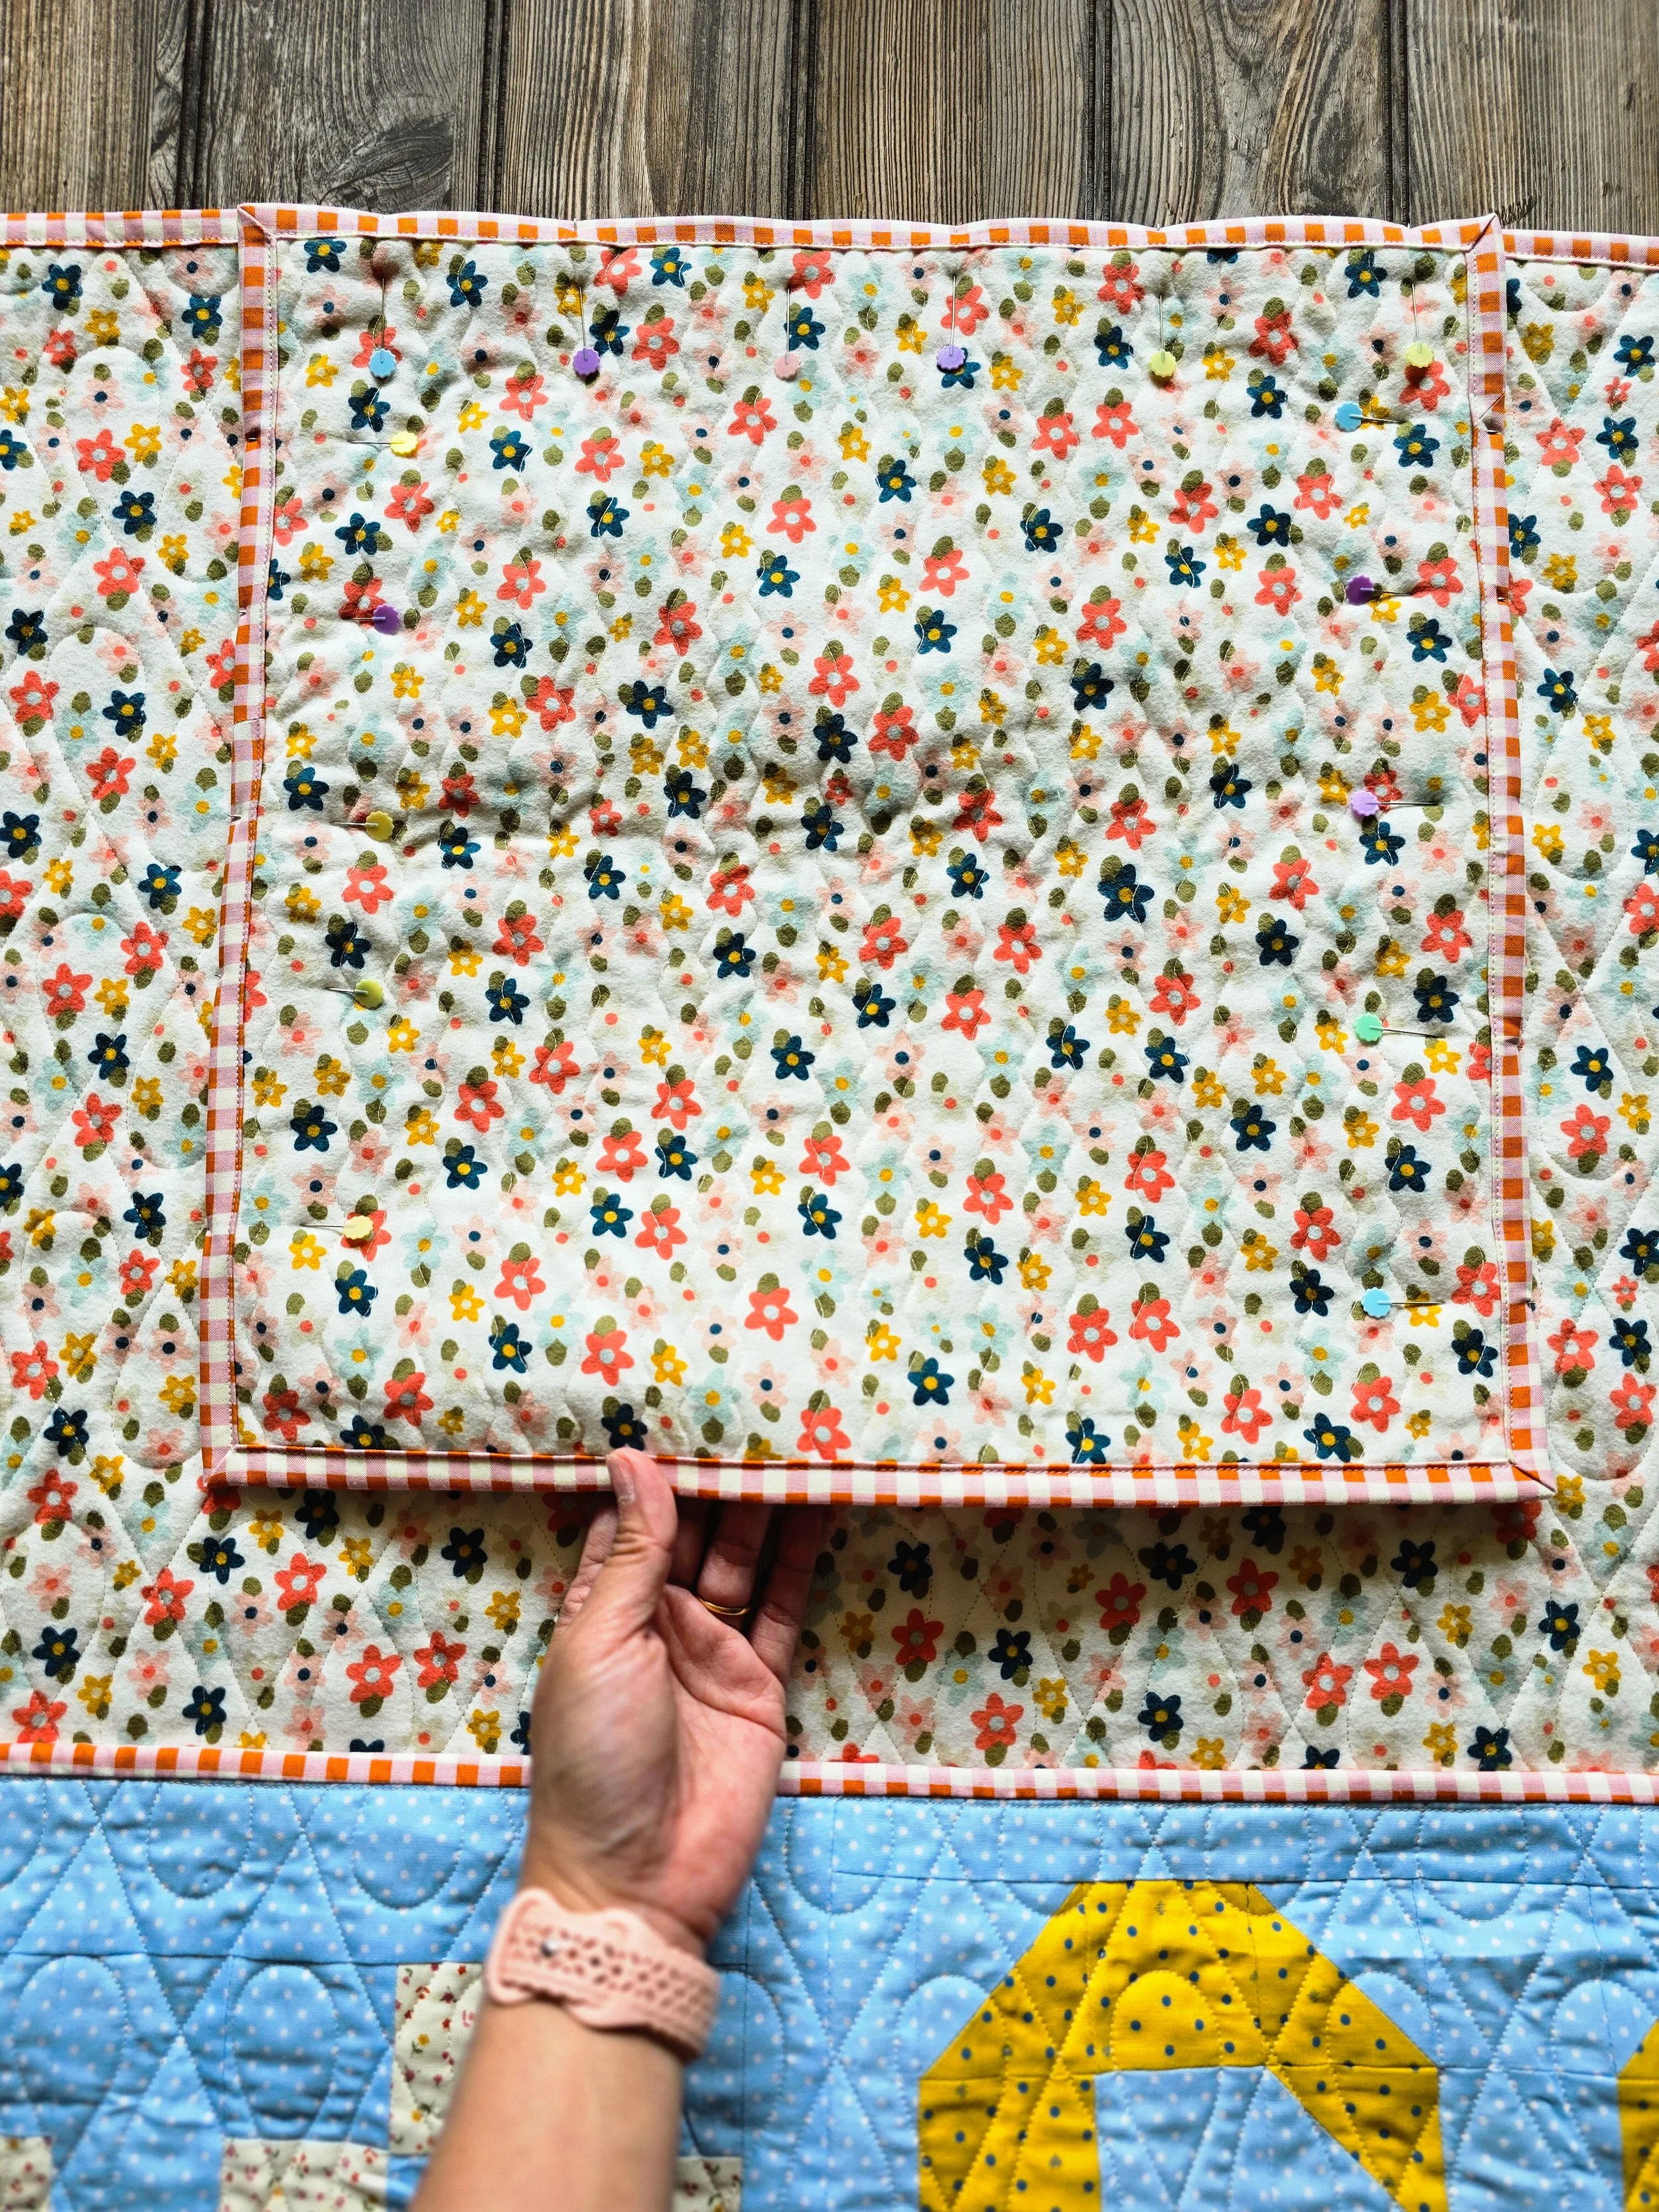
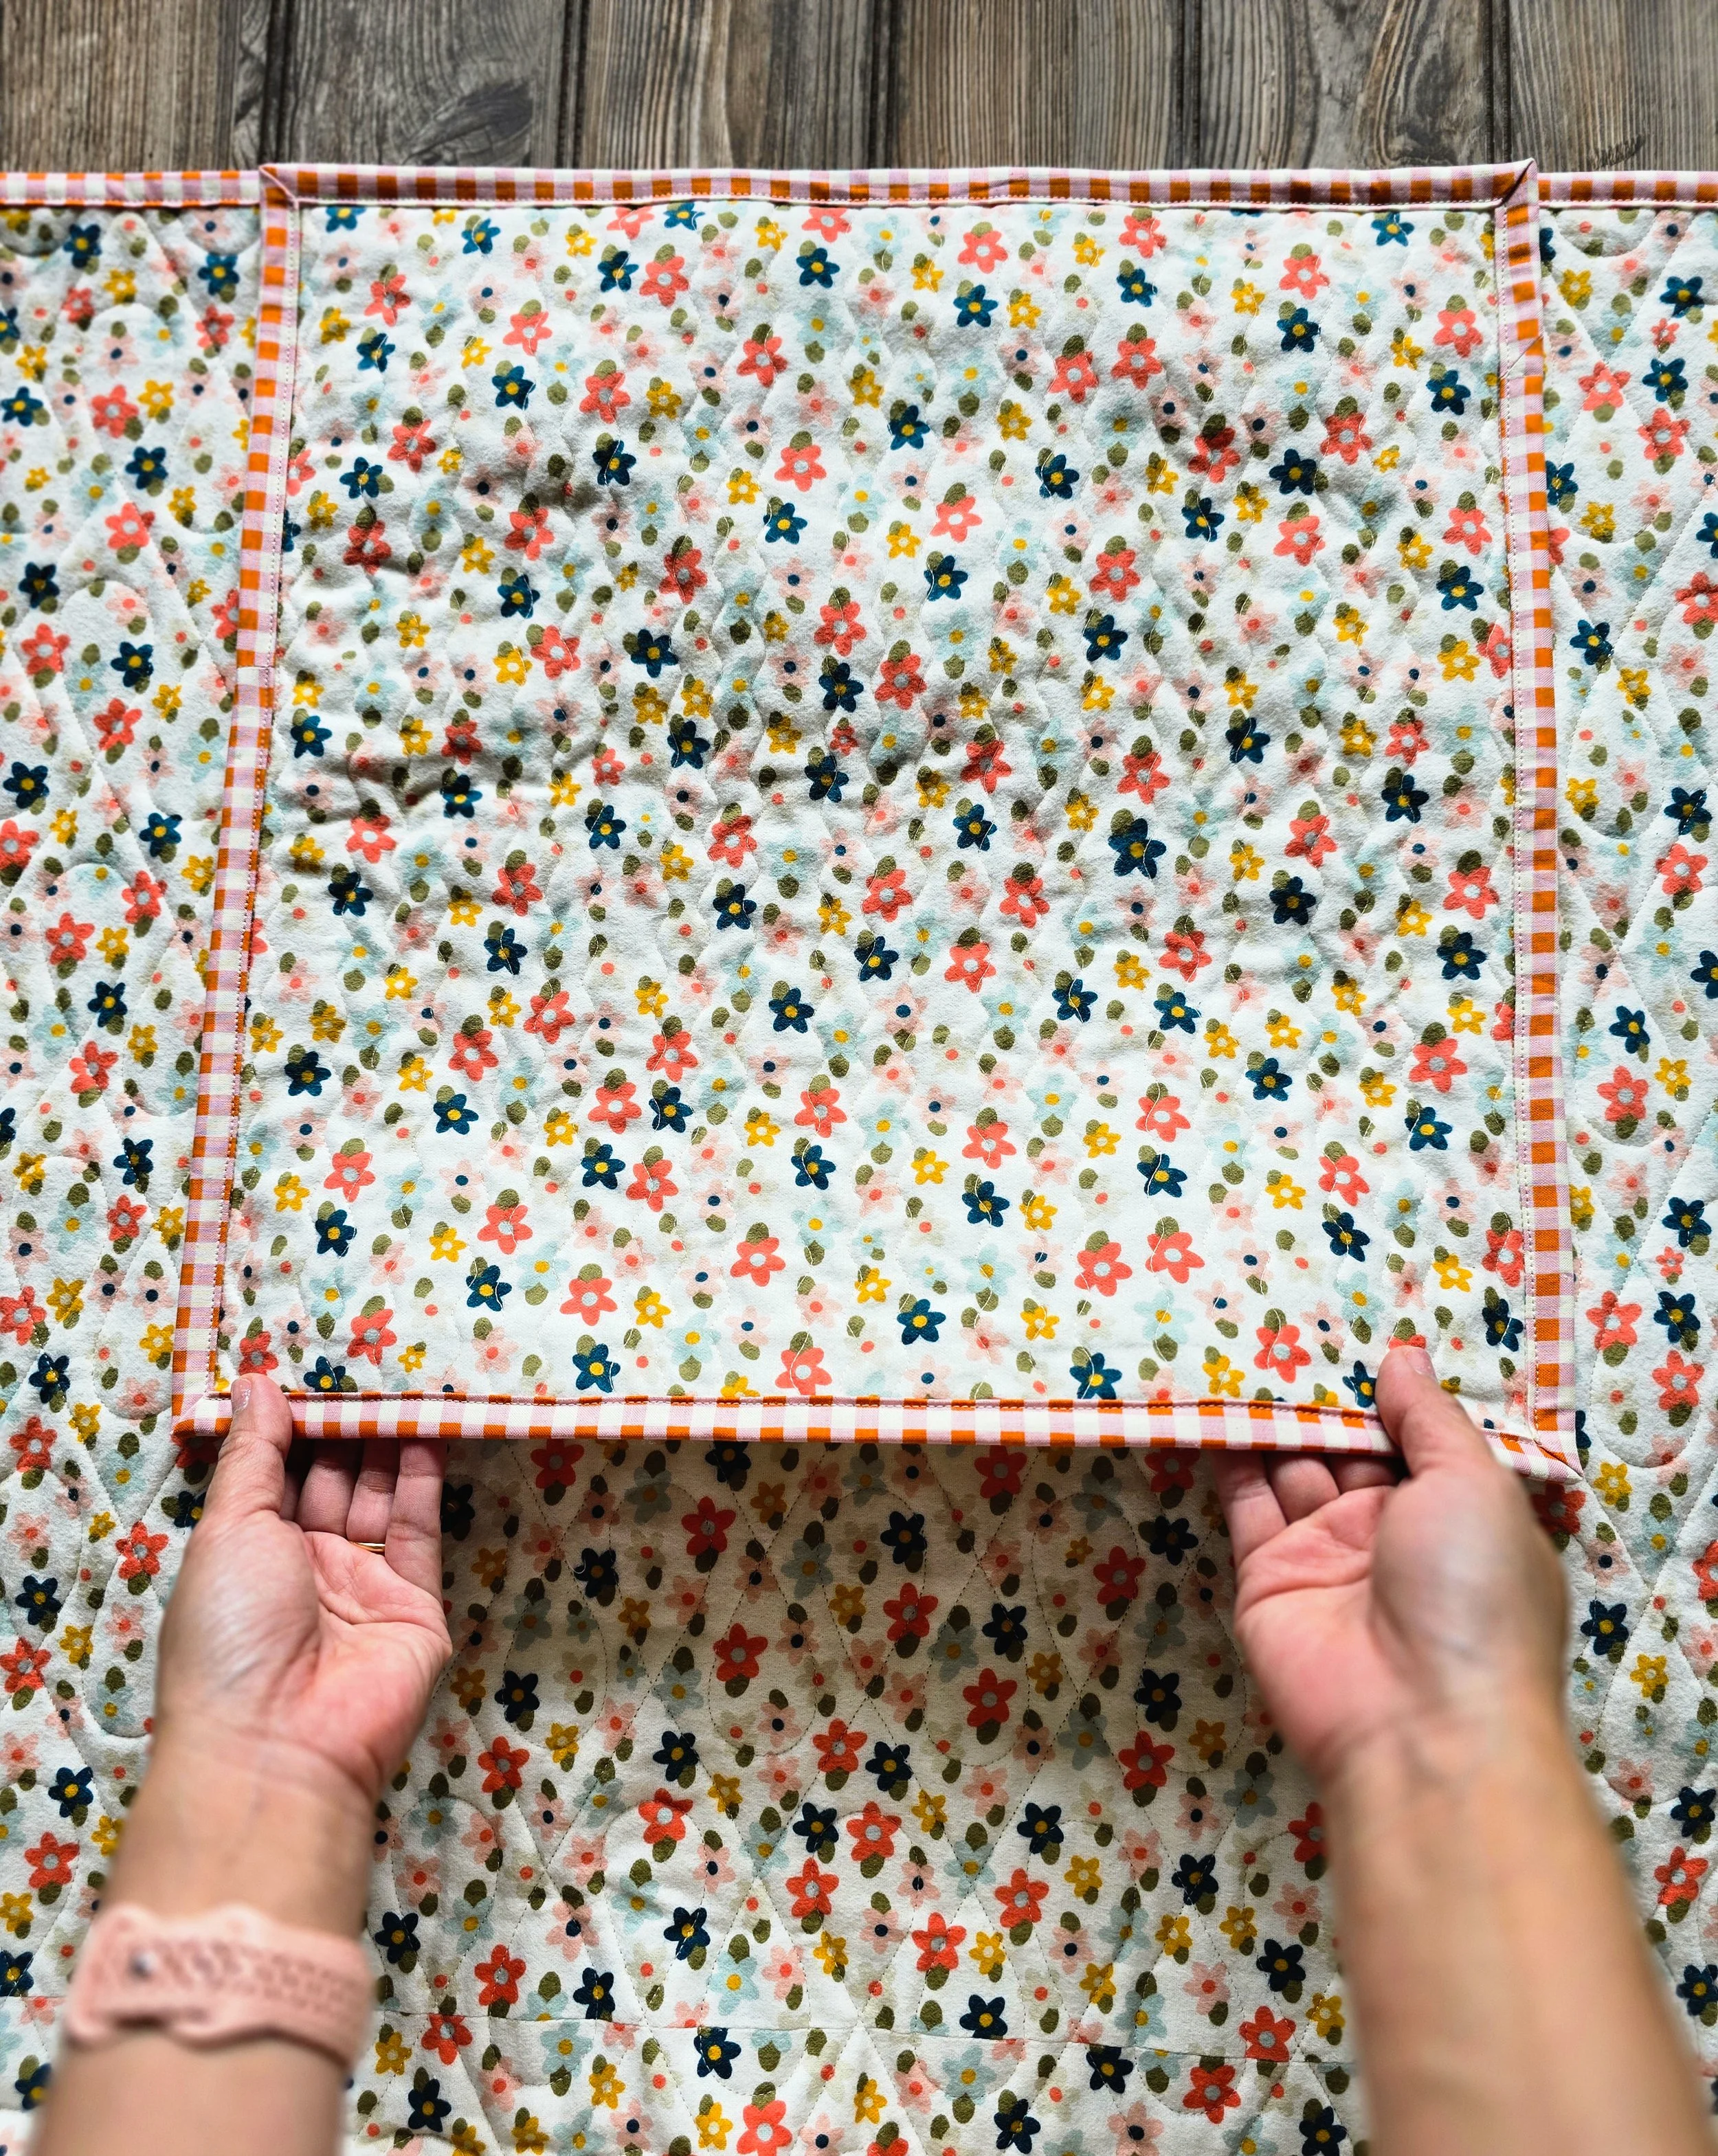
Once your pocket is attached, there's only one thing left to do... see if we can fit this whole quilt inside. :)
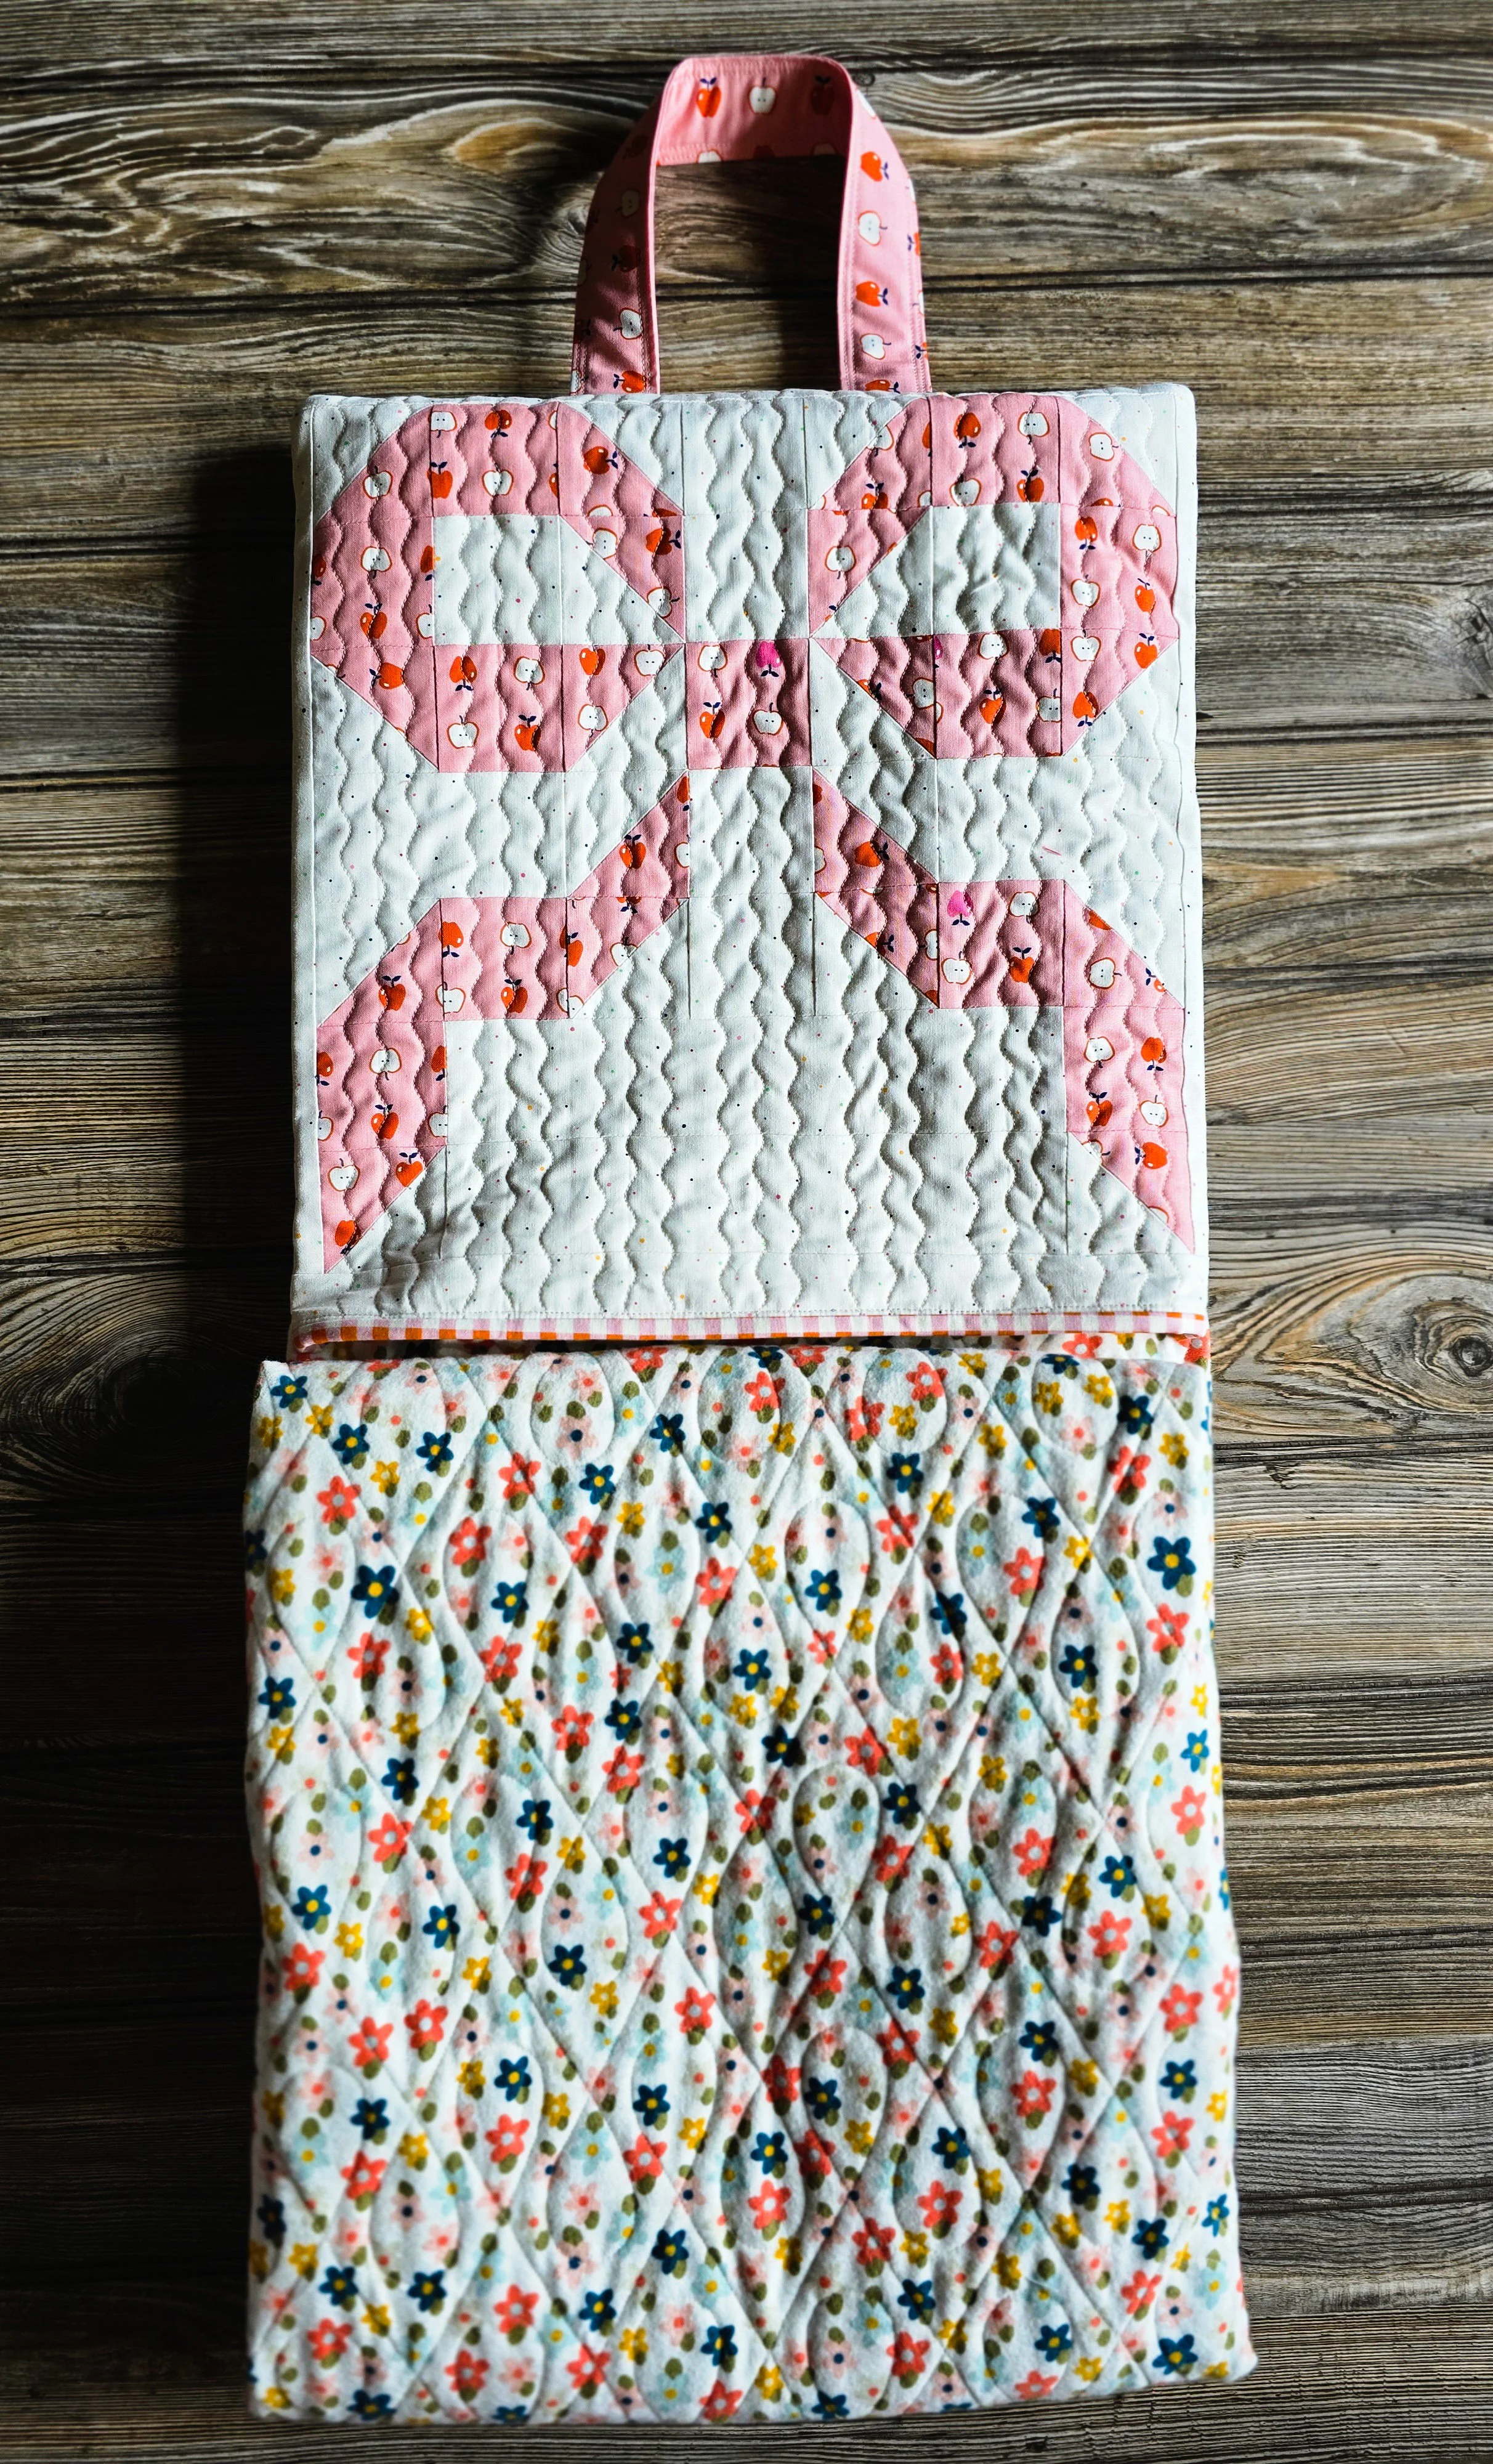
Fold Your Quilt Into a Quillow
The folding steps below are what worked for my 64" x 64" small throw. If you're making another size, you may need to adjust the number of folds a little. The goal is simply to end up with a folded quilt that's slightly smaller than your pocket.
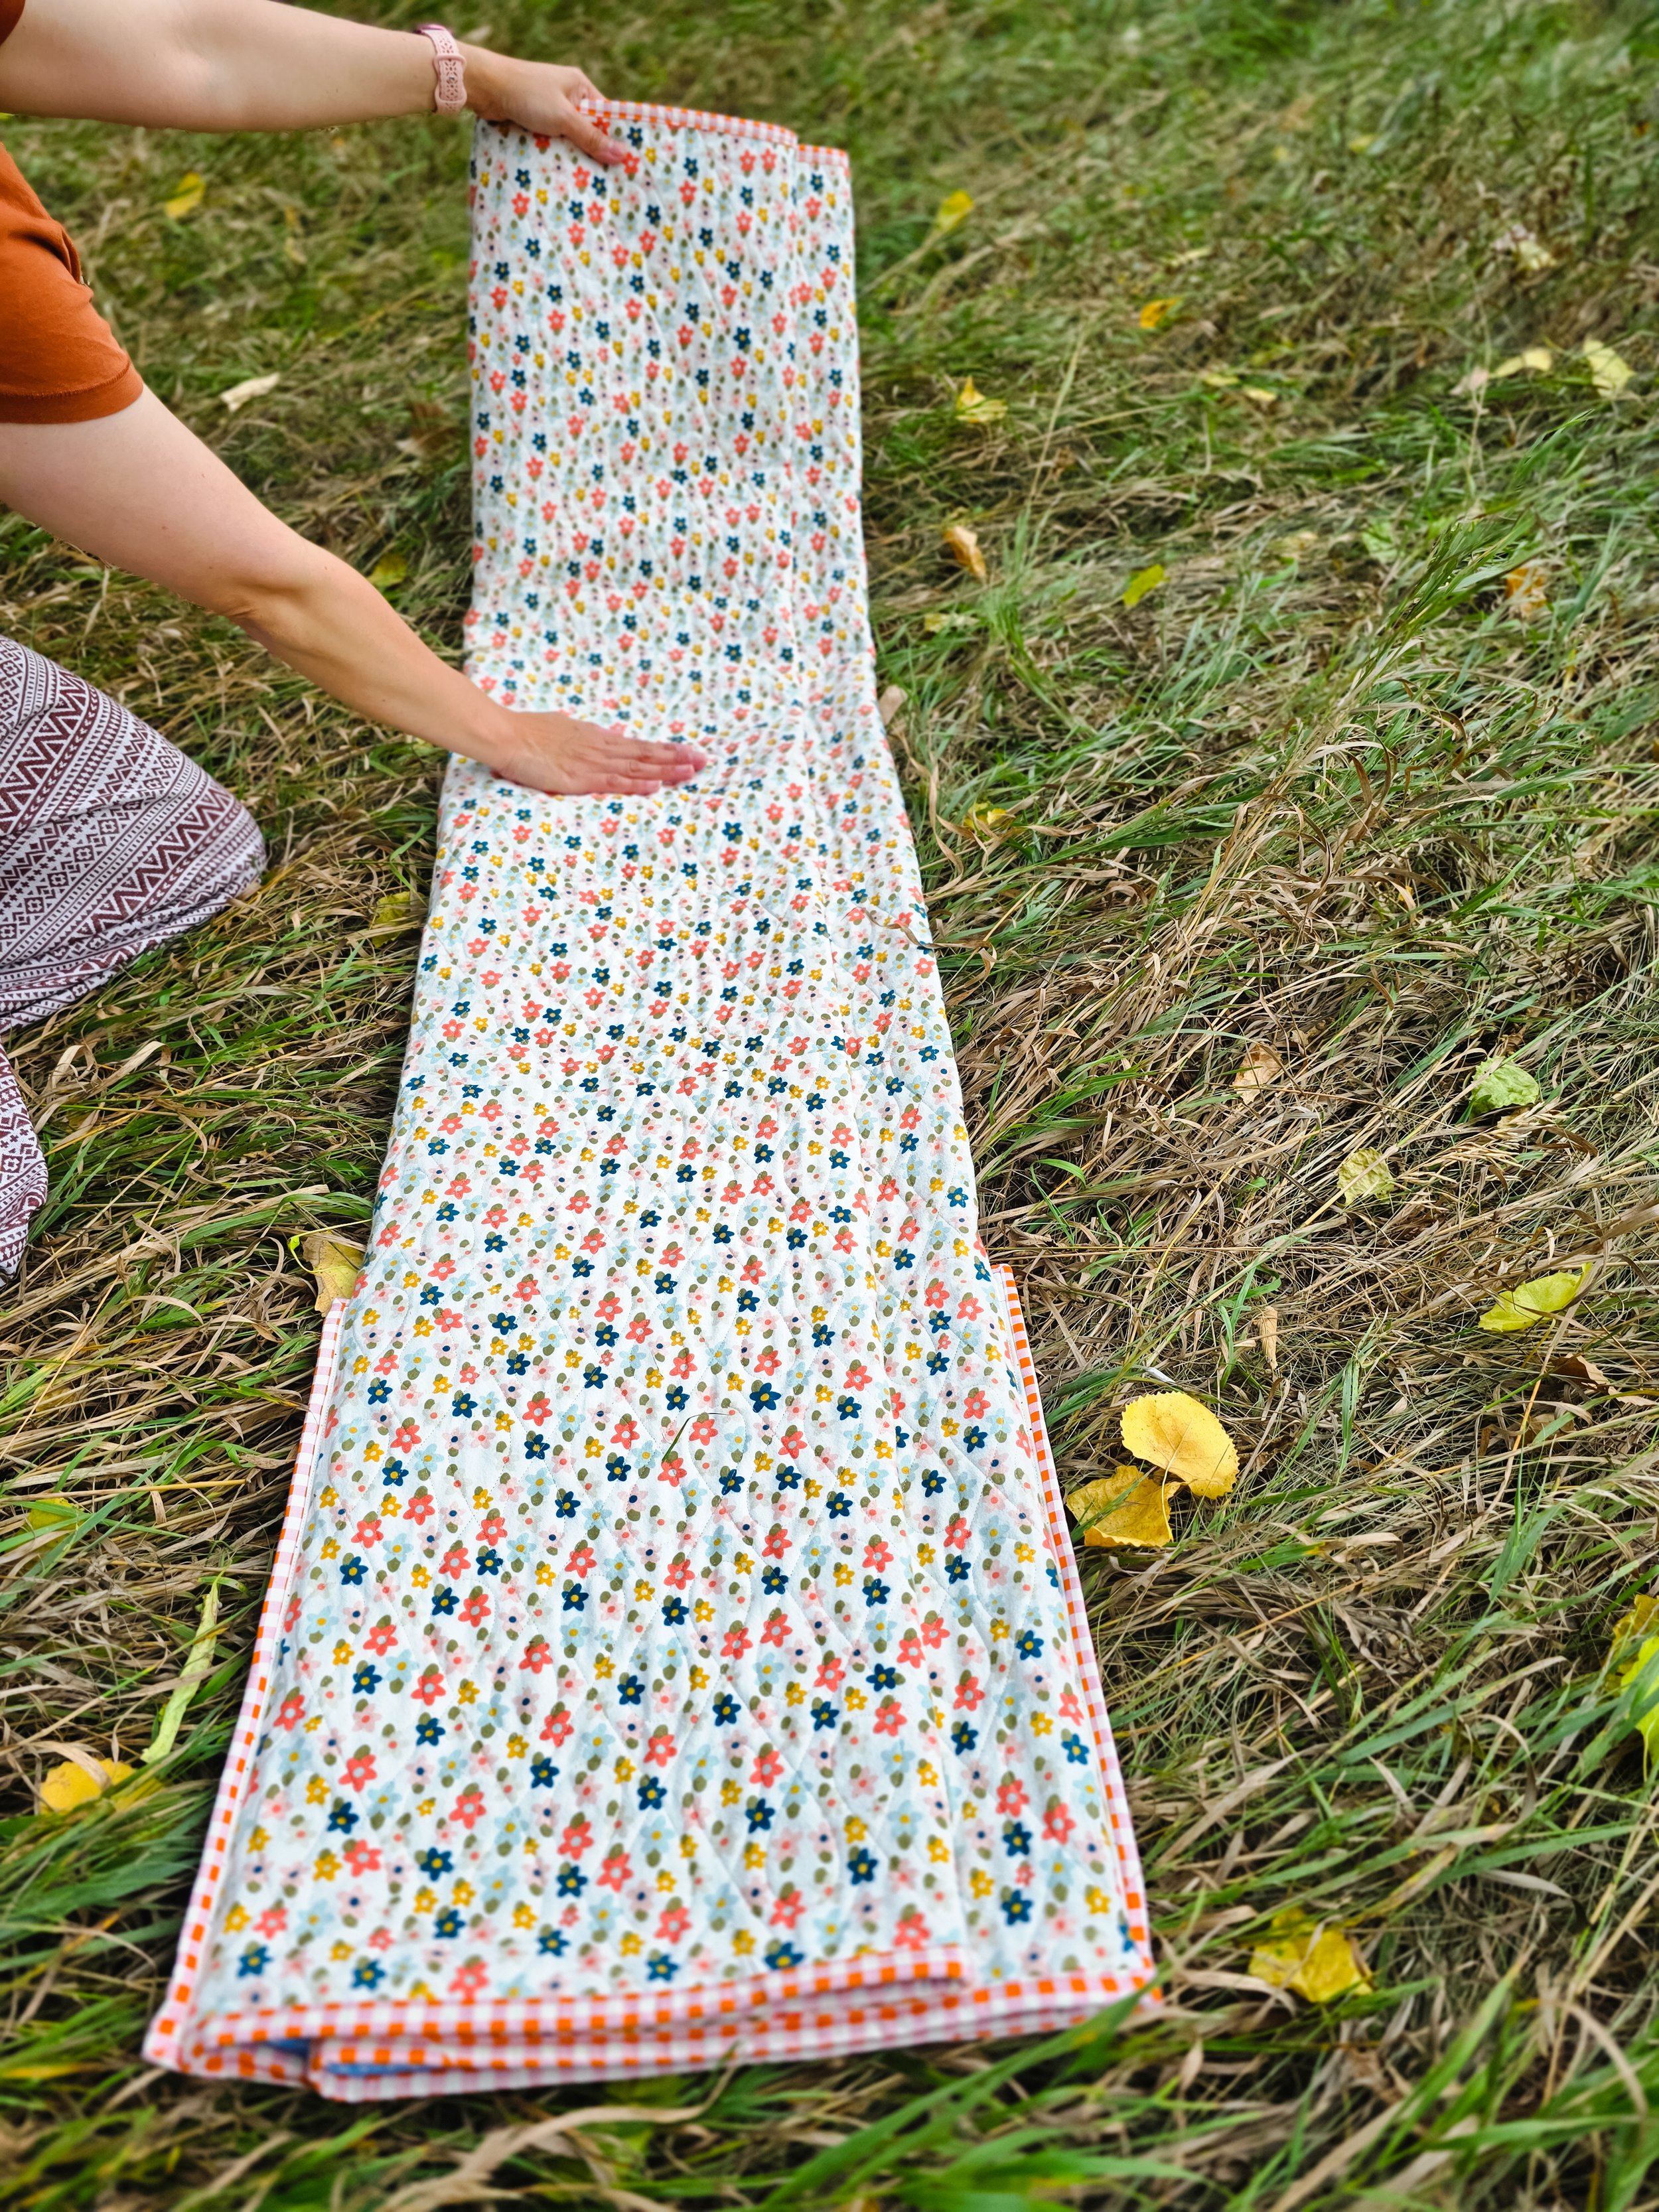
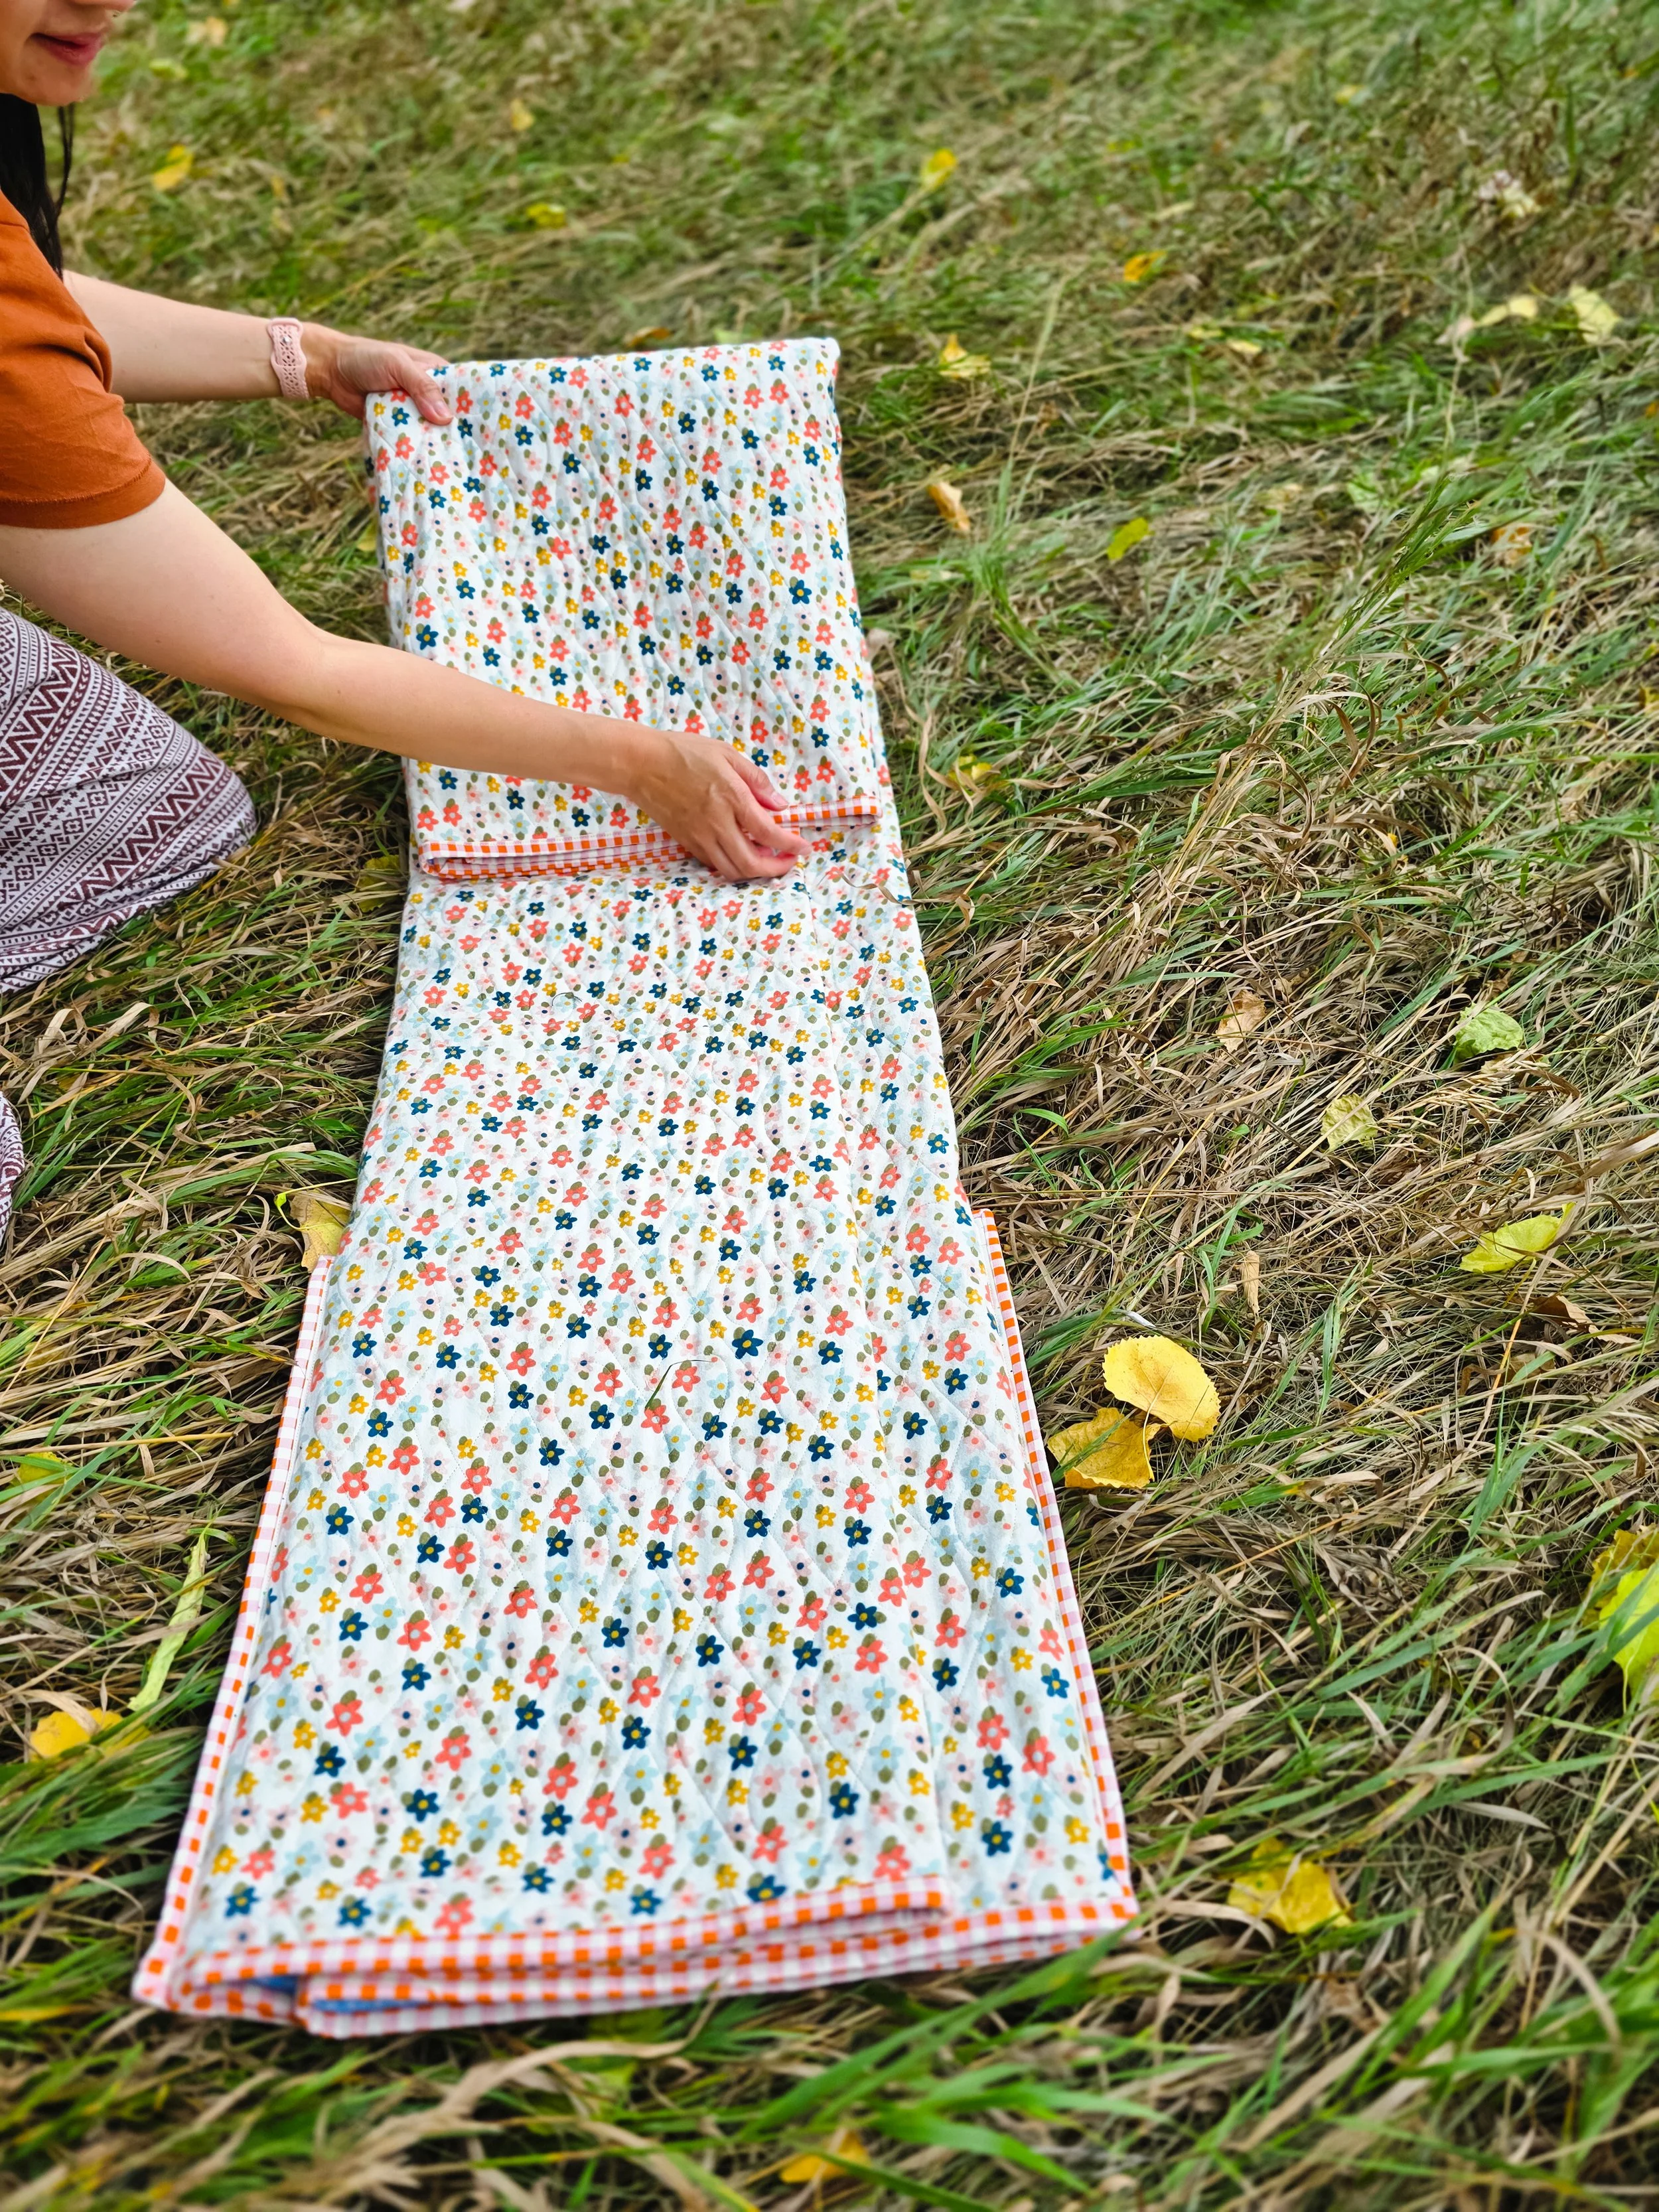
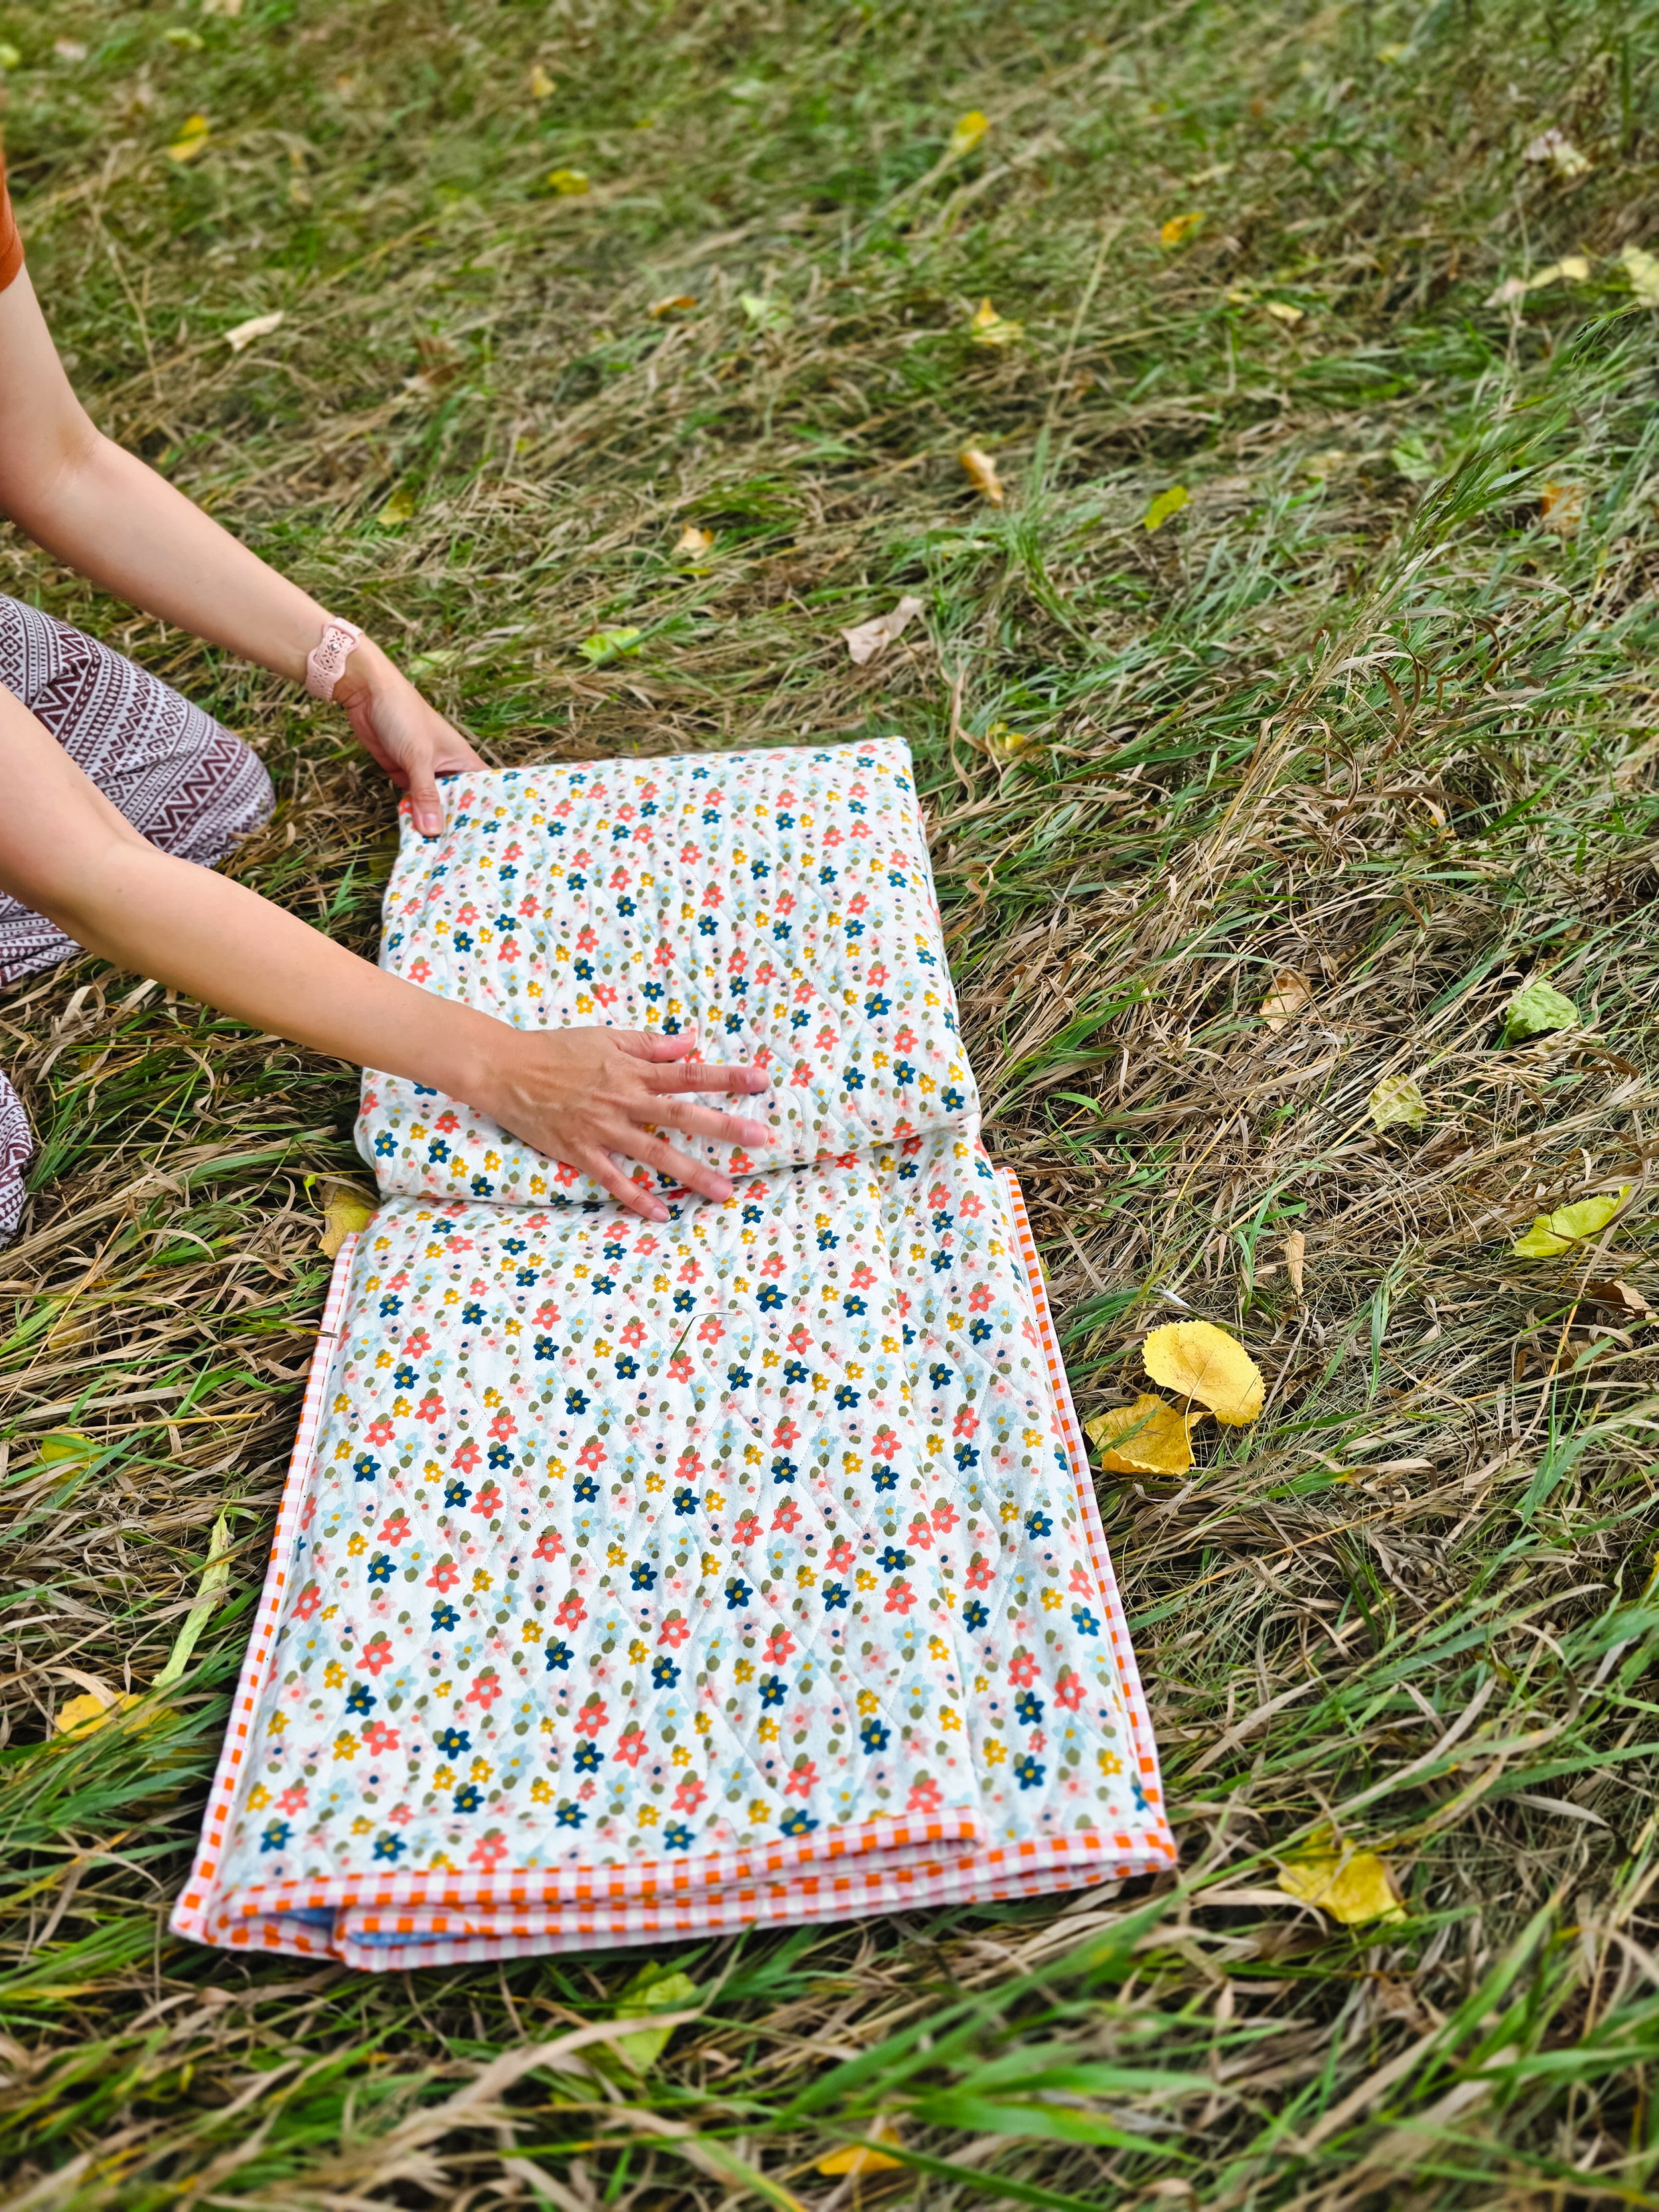
Lay the quilt flat with the right side facing up. Starting with one side, fold the quilt toward the center twice. Repeat with the other side, folding it toward the center twice as well.
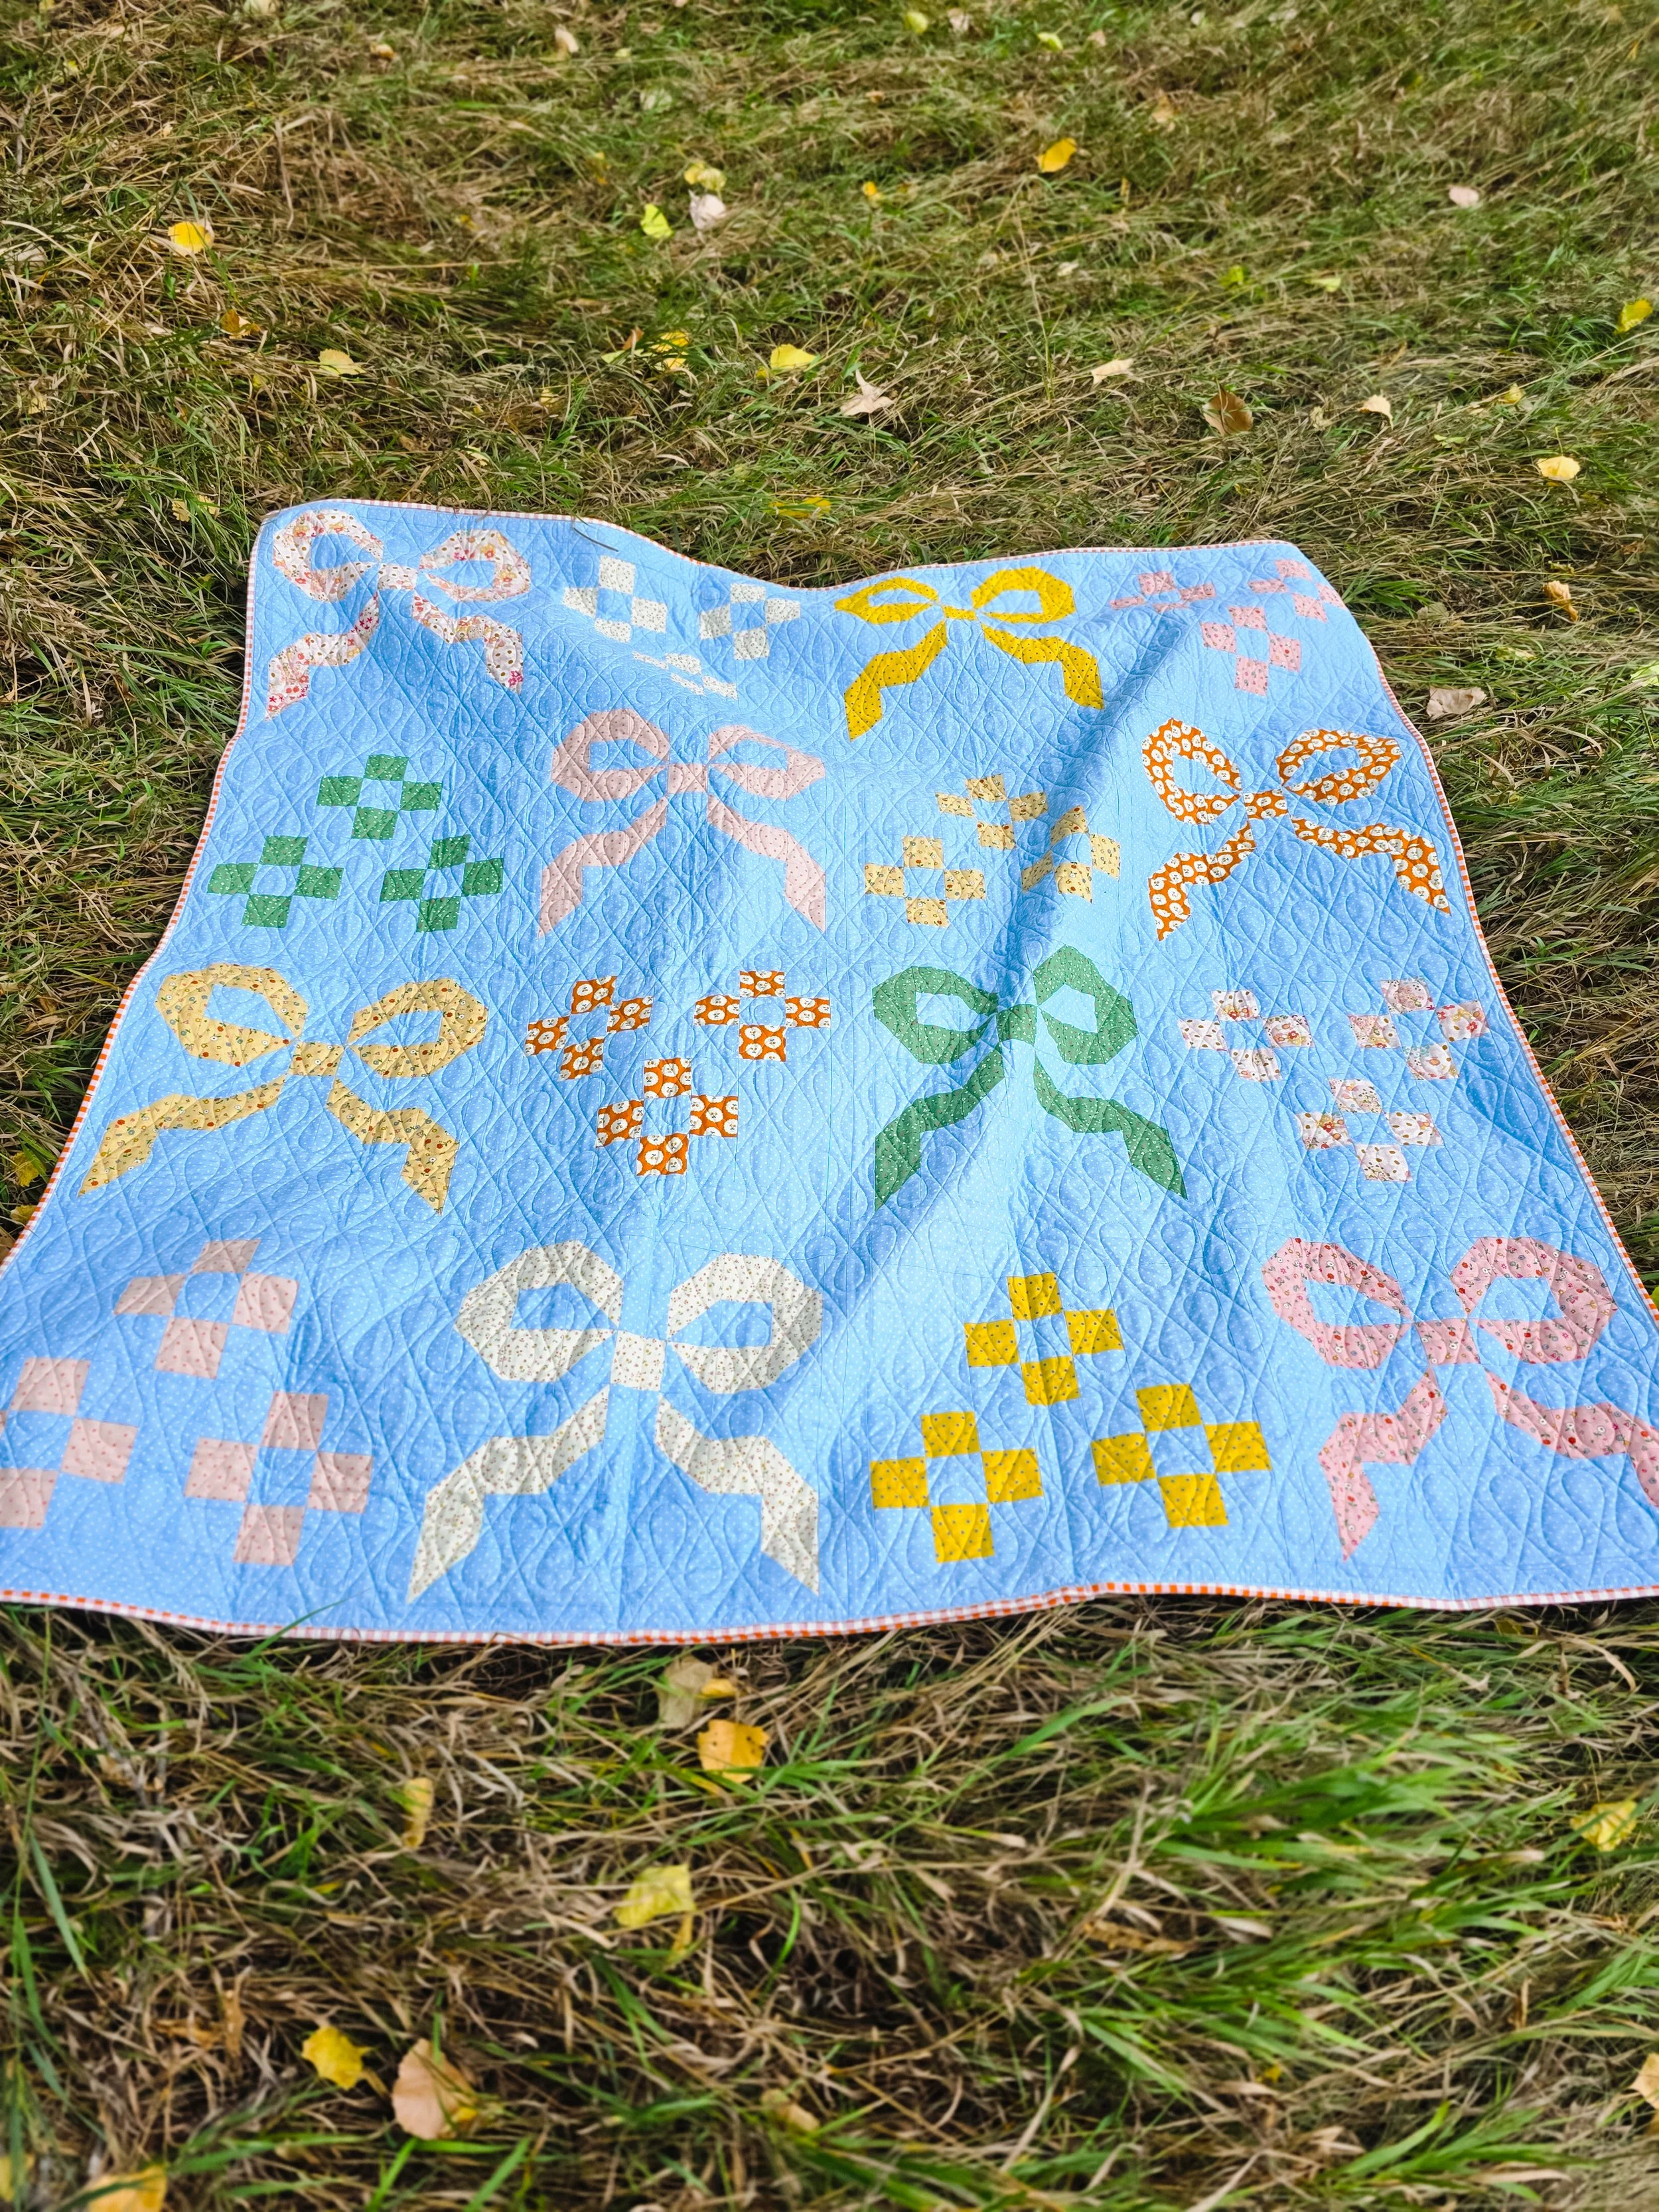
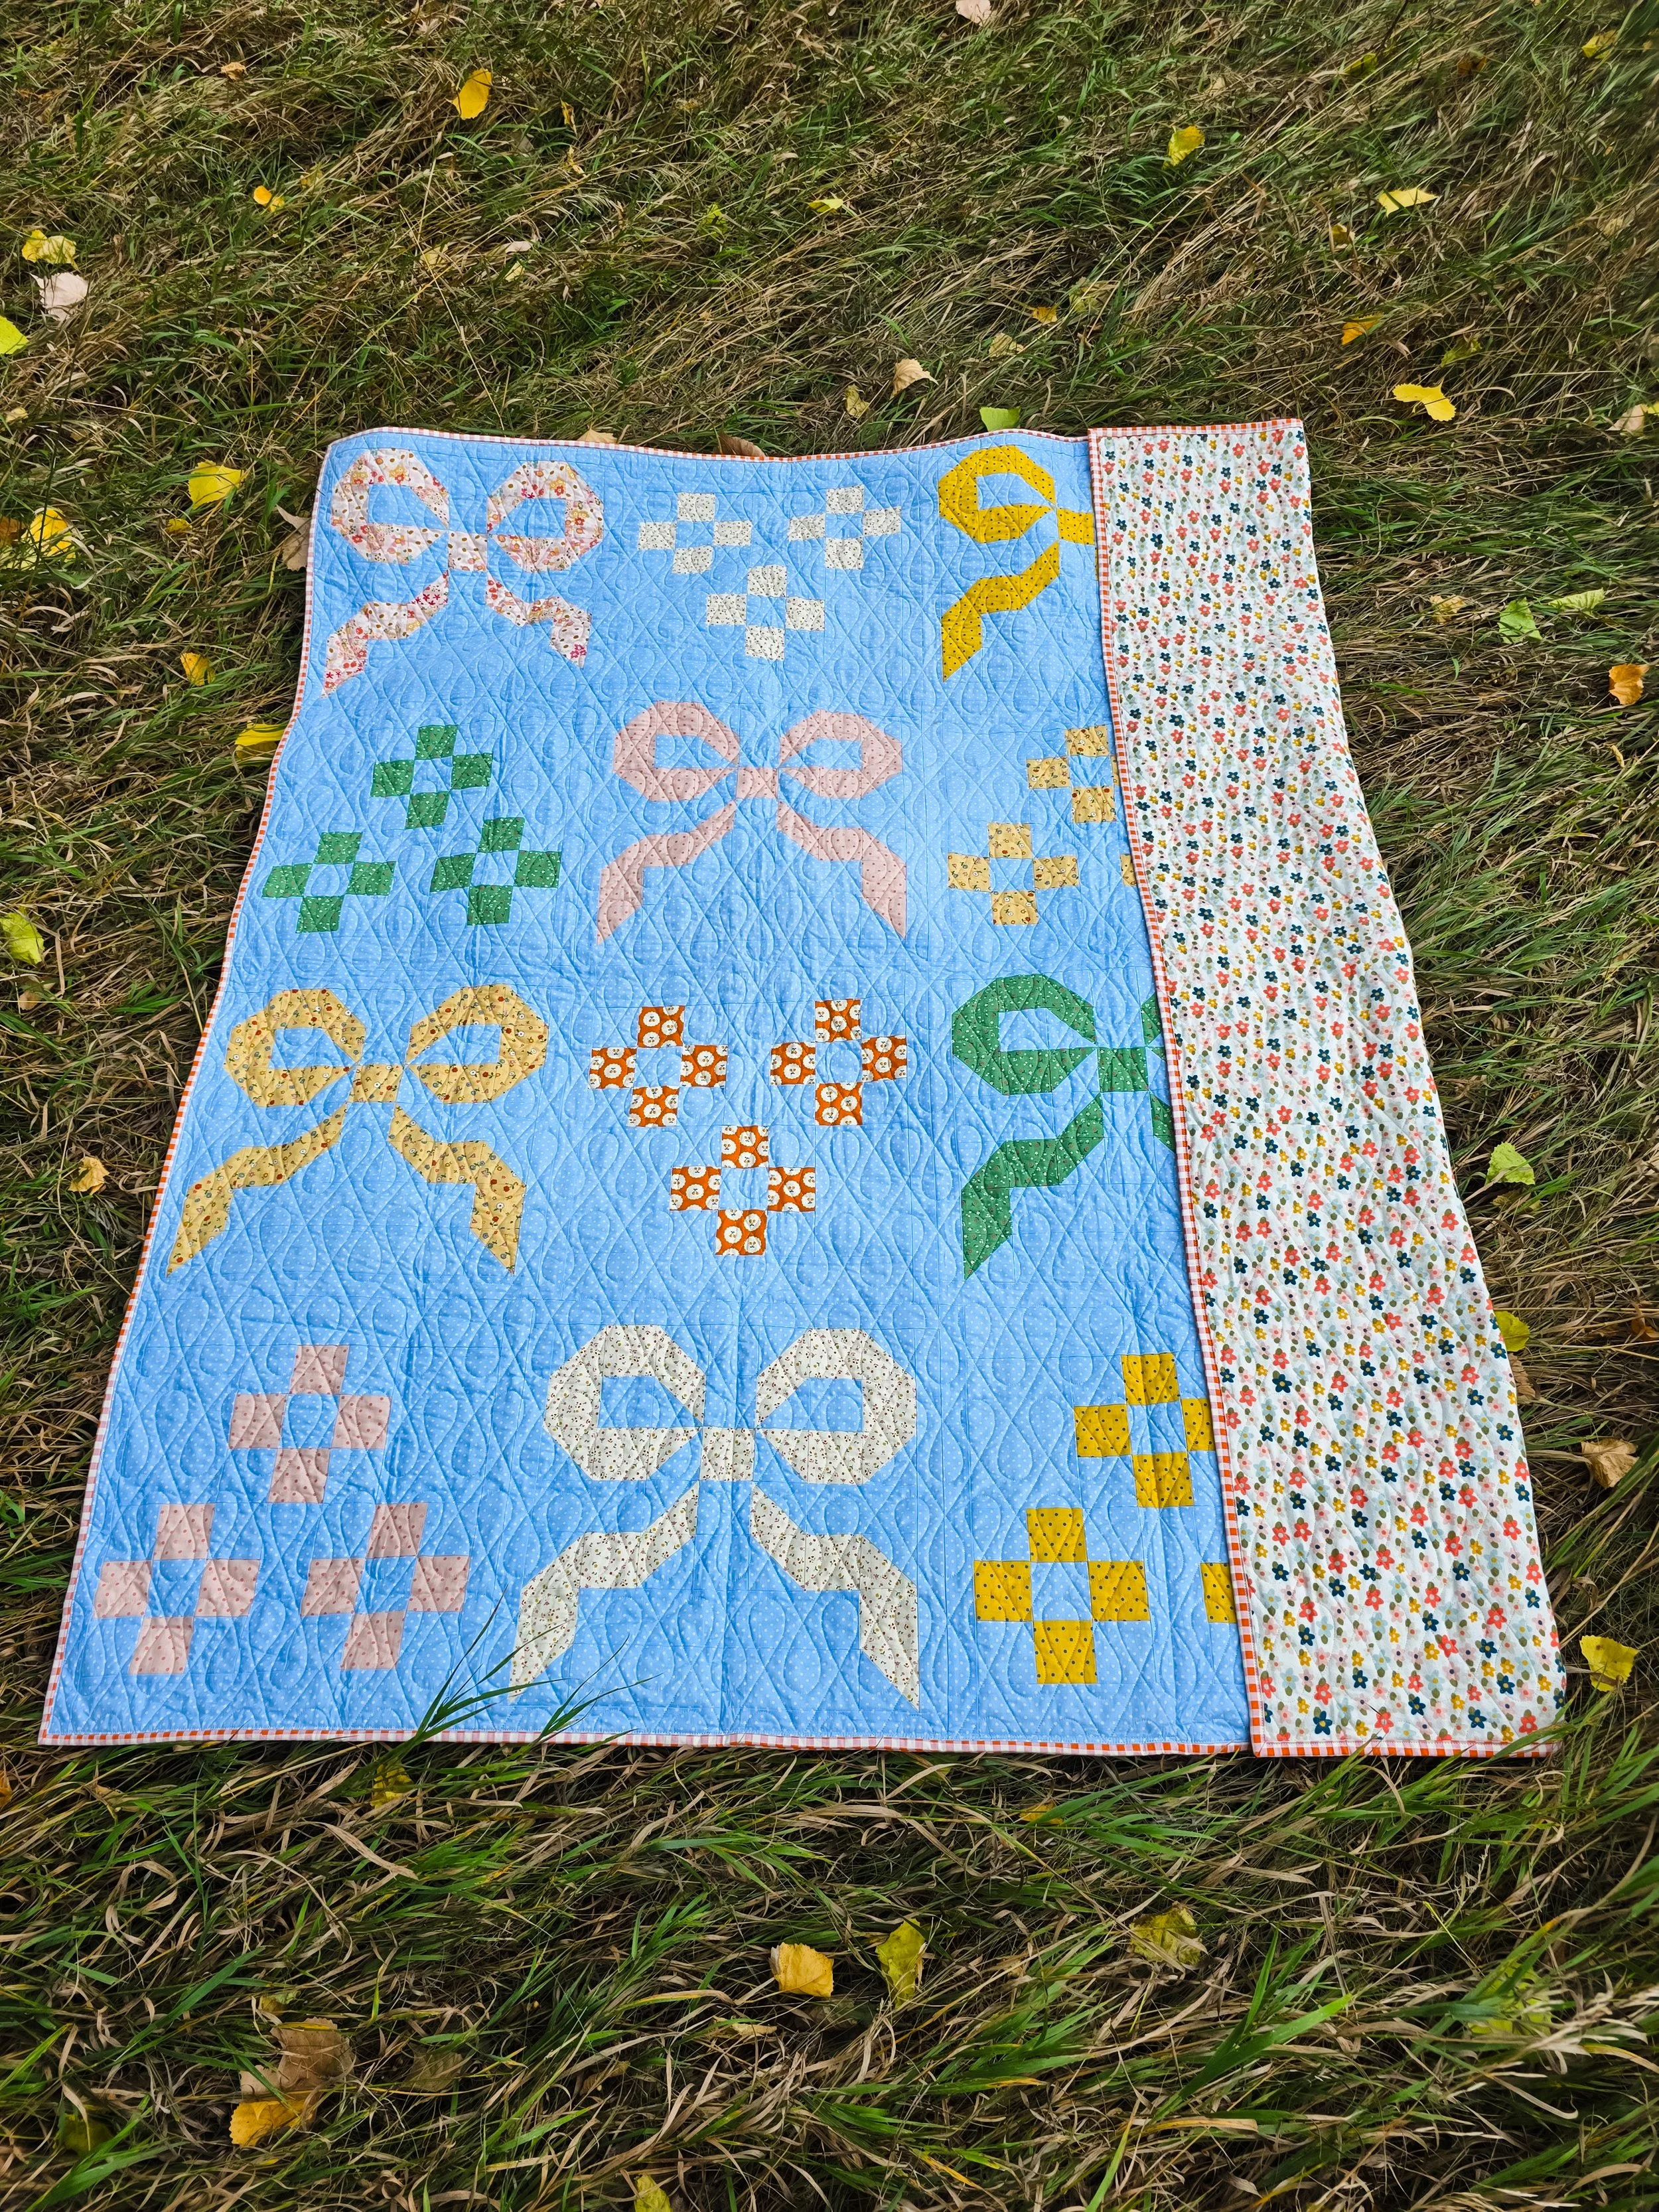
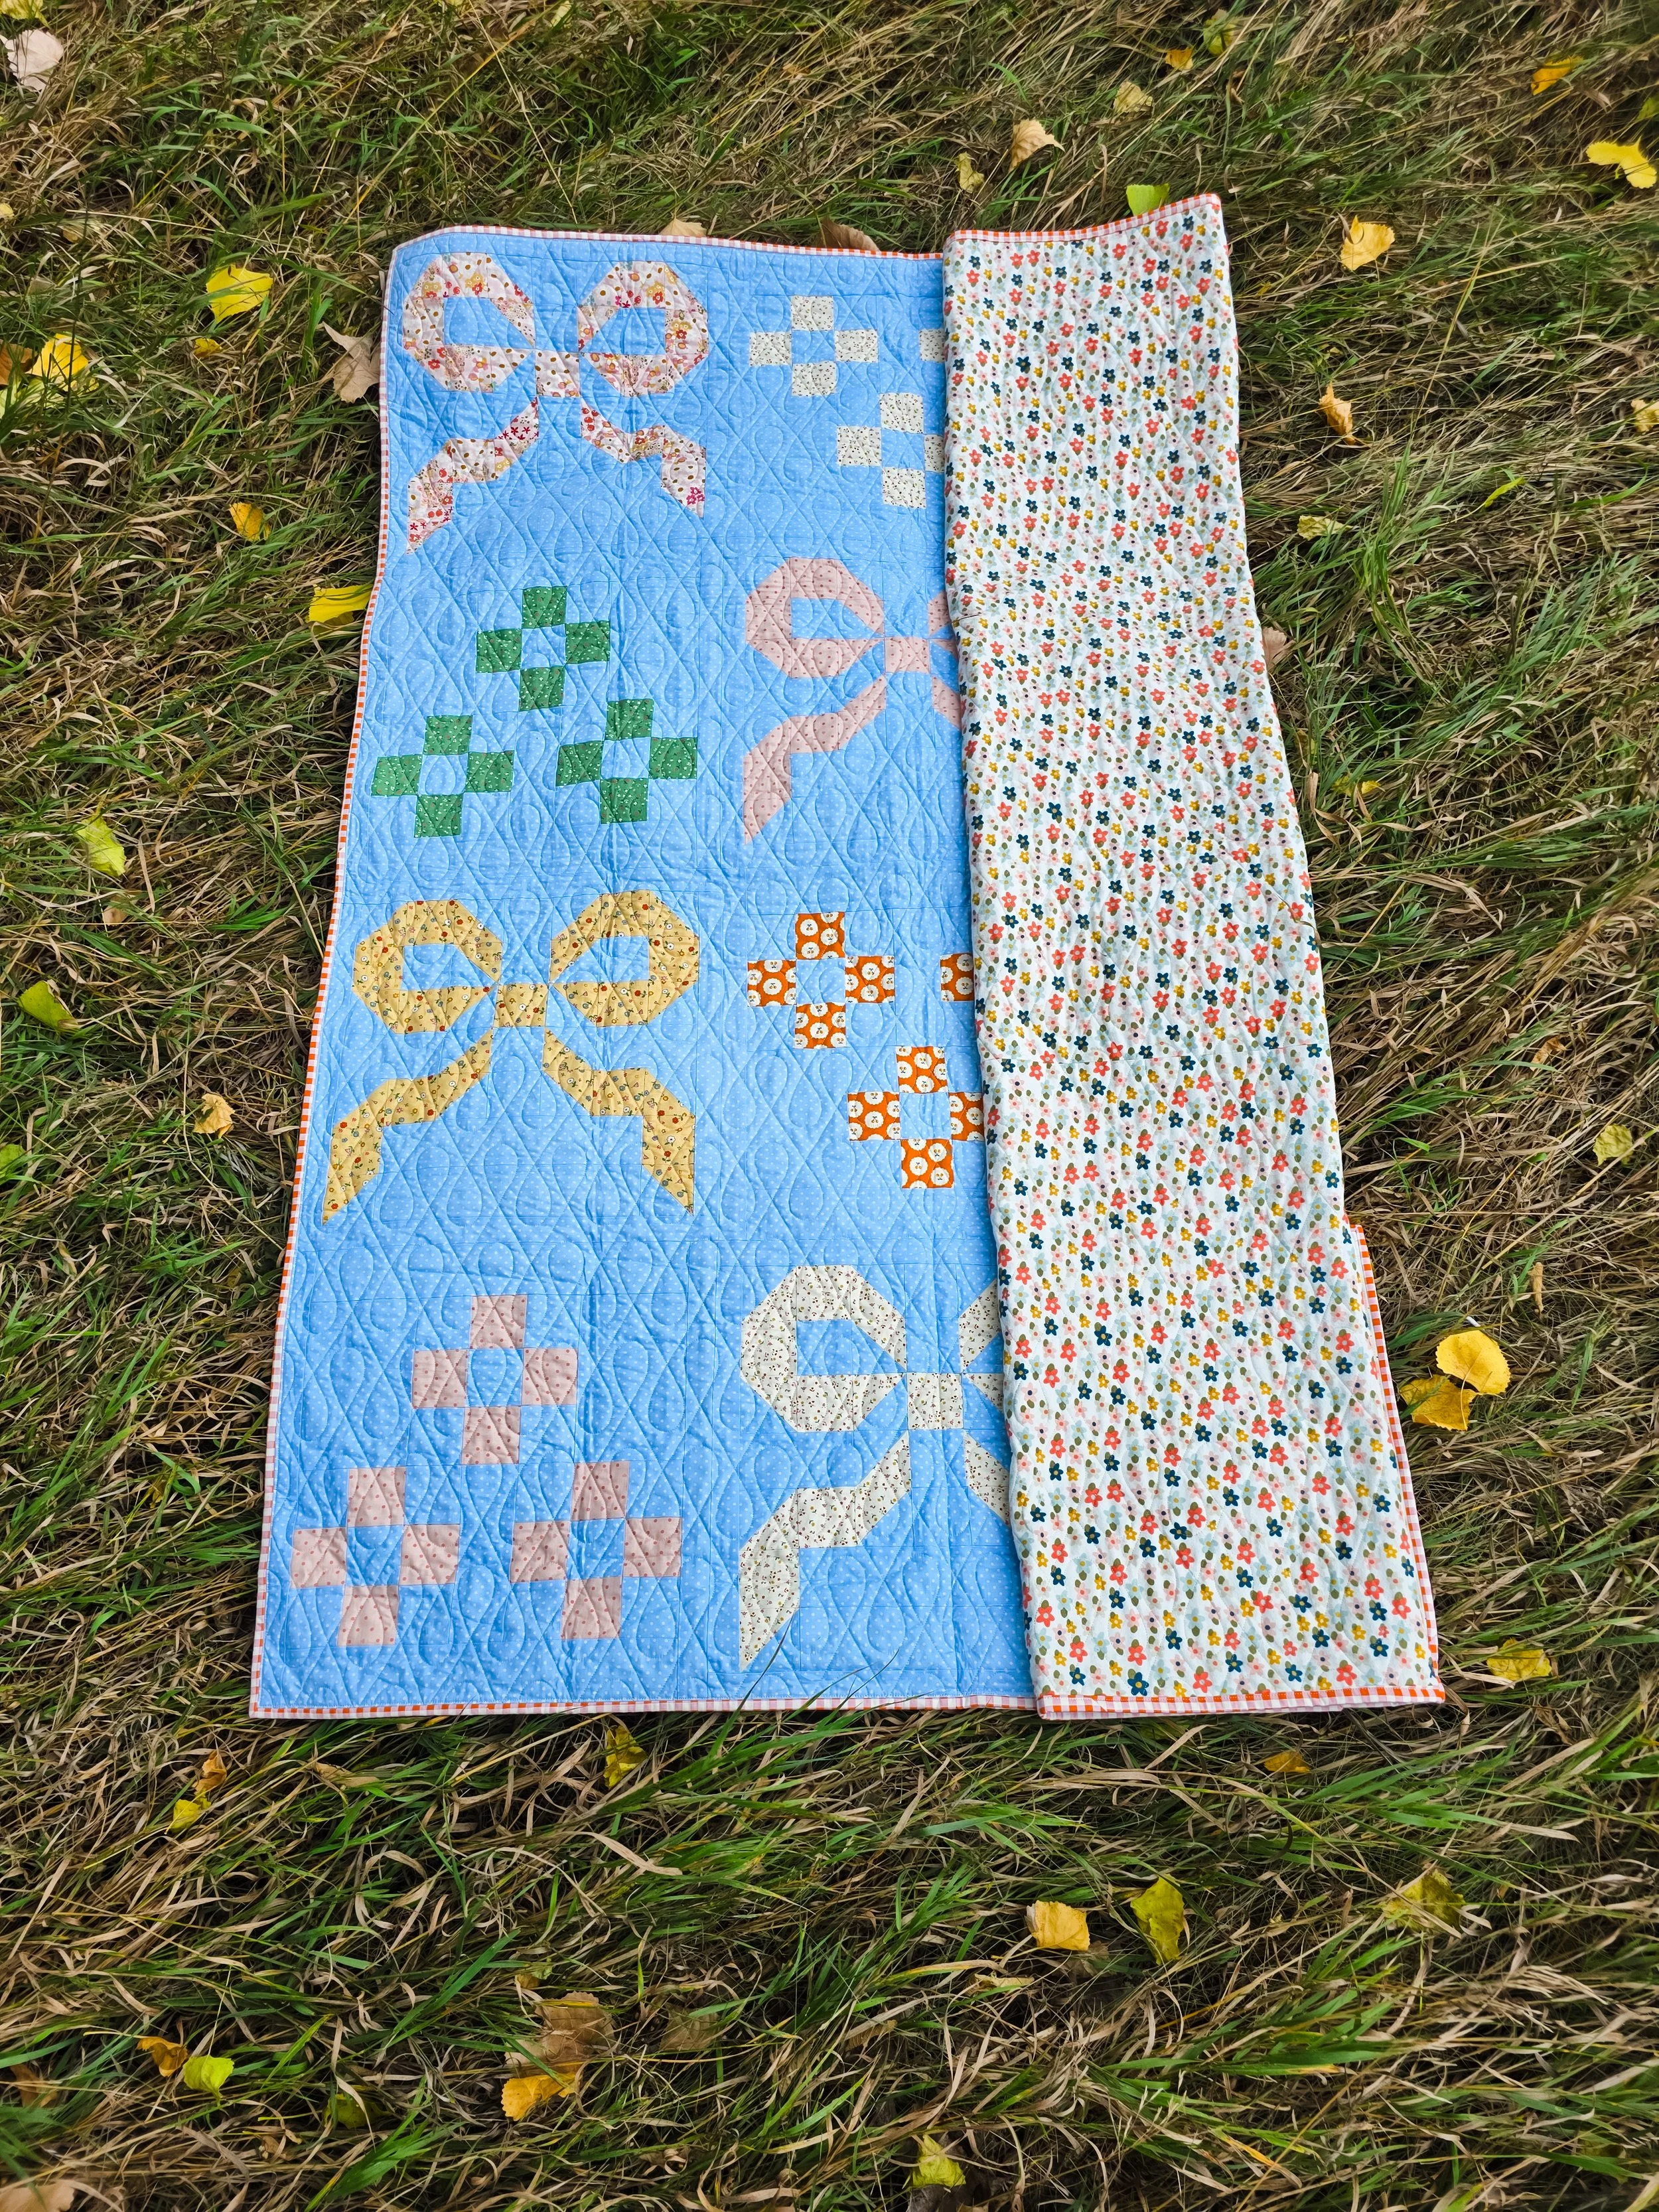
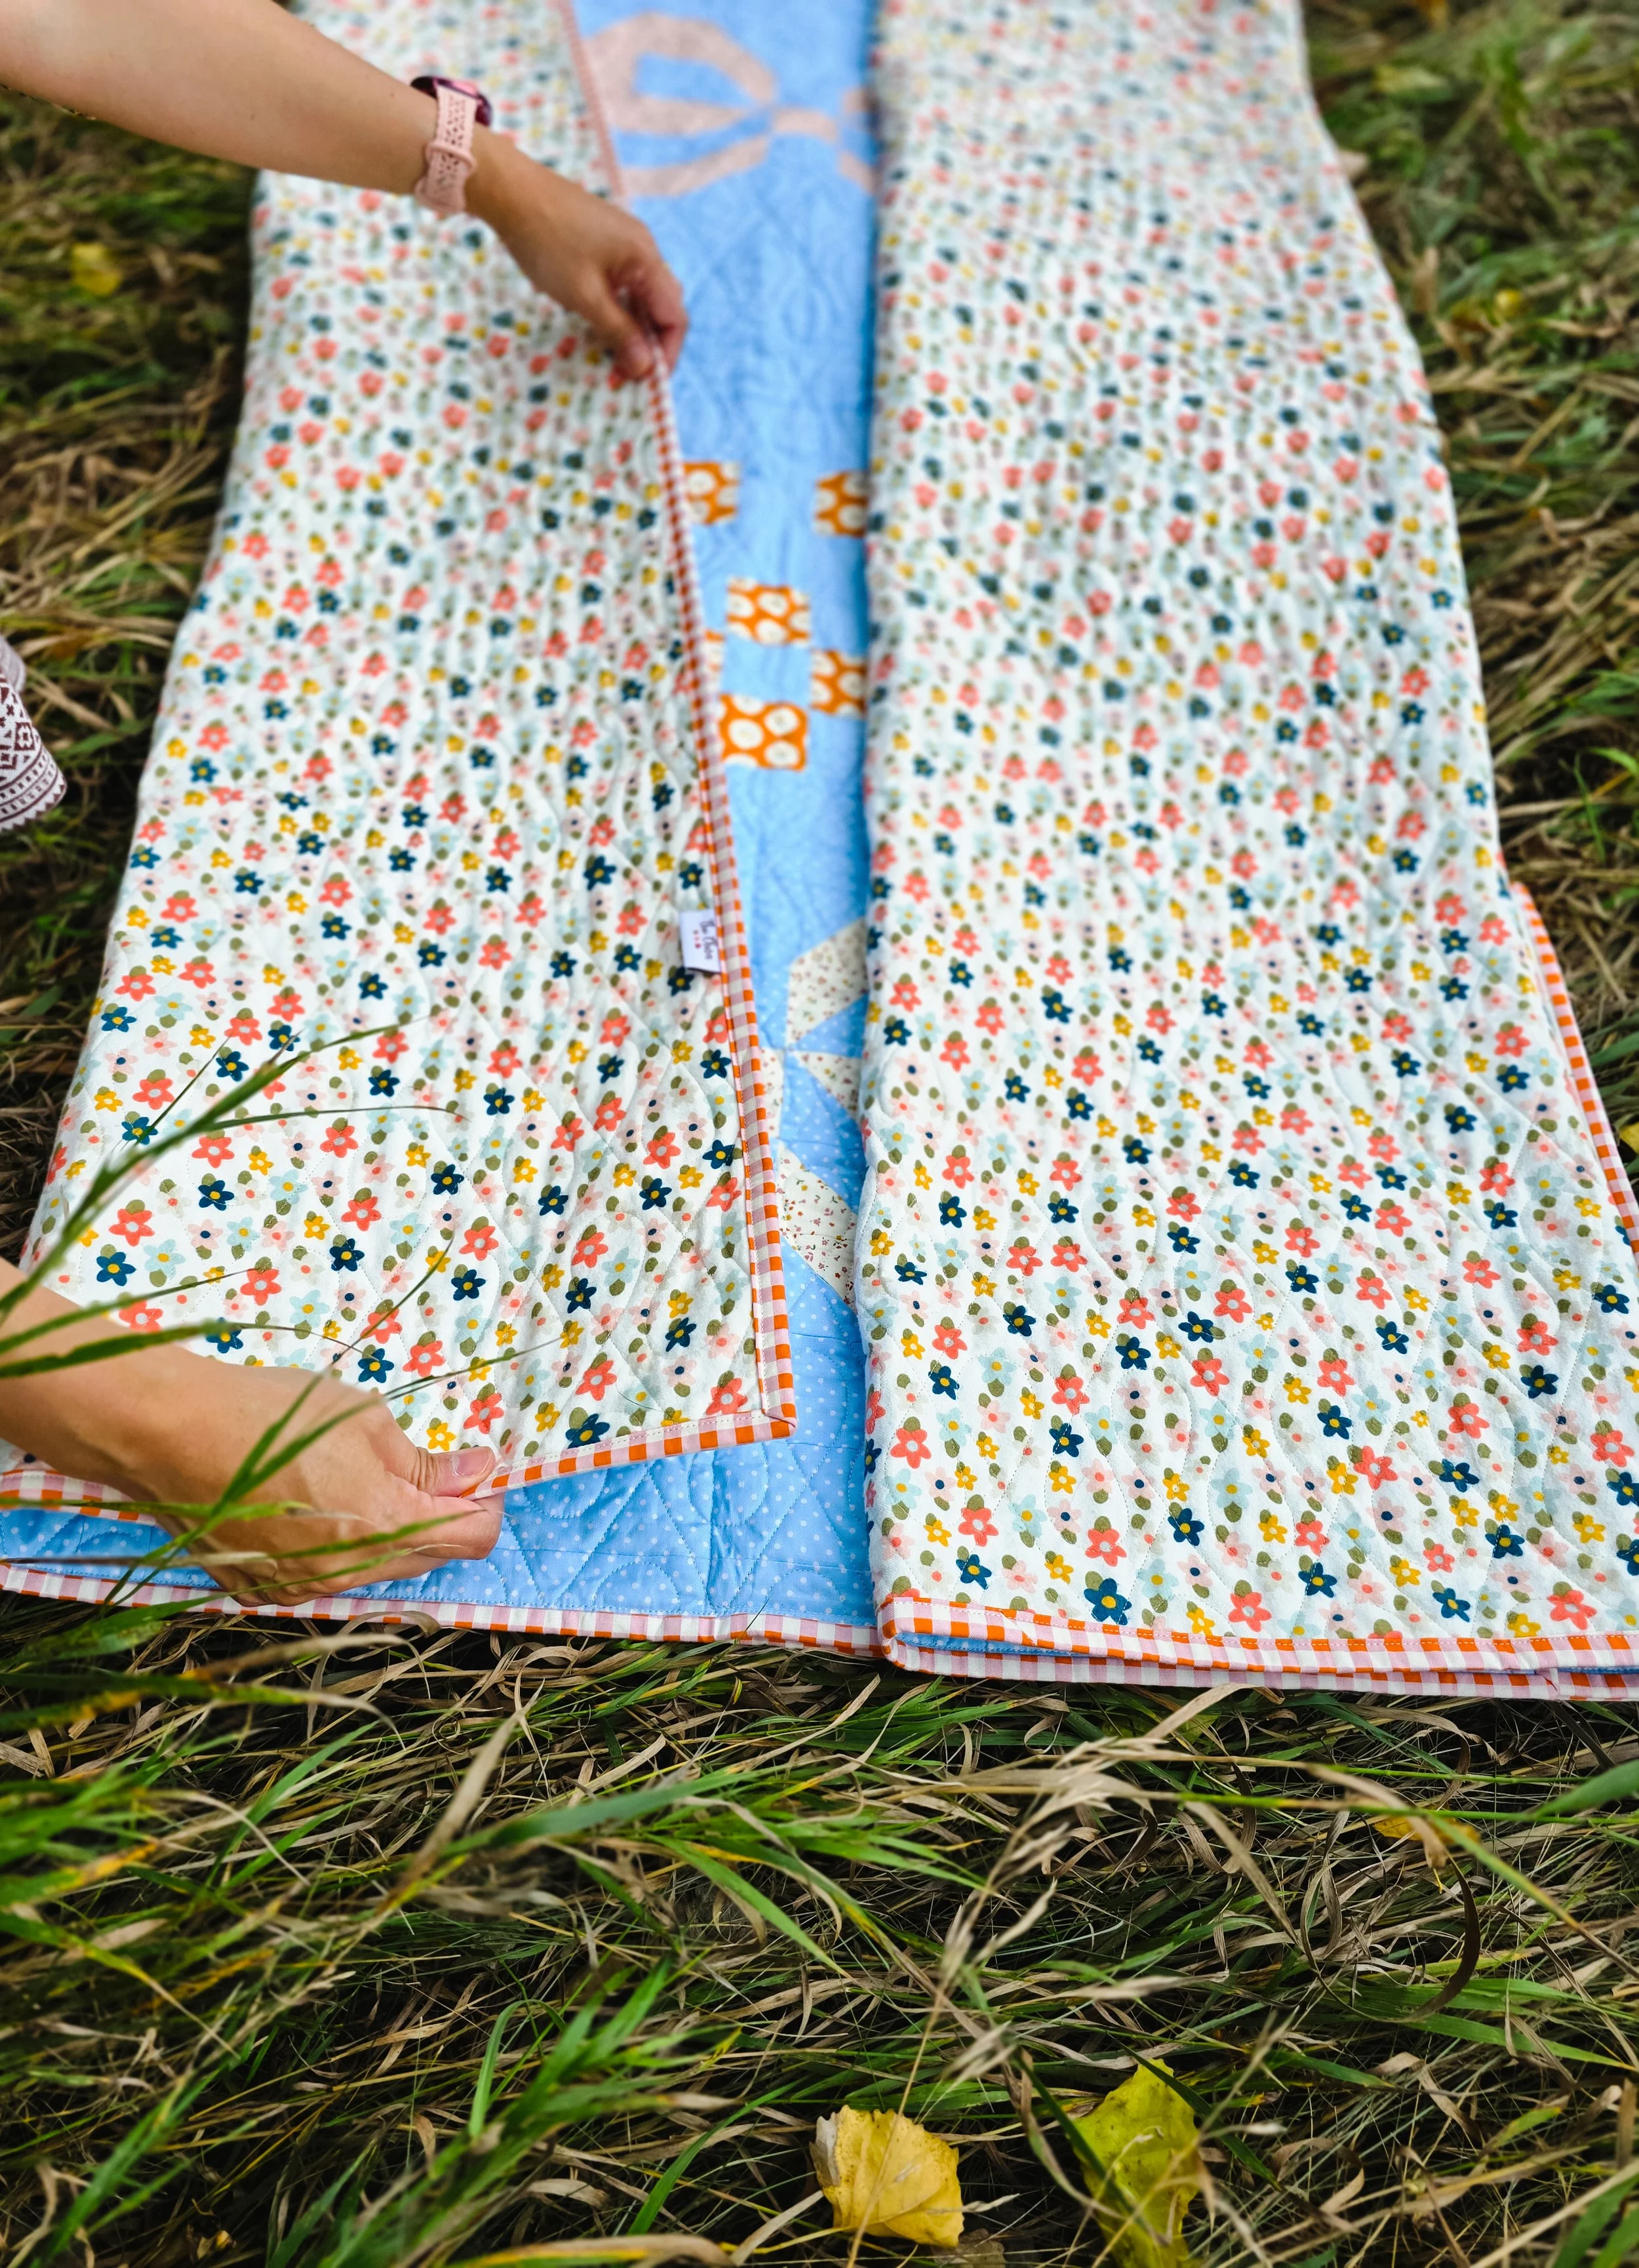
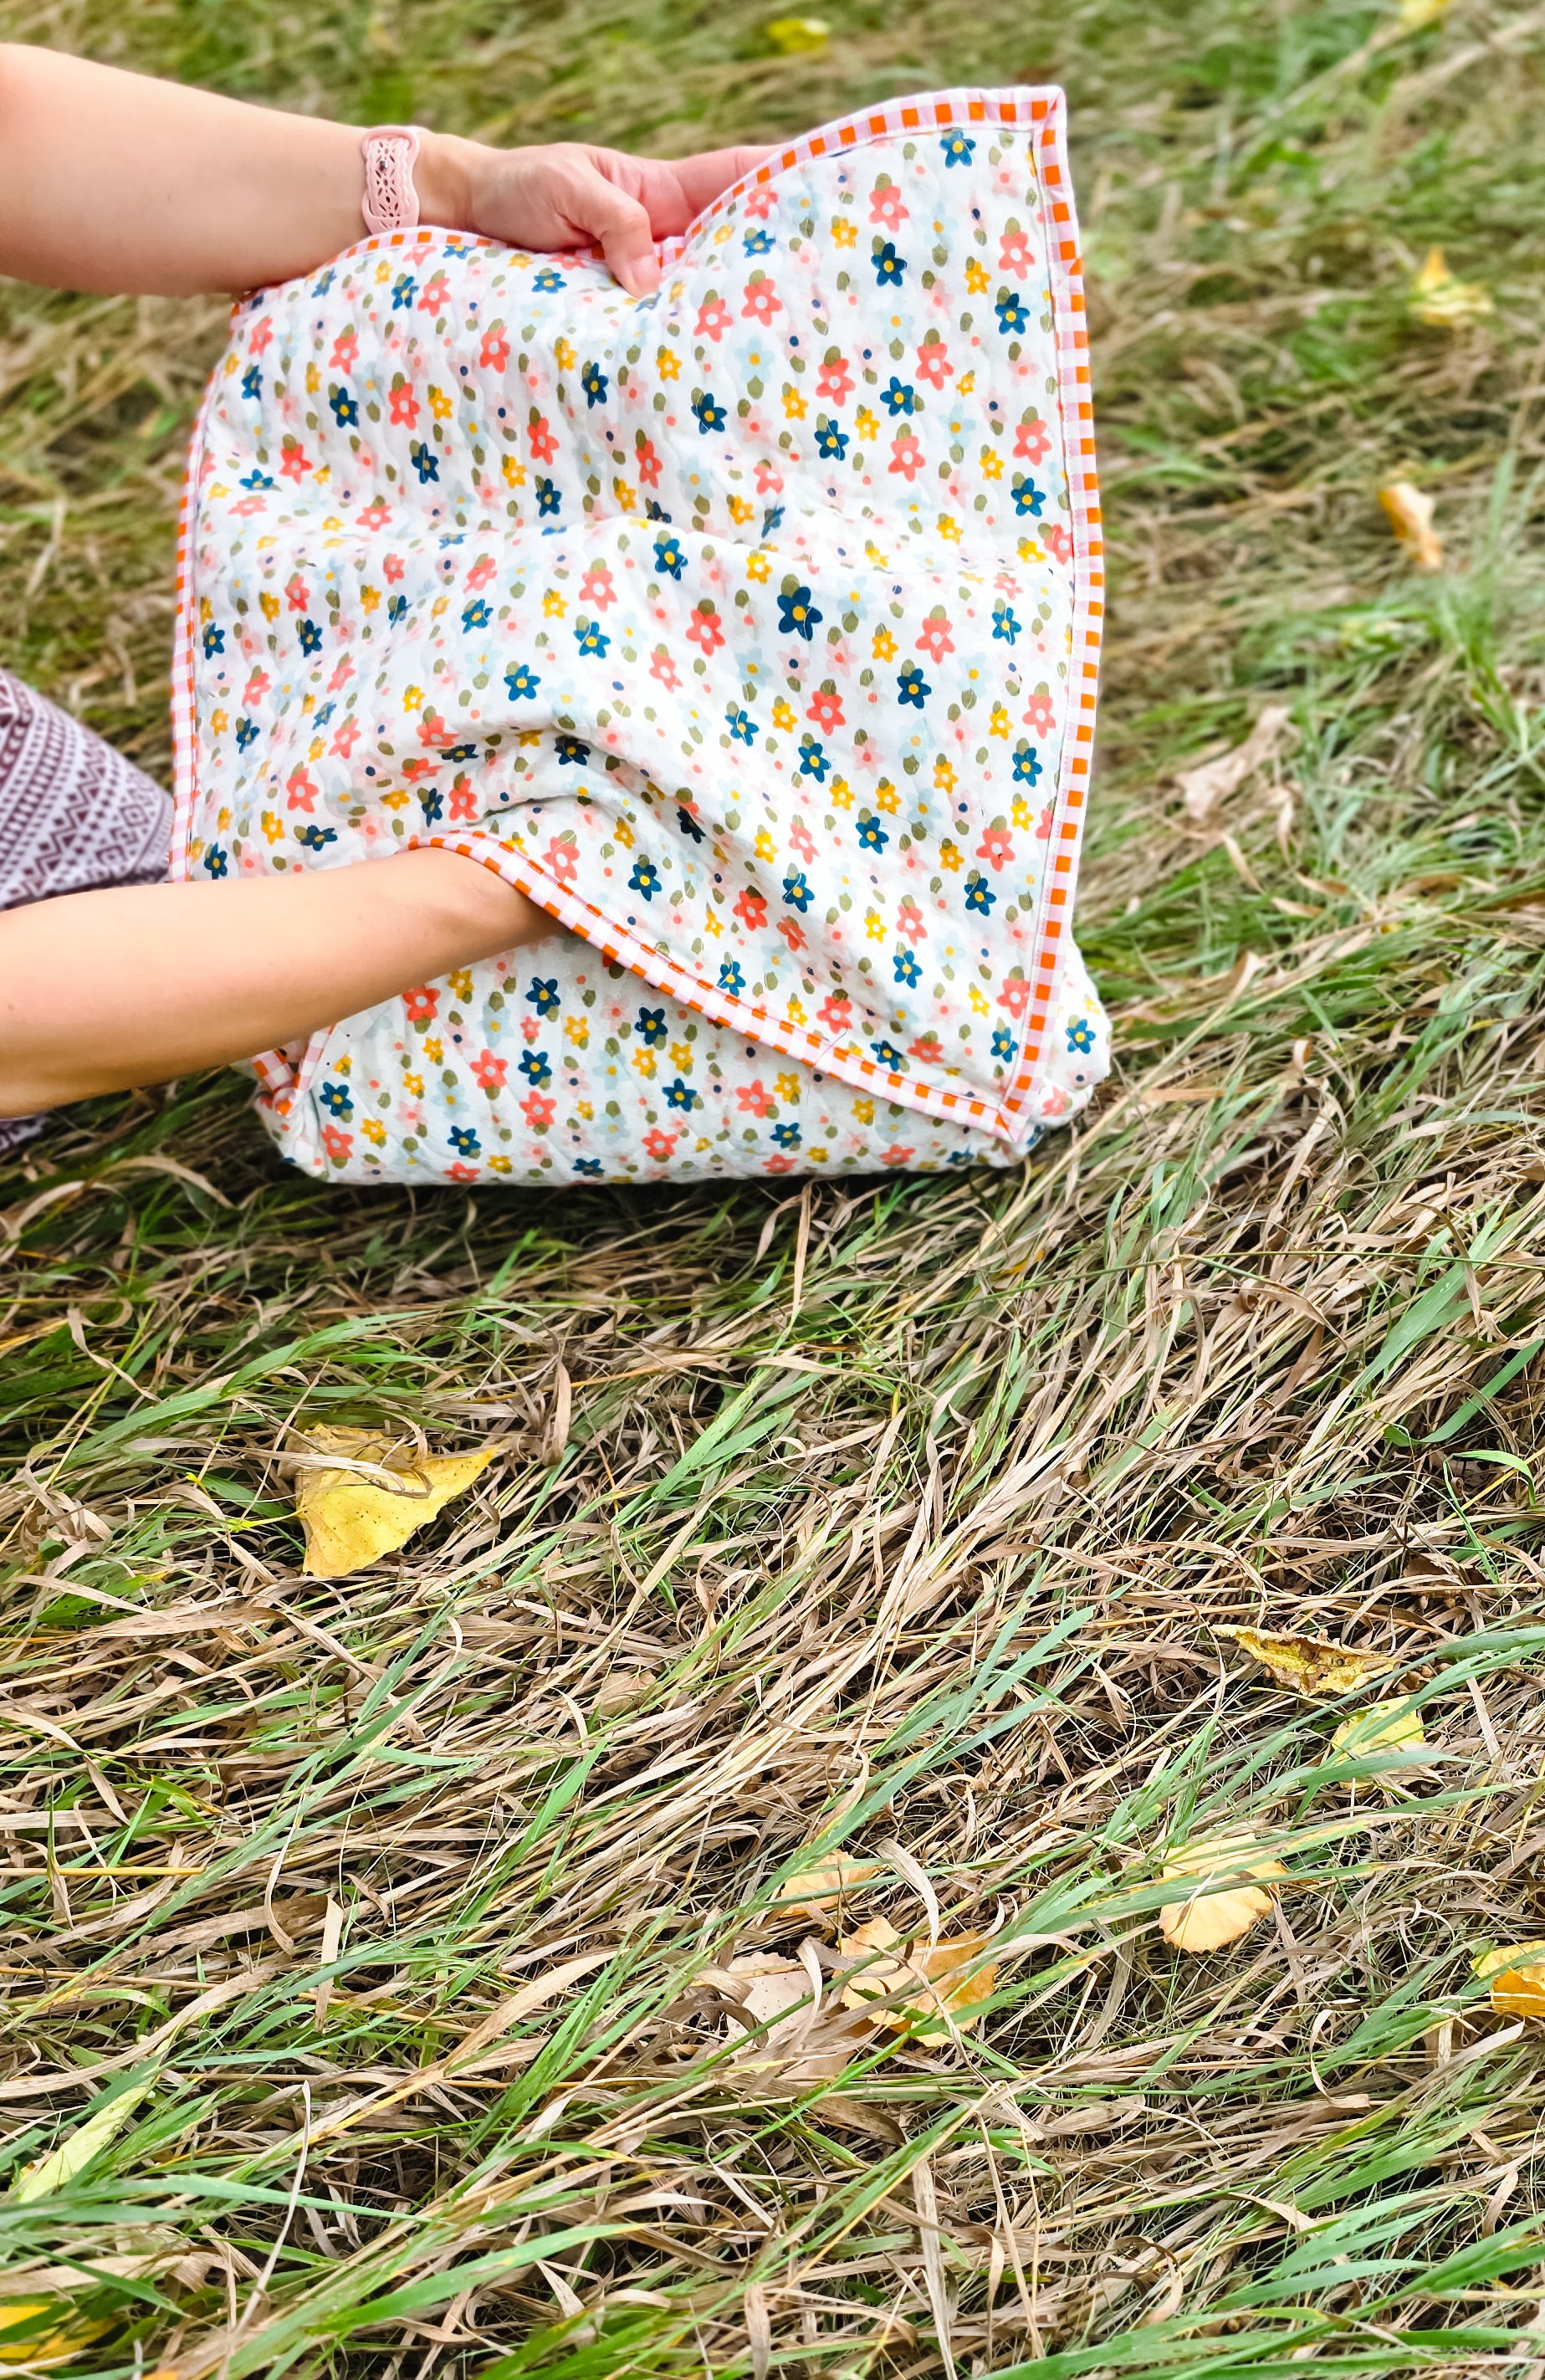
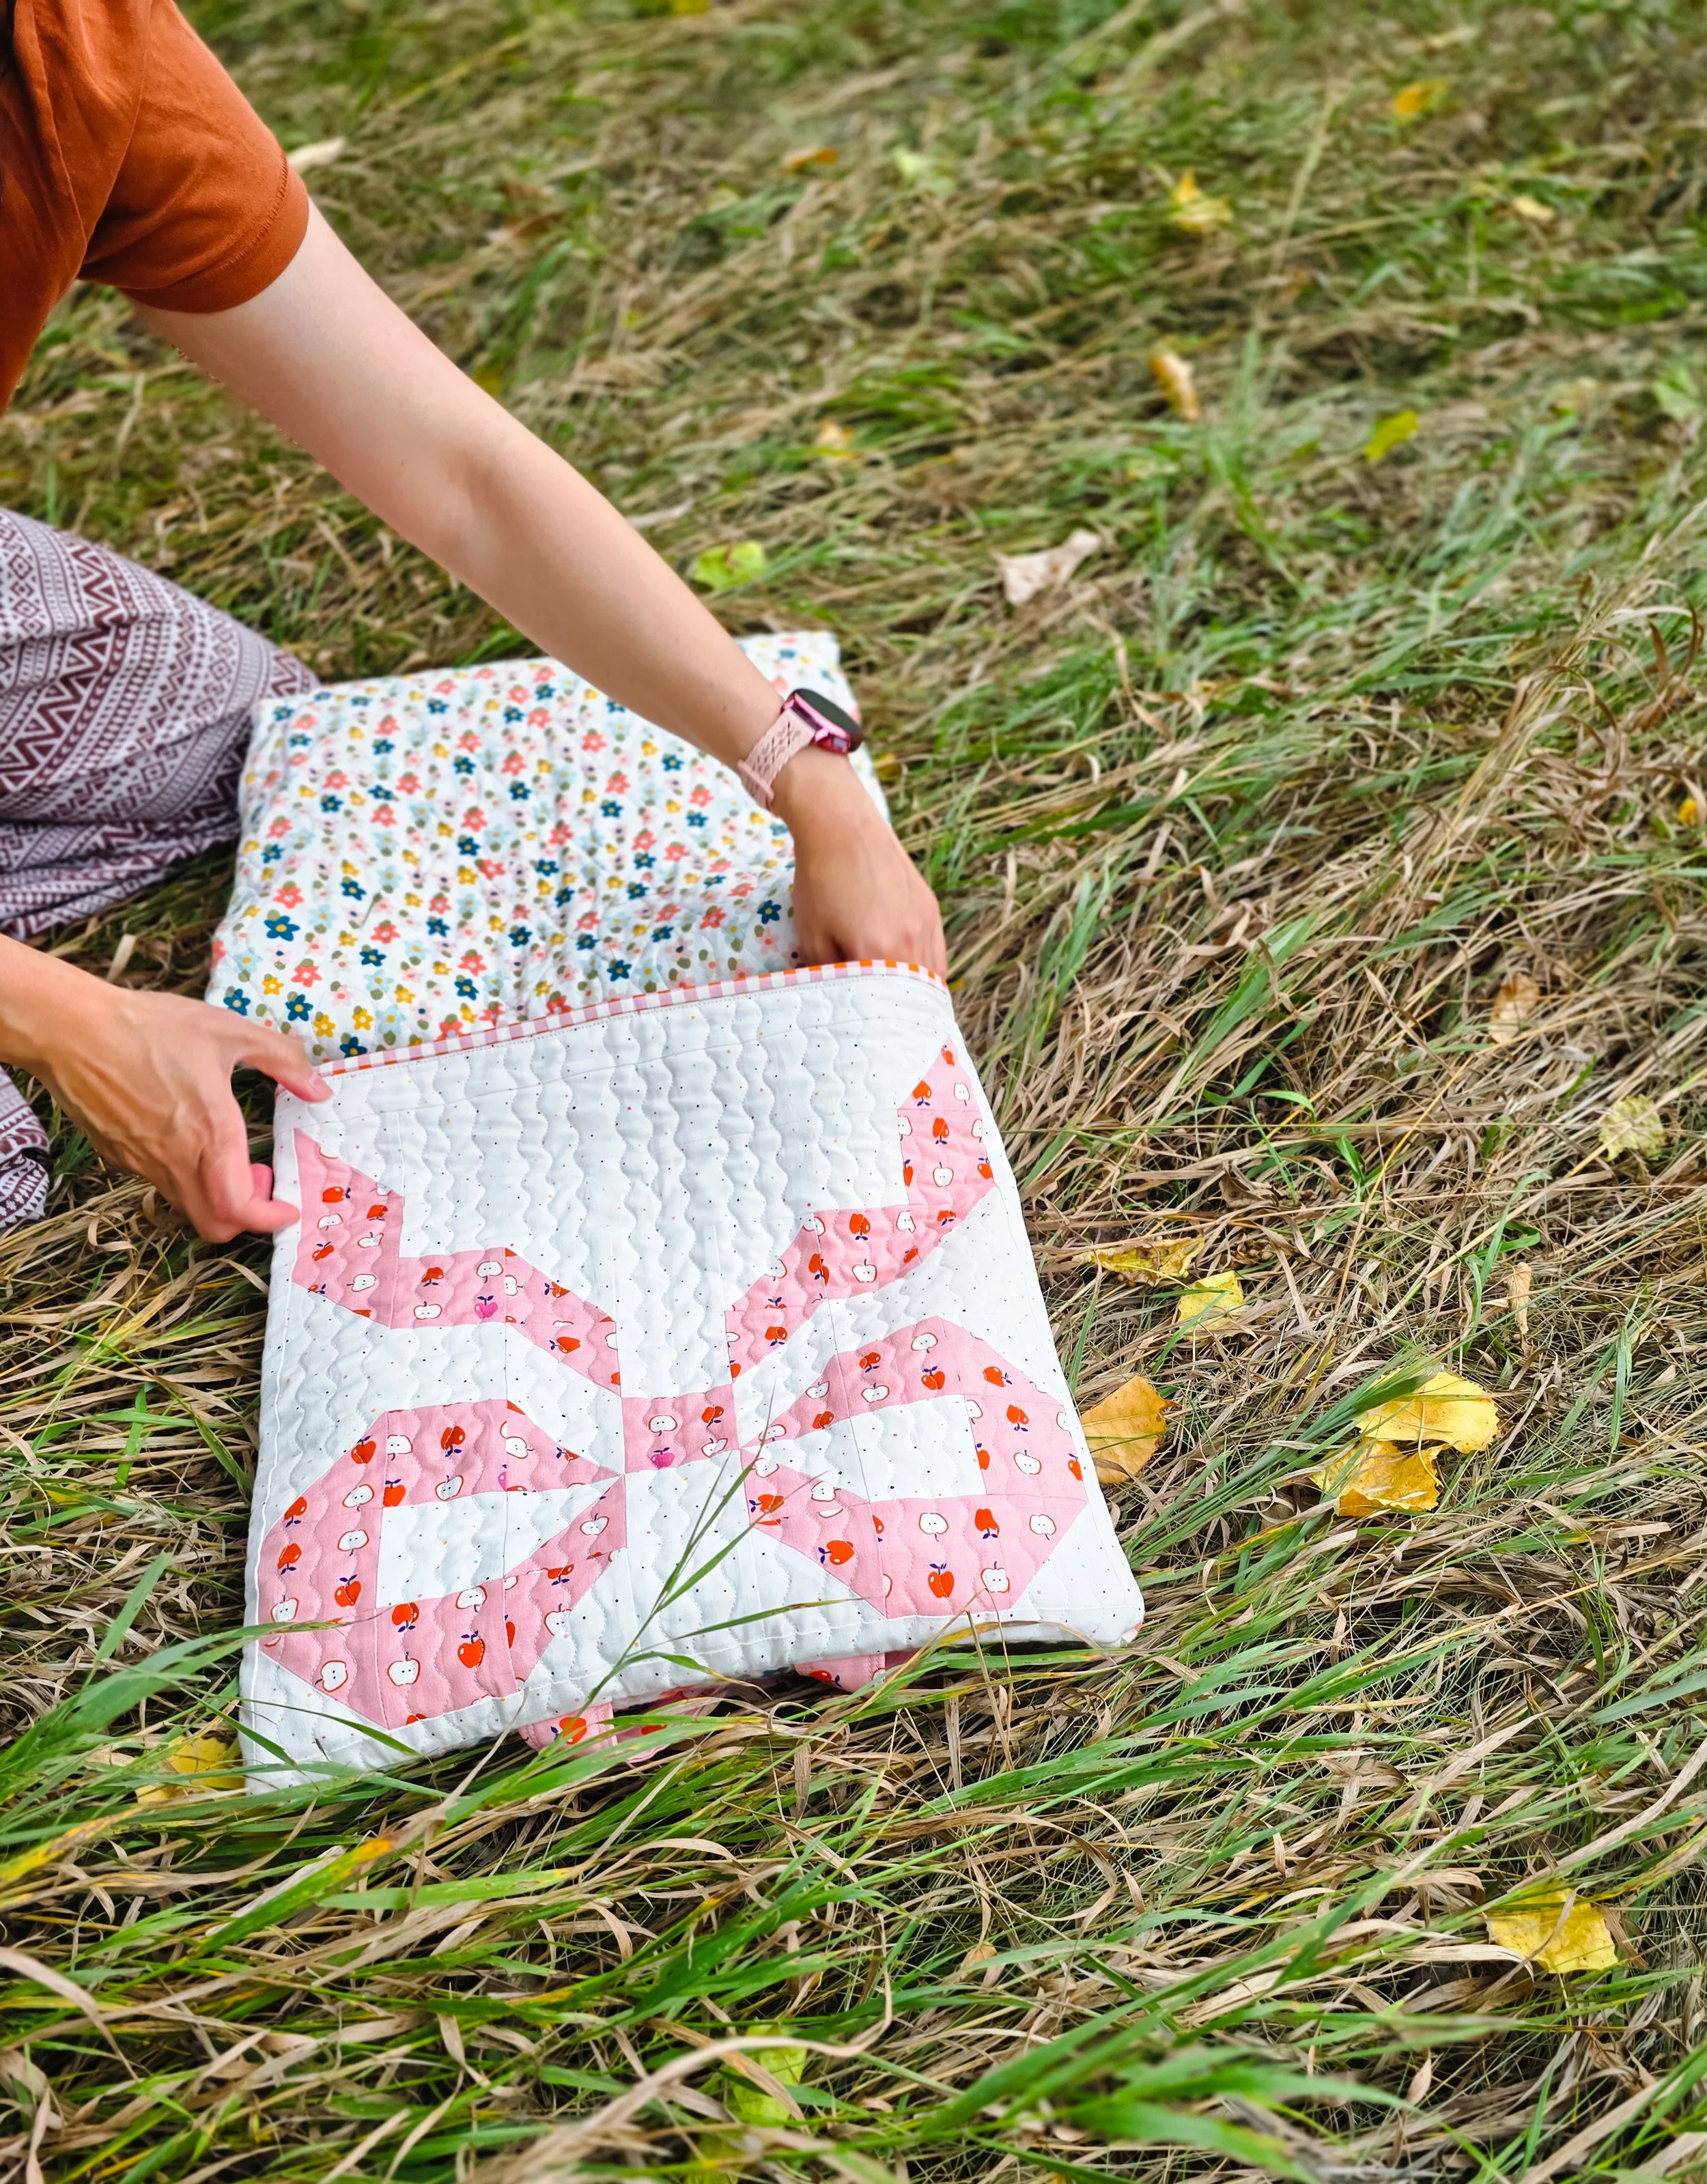
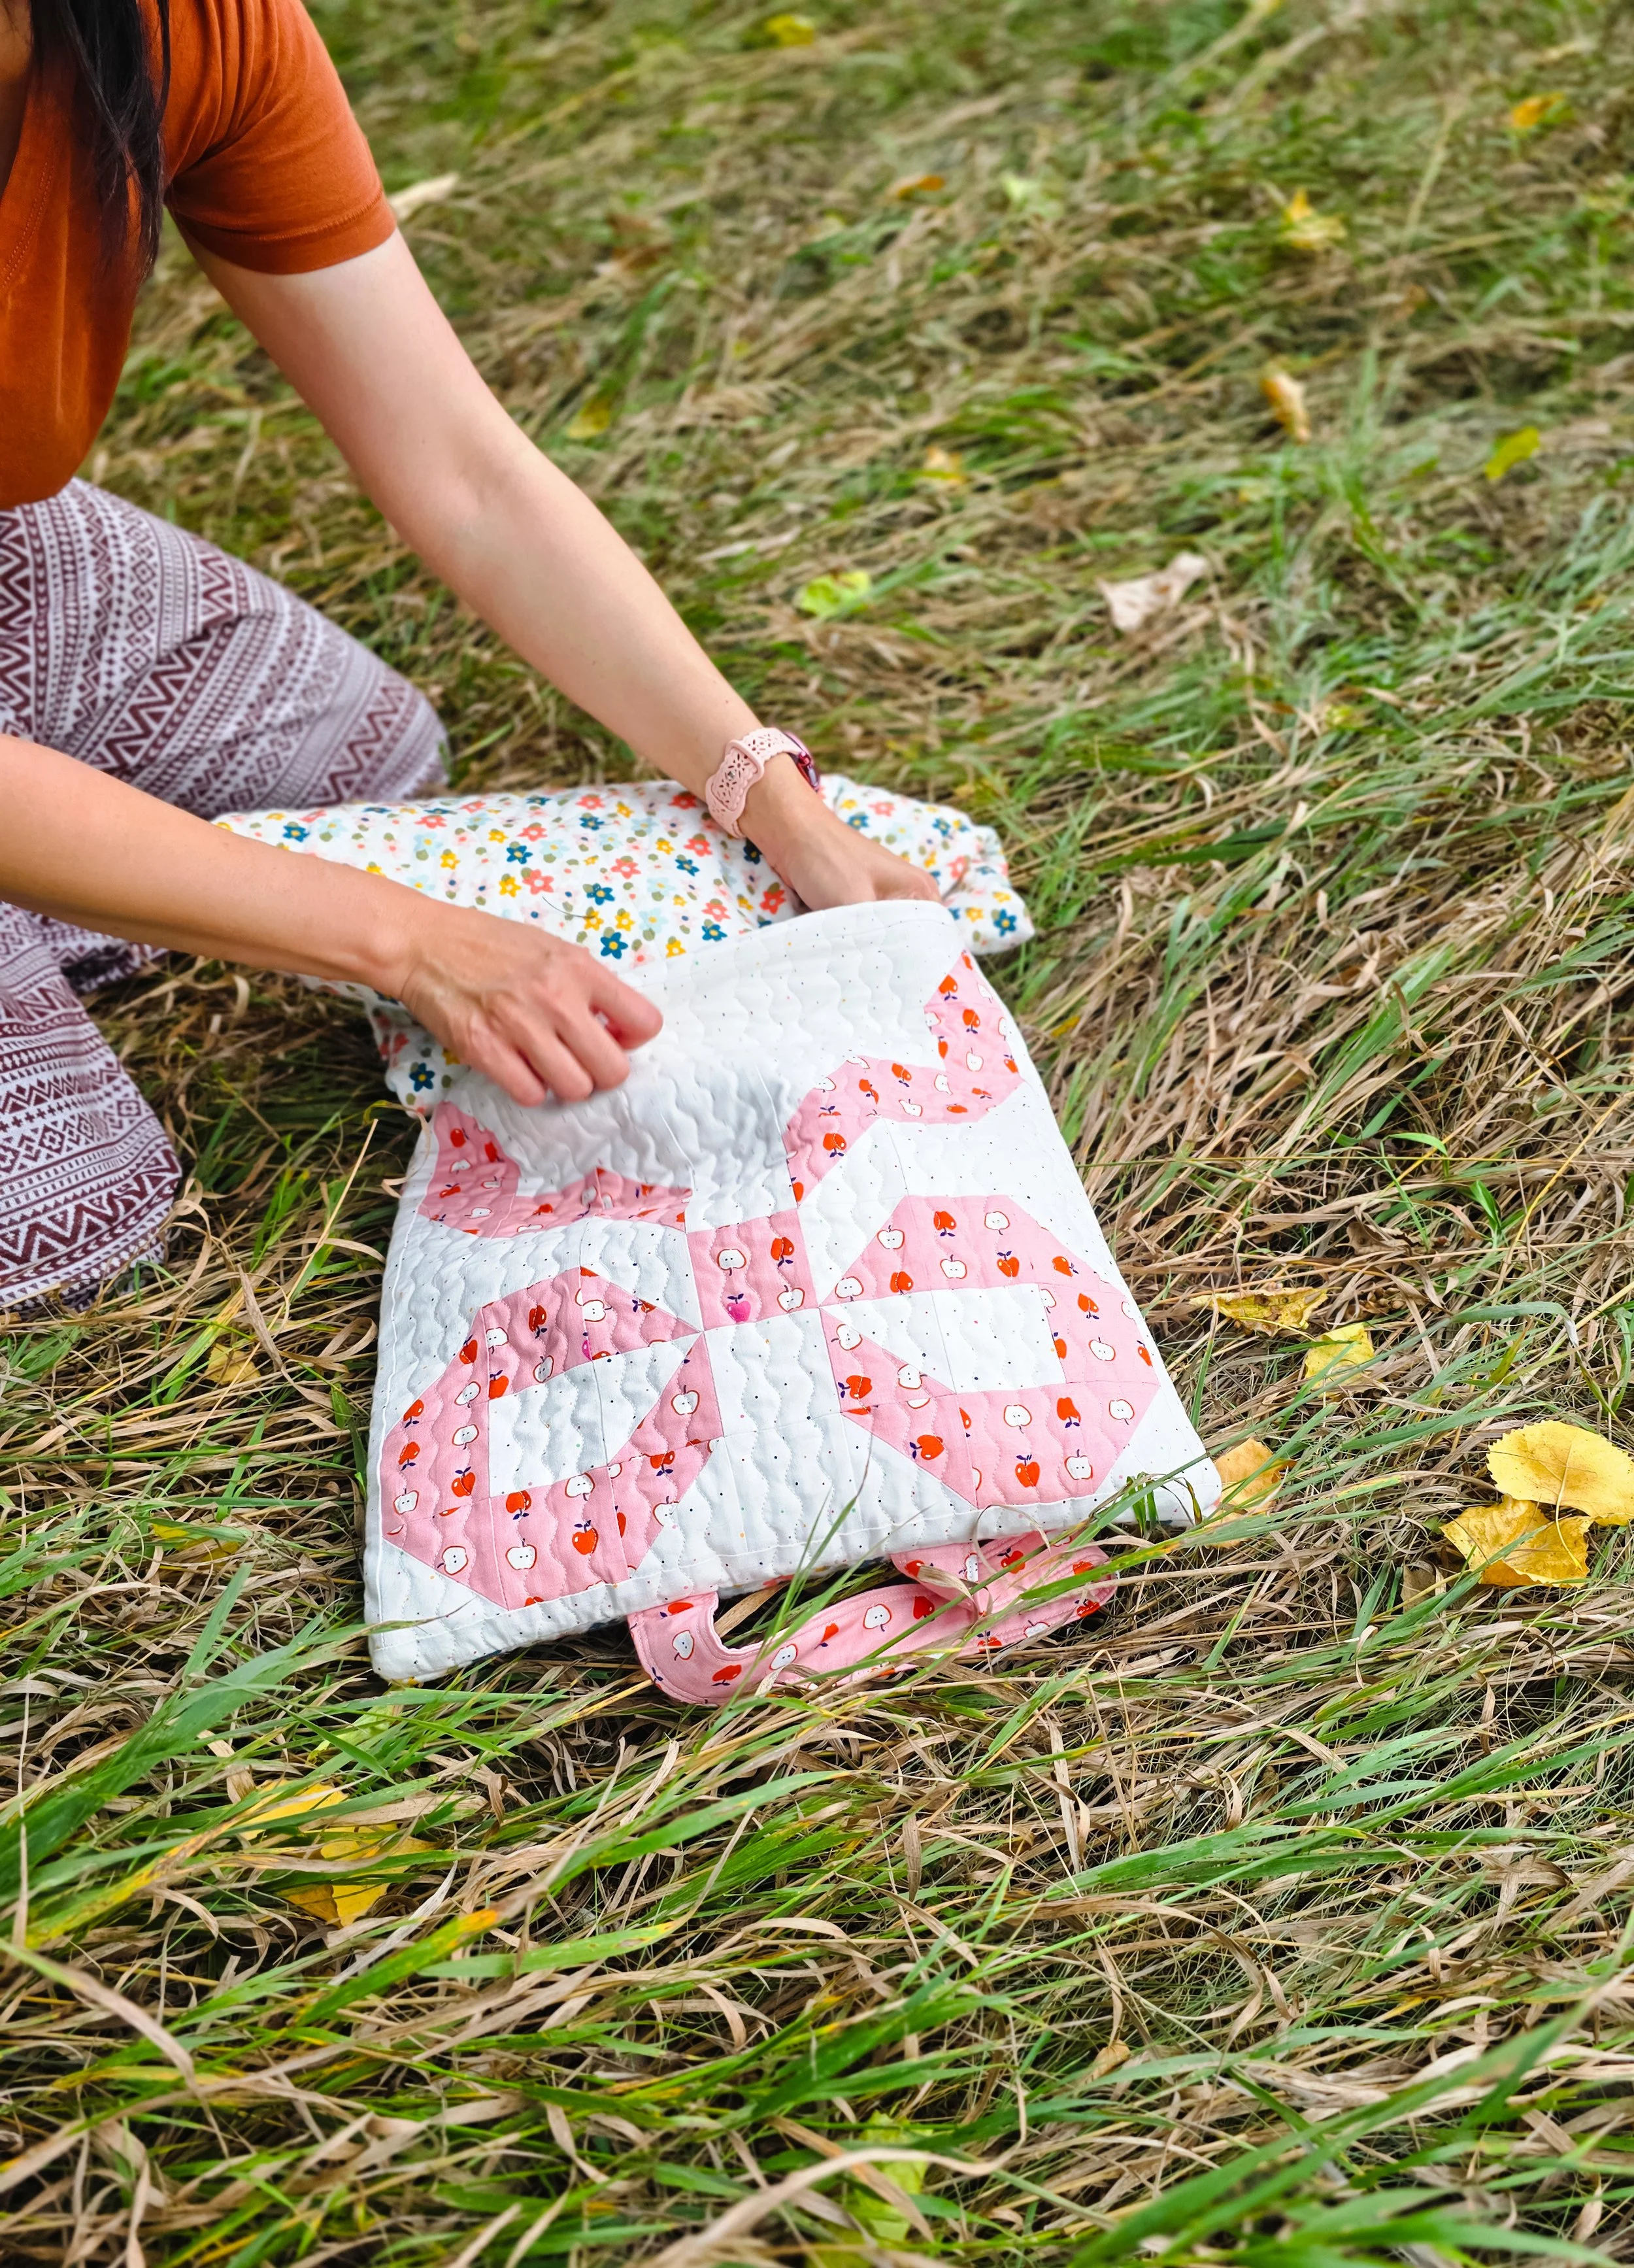
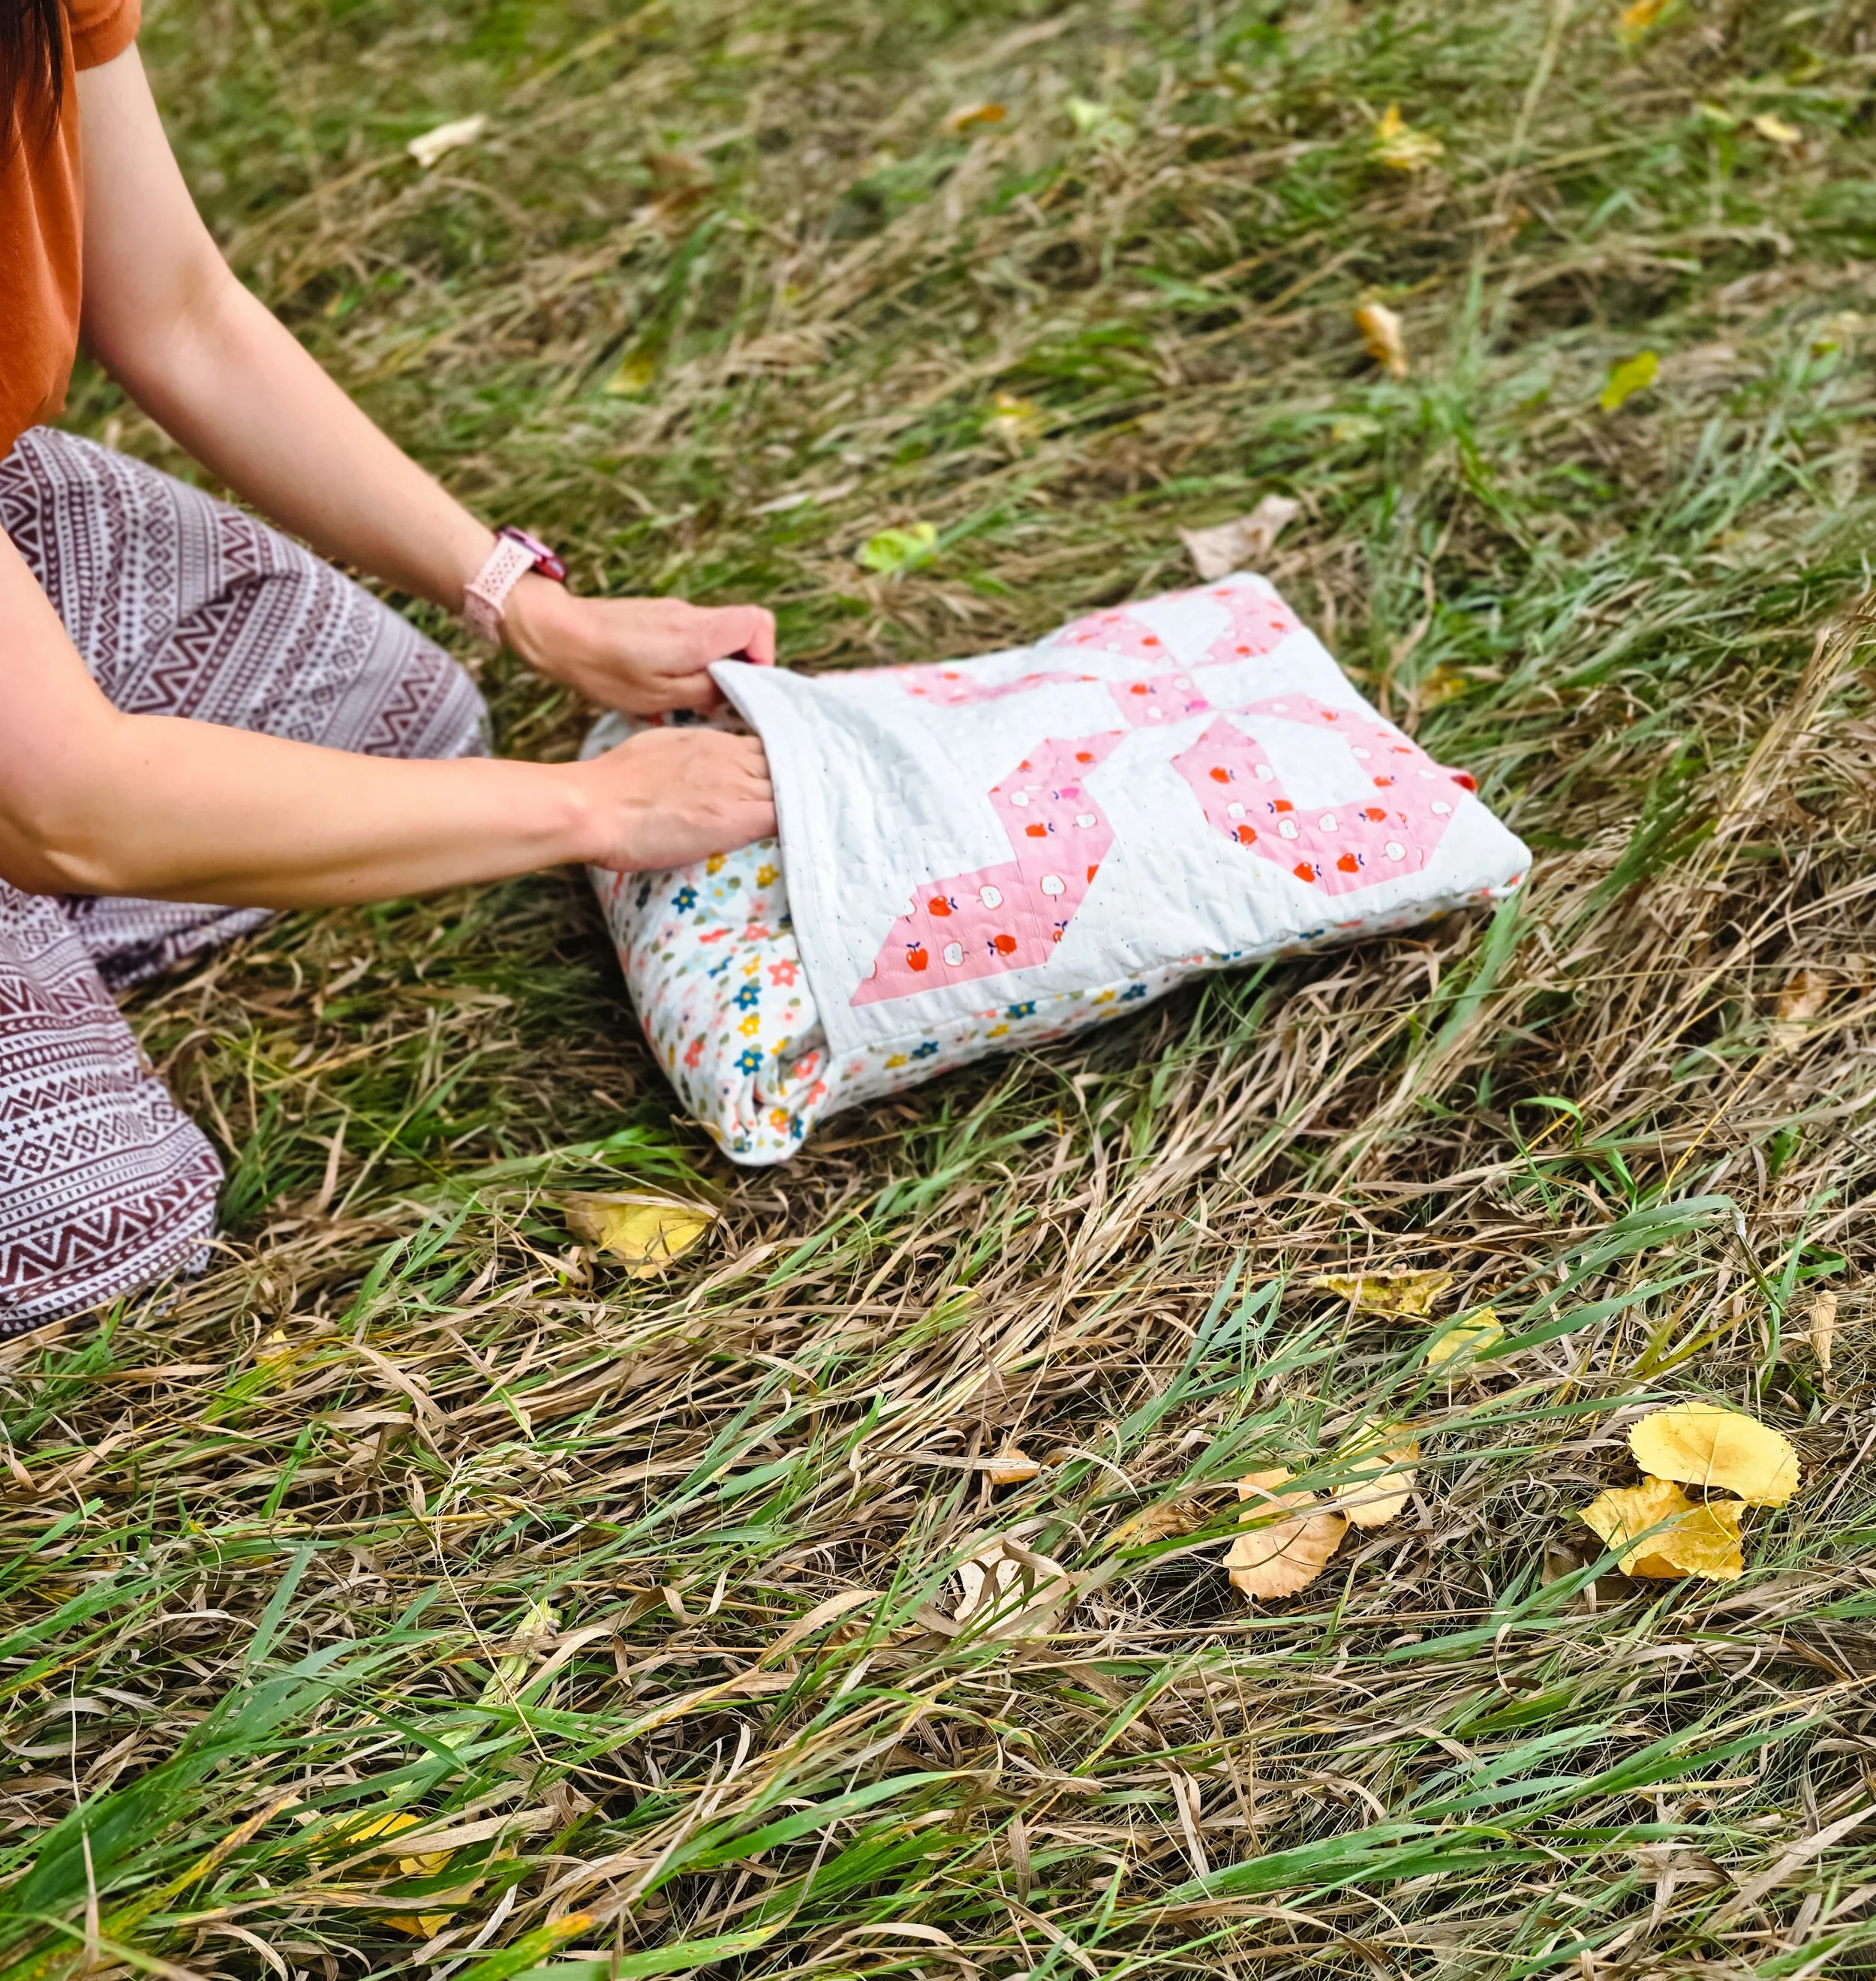
Starting at the end opposite the pocket, fold the quilt toward the pocket twice. On the last fold, your quilt should end up in a square about the size of your pocket, or just slightly smaller. No need to measure here. Just eyeball it! Turn the pocket so the right side is facing out, then start tucking the folded quilt into the pocket.
Be a little patient here. There's a lot of quilt to fit into that cute little pocket, but it will fit, I promise! :) Work the quilt into the corners and smooth everything out until you're happy with the shape.
All Wrapped Up
You made a Wrap Up Quillow! Now it's ready for all those road trips, cabin weekends, sleepovers, and cozy evenings we talked about at the beginning. Fold it up, grab the handle, and take it along. Then when someone needs a little extra cozy, there's a whole quilt tucked inside. :)
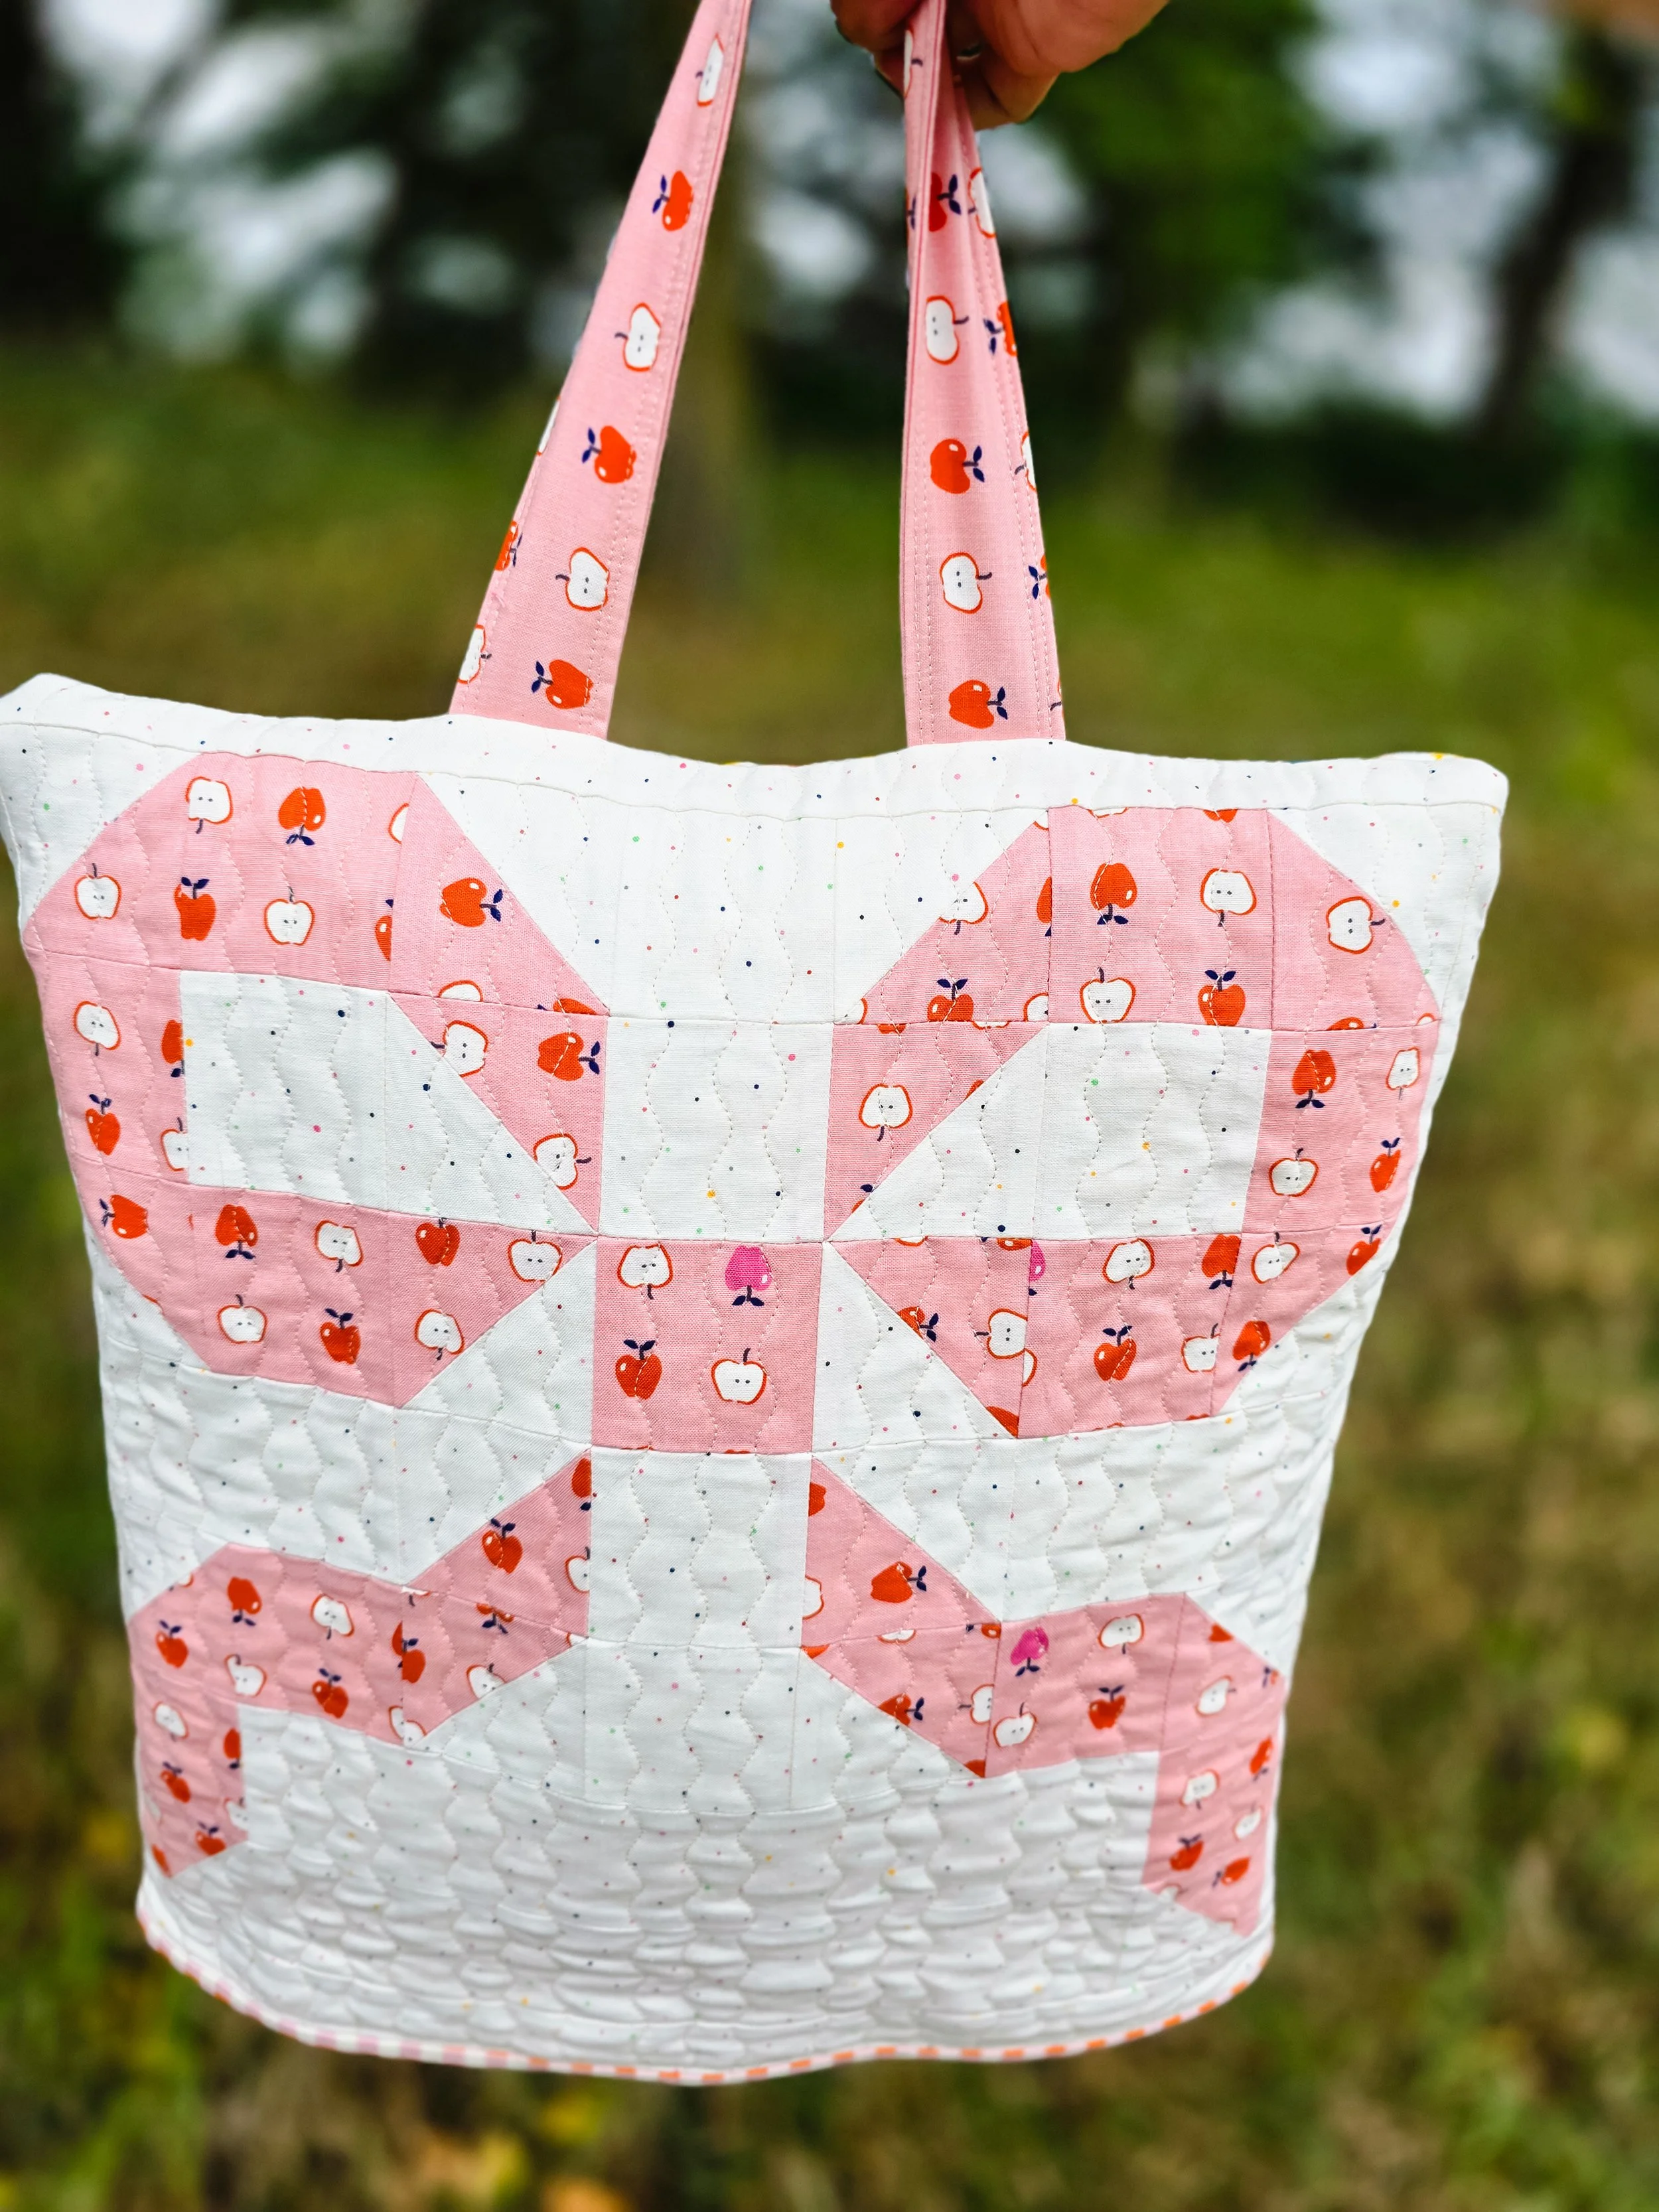
I hope you have fun adding this little bonus to your Wrap Up Quilt. And if you make one, I'd love to see where yours ends up! Tag me @thaicharmllc so I can see your Wrap Up Quilt (and your quillow too!).
Happy quilting!
Sandy
You might also like…
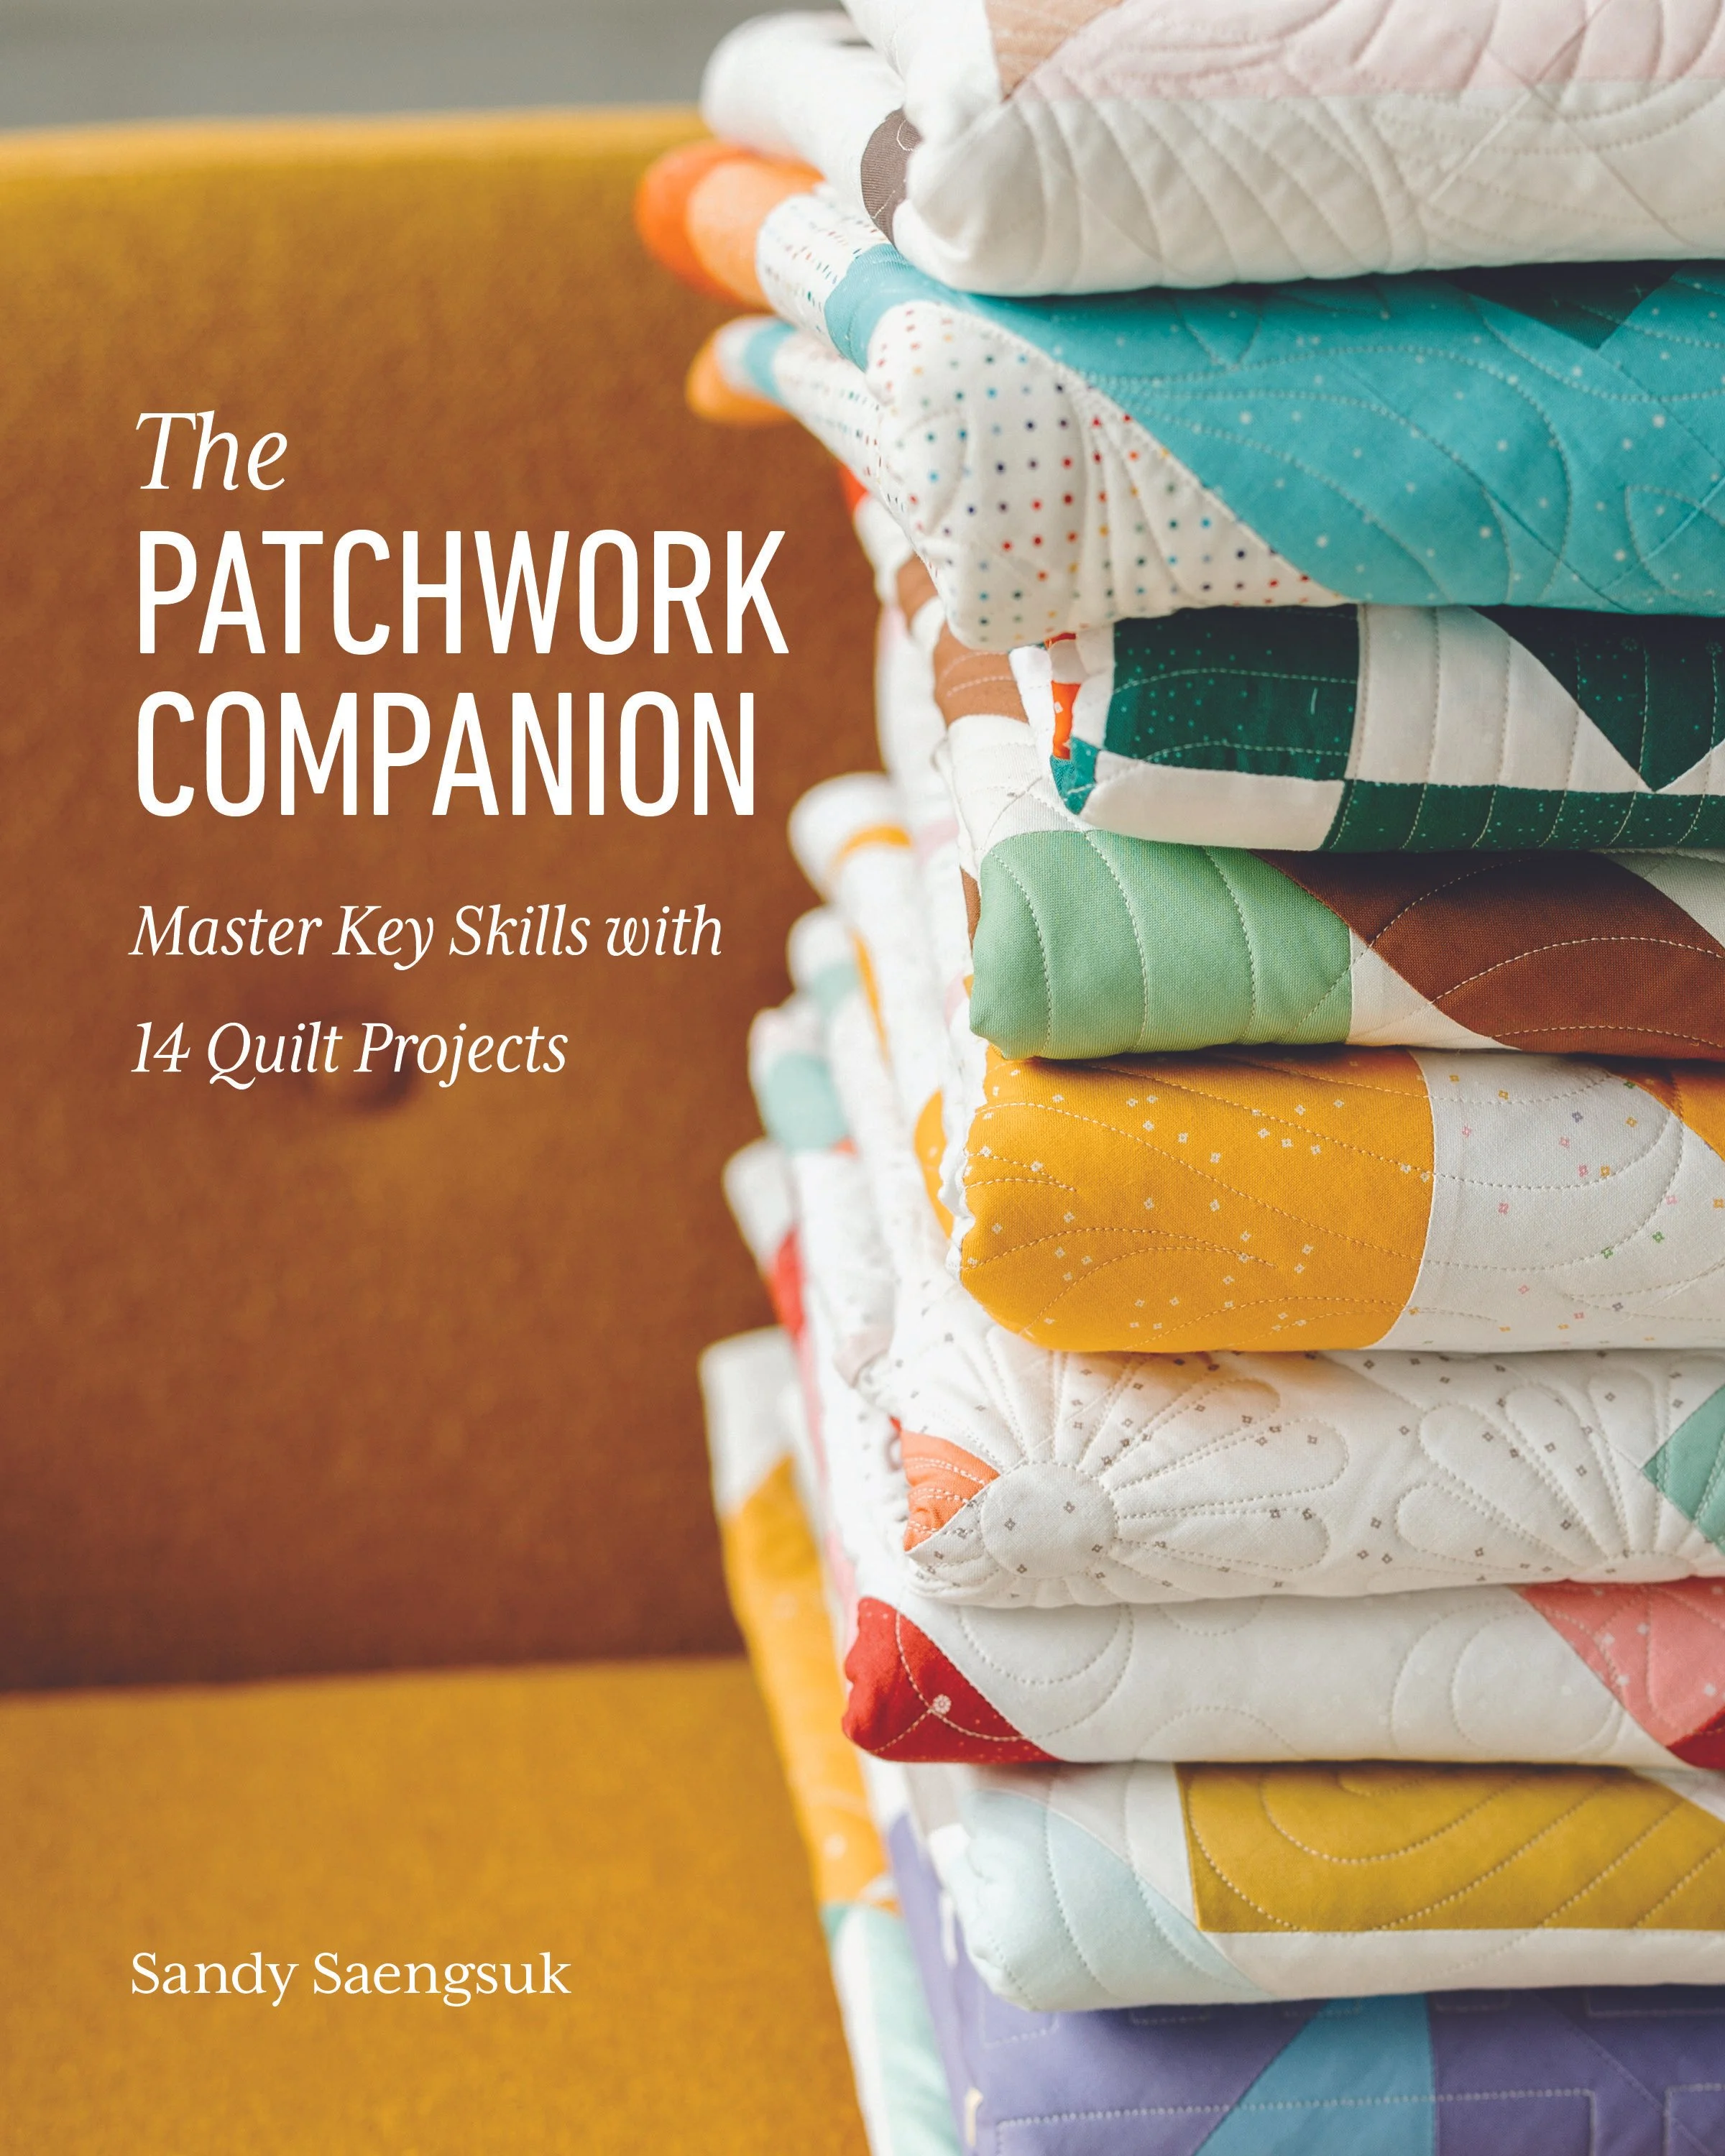
A practical, encouraging quilt book designed to build confidence through thoughtful patchwork.
Featuring 14 quilt projects created to support quilters at every stage.
Shipping Now
Good to know
All orders placed through this site will receive an author-signed copy
Books ship separately from patterns and other products. Please purchase books in a separate transaction to ensure accurate shipping. Thank you!
The Patchwork Companion is designed to grow with you, focusing on strong foundations, thoughtful process, and confident decision-making at your machine. Whether you’re new to quilting, self-taught, or looking to strengthen your fundamentals, this book meets you where you are and supports you as you build confidence.
What You’ll Find Inside
Inside The Patchwork Companion, you’ll find:
14 thoughtfully designed quilt projects that help strengthen core skills
Clear, easy-to-follow instructions with diagrams that support real understanding
Foundational techniques explained in a practical, approachable way
Projects that feel cozy, intentional, and useful for everyday life
Tips learned through hands-on quilting and teaching
Each project is designed to give you tools you can carry into future quilts.
A Note From Me
I became the first quilter in my family during a season when slowing down and making things by hand mattered more than ever. I learned quilting through trial, error, and a lot of seam ripping, and I wrote this book with that experience in mind.
My hope is that this book feels like sitting down to sew with a friend who understands the process and the learning curve.
Ready to Quilt Along?
If this feels like the kind of quilting book you’ve been looking for, I’d love for it to be part of your sewing space.
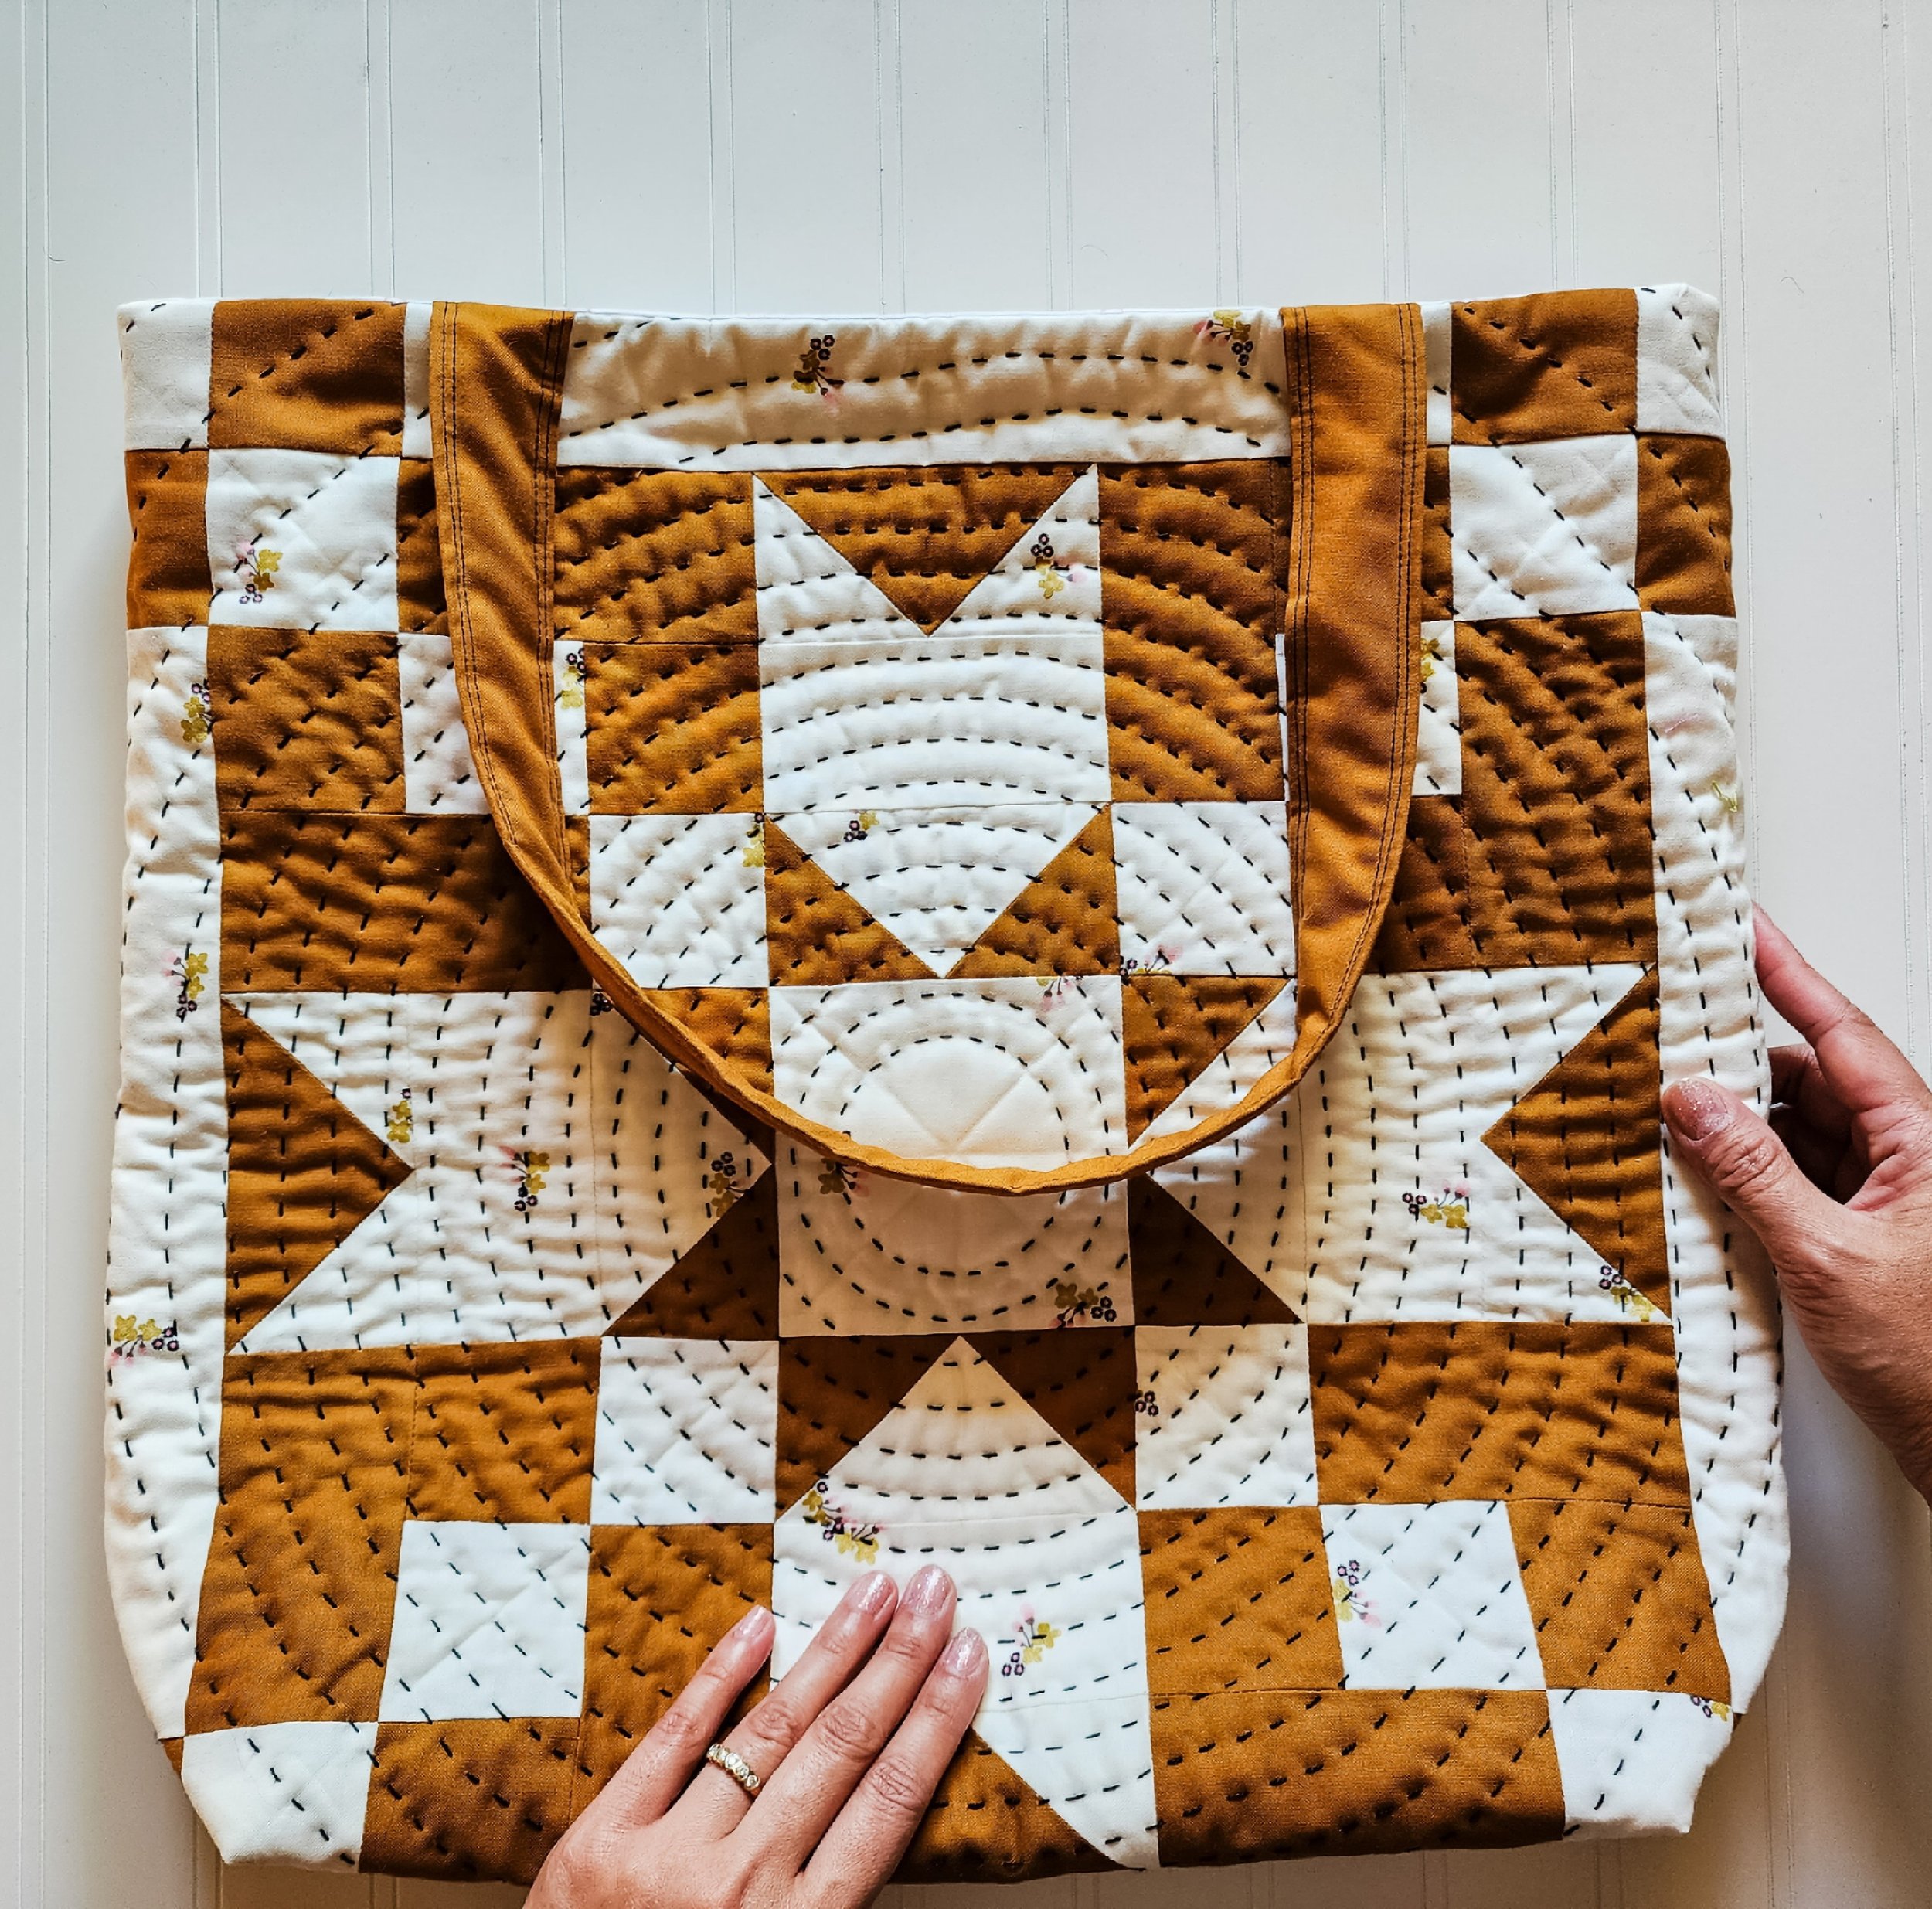
This listing is for PDF Pattern (NO Physical item will be sent).
Size: 19" wide x 30" tall x 5" deep
Fabric requirements:
BG: 1 FQ
Accent: 1 FQ
Back panel: 2/3 yard
Lining: 2/3 yard
Handles: 3/8 yard
Happy Quilting!
What’s happening on the ‘Gram …