Patchwork Bow Tutorial with Jelly Roll
A scrappy twist on the original Oversized Bow
If you’ve been around for a bit, you might remember the original Oversized Bow project. It’s bold, simple, and such a fun way to make a statement with fabric. I still love that version so much, but you know how it goes. One idea always leads to another.
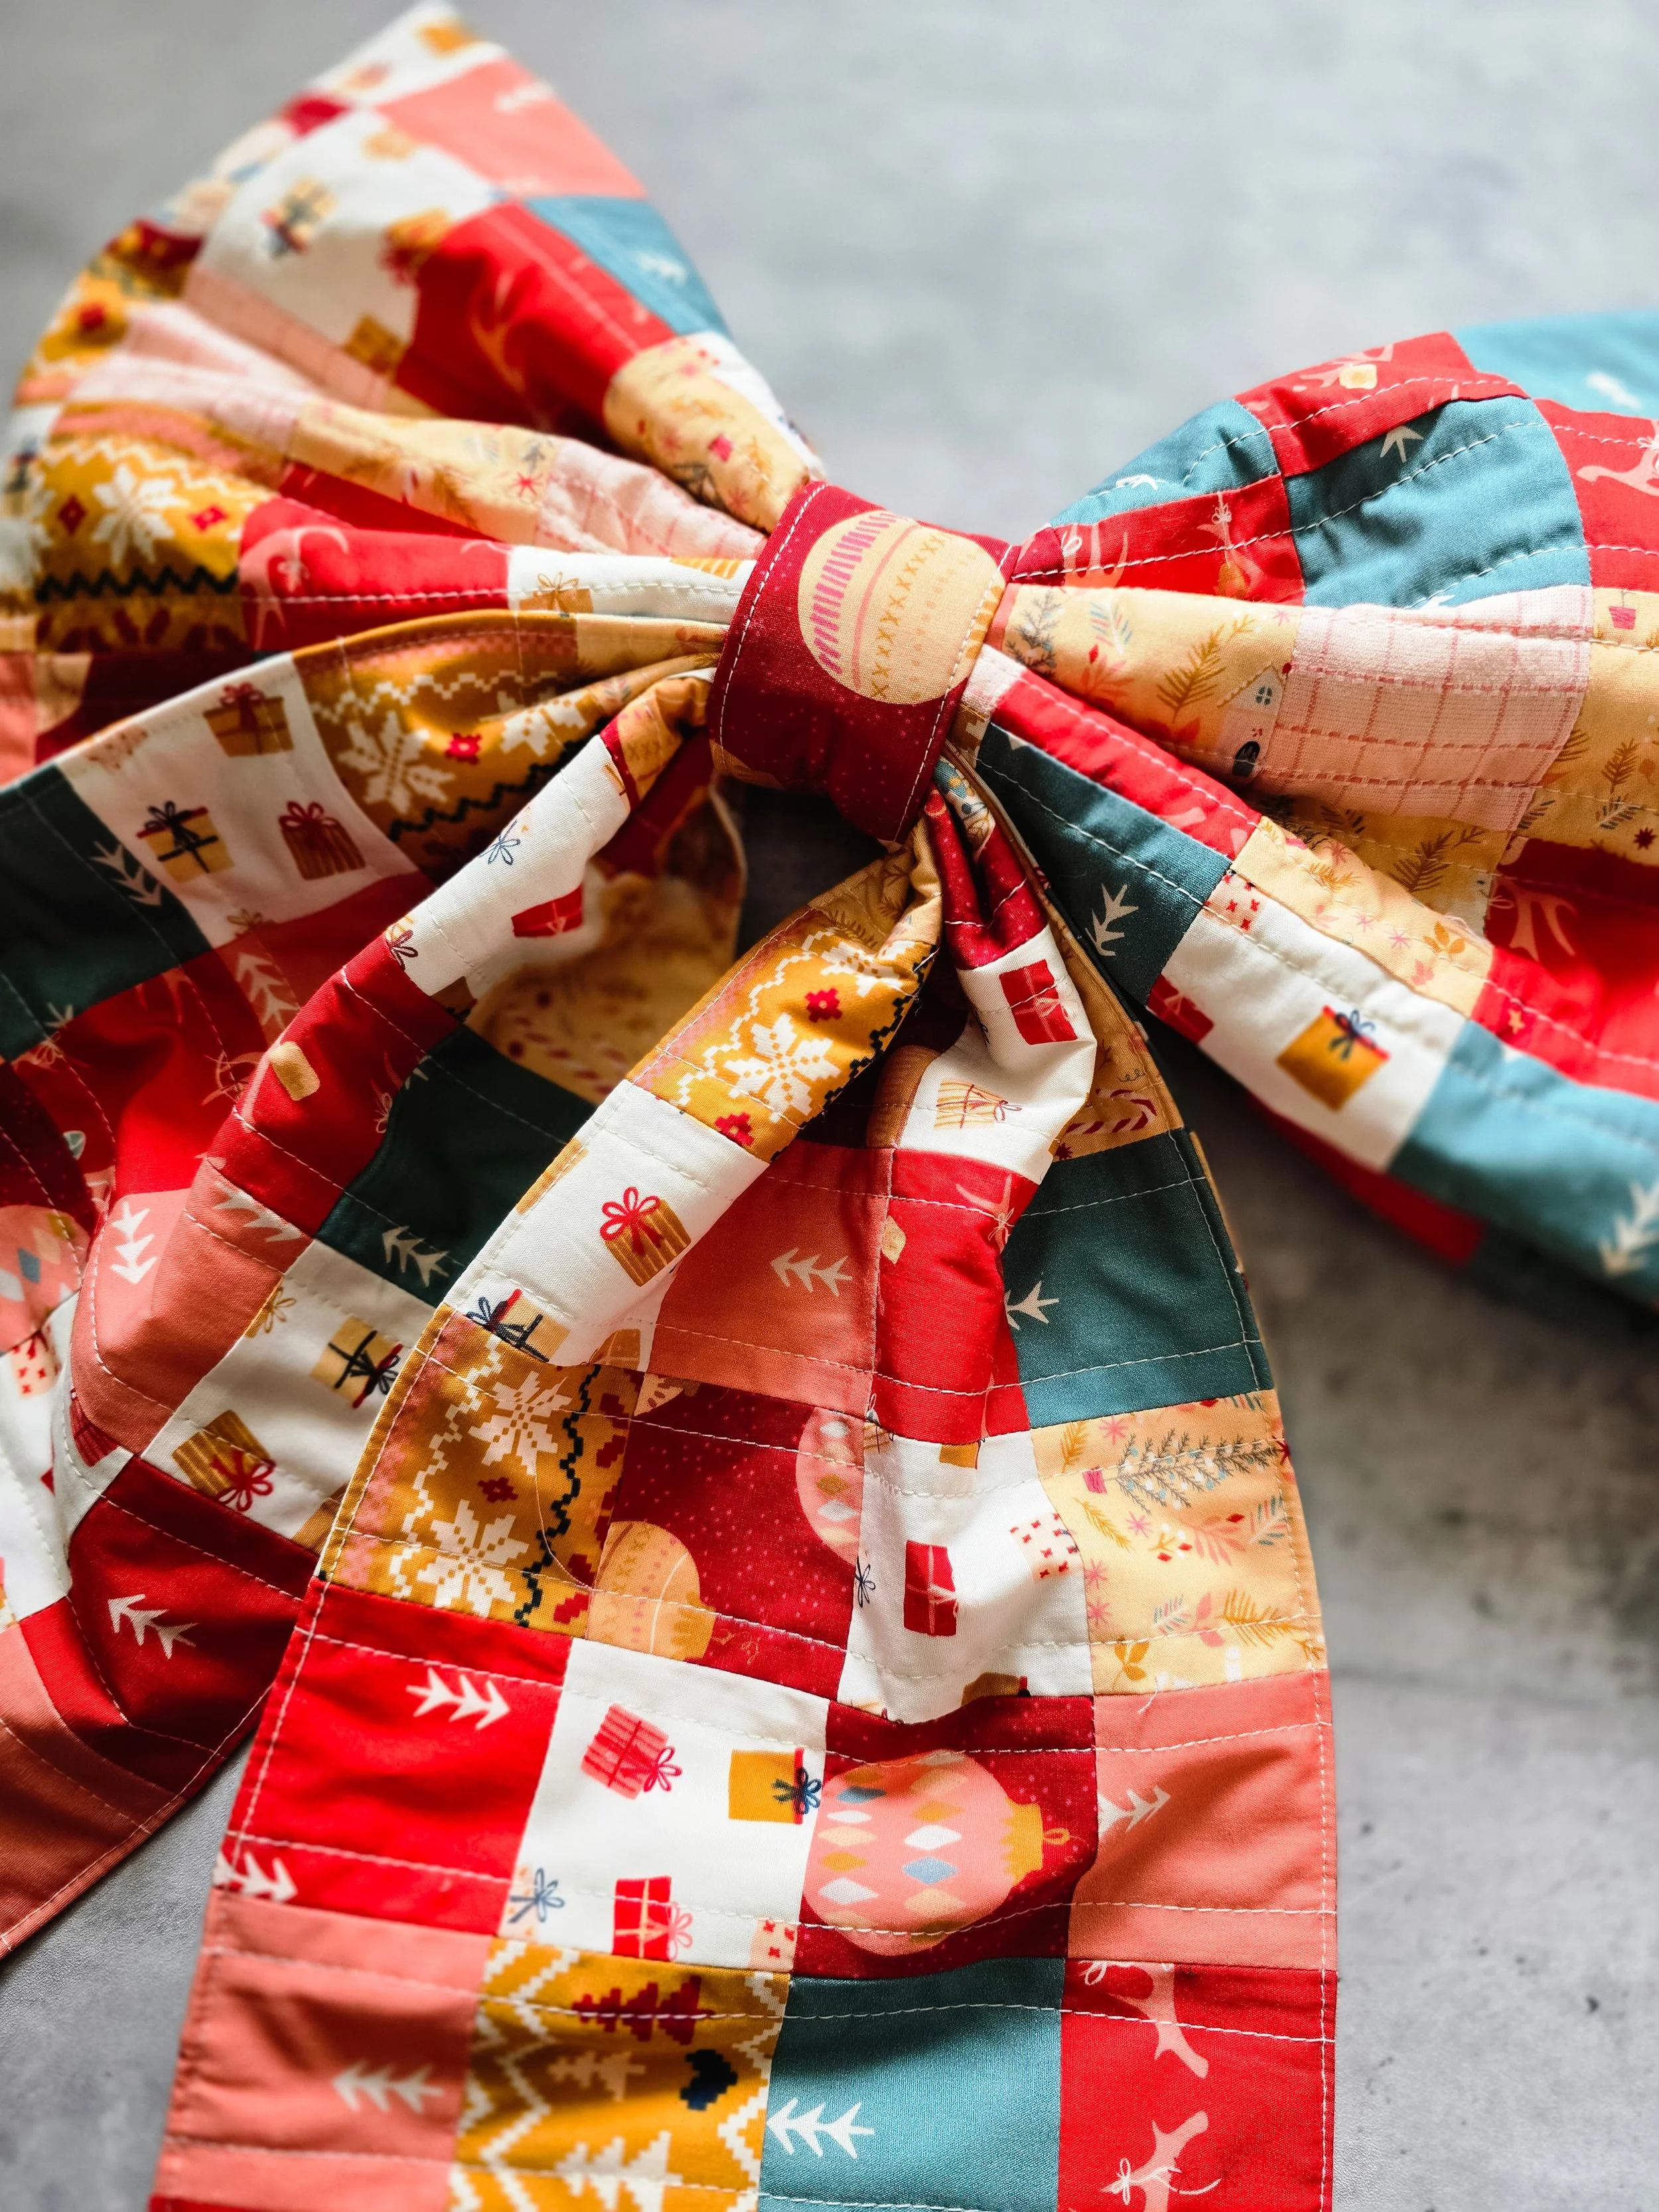
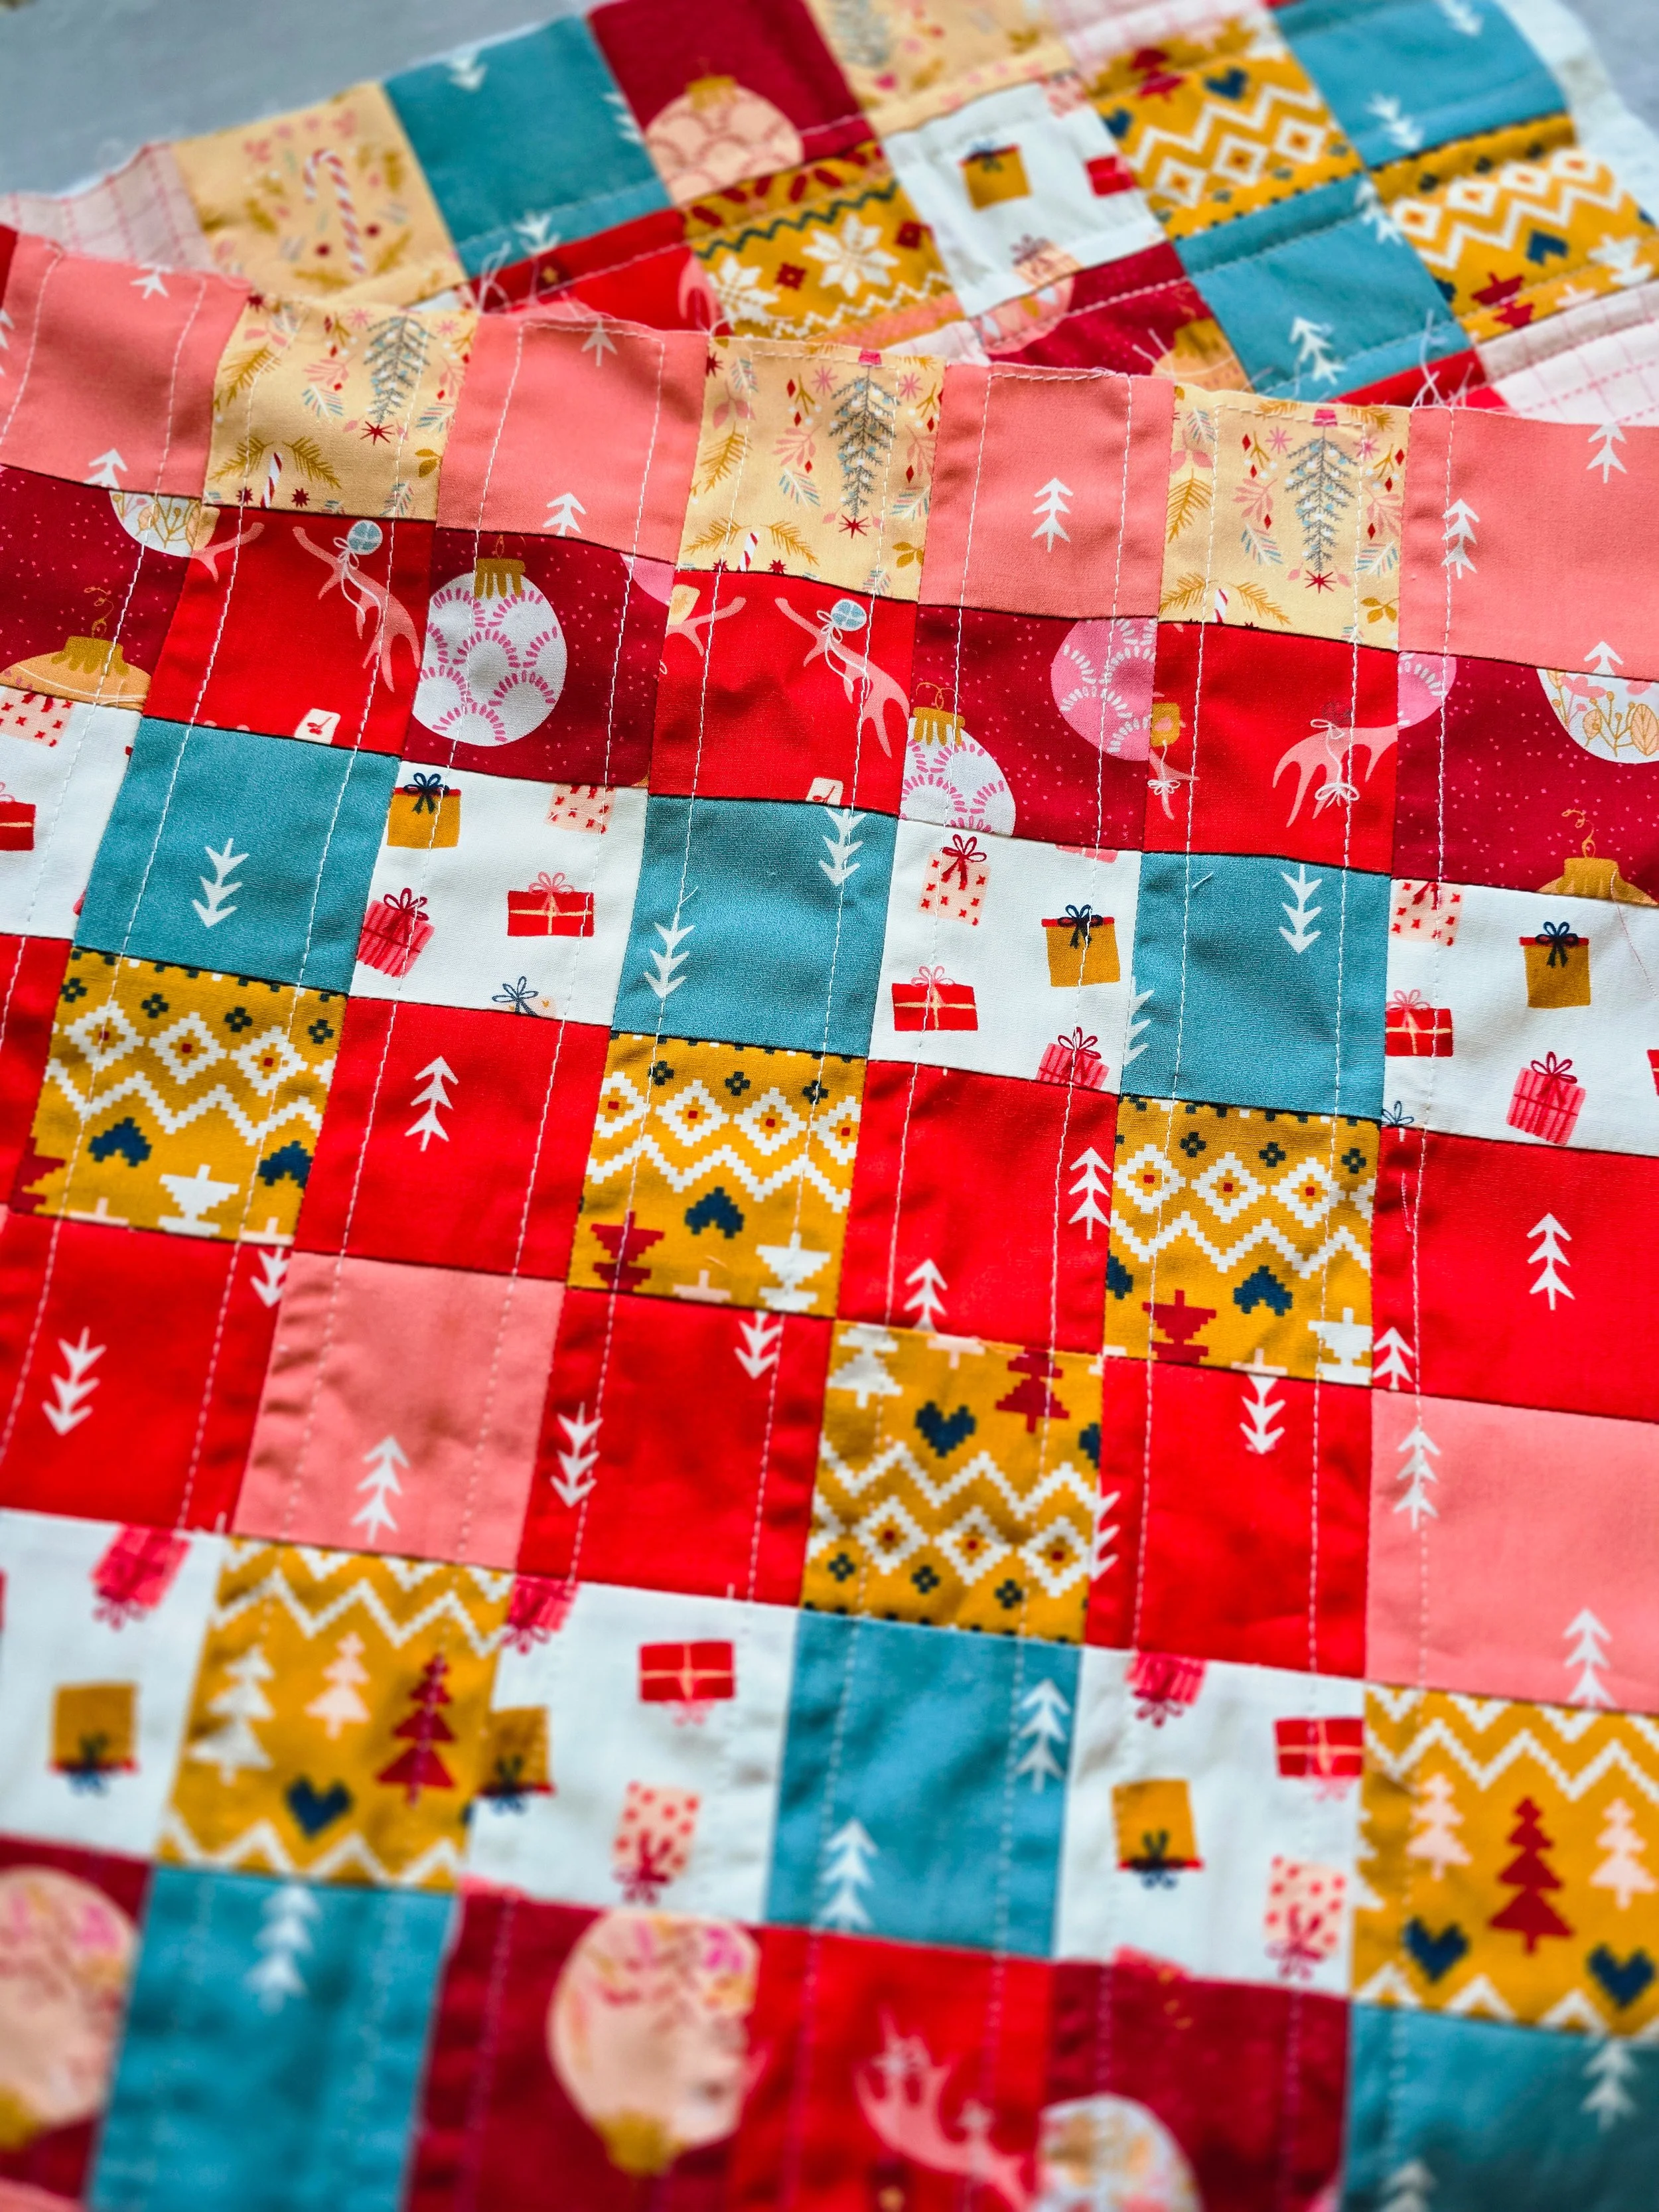
This patchwork bow is a fresh take on that original design. Instead of using larger pieces, I created this version with patchwork squares made from jelly roll strips. It keeps the same oversized bow shape you loved, but adds more texture, color play, and that scrappy charm we can’t resist.

What You’ll Need
Jelly roll strips (1 jelly roll is plenty, a mix of prints and solids works great)
Batting
Thread
Rotary cutter
Cutting mat
Quilting ruler
Sewing machine
Iron and pressing surface
Size + Patchwork Math
This patchwork bow finishes very close to the size of the original Oversized Bow. While it’s not an exact match due to working with 2.5" jelly roll strips and patchwork math, the difference is minimal and does not affect the overall look or construction. Once the bow body and tail pieces are complete, follow all construction steps from the original Oversized Bow tutorial HERE.
Now, let’s do the math, shall we?

Bow Body
For the bow body, you’ll need a patchwork piece that finishes at approximately 18" x 37". To make this using jelly roll strips:
Sew 9 rows of 2.5" strips to create a strip set that measures 18.5" wide
Cut the strip set into (18) pieces measuring 2.5" x 18.5" (see Jelly Roll Yield Tip below)
You now have the size you need for the bow body.
Bow Tails
For the bow tails, you’ll need patchwork pieces that finish at approximately 16" x 47". To make this using jelly roll strips:
Sew 8 rows of 2.5" strips to make a strip set that measures 16.5" wide. (Make 2 sets)
Cut the strip set into (23) pieces measuring 2.5" x 16.5"
You now have the size you need for the bow tails.
Jelly Roll Yield Tip
Each strip set yields (16) 2.5" sections when subcut. Instead of sewing two separate 9-row strip sets for the bow body, I sewed one full set and used the leftover strips from the bow tails. I simply added (1) extra square to turn the tail section from 8 rows into 9 rows for the body.
It’s an efficient way to save time, use your strips wisely, and still end up with the correct size.


OPTIONAL TAIL VARIATION
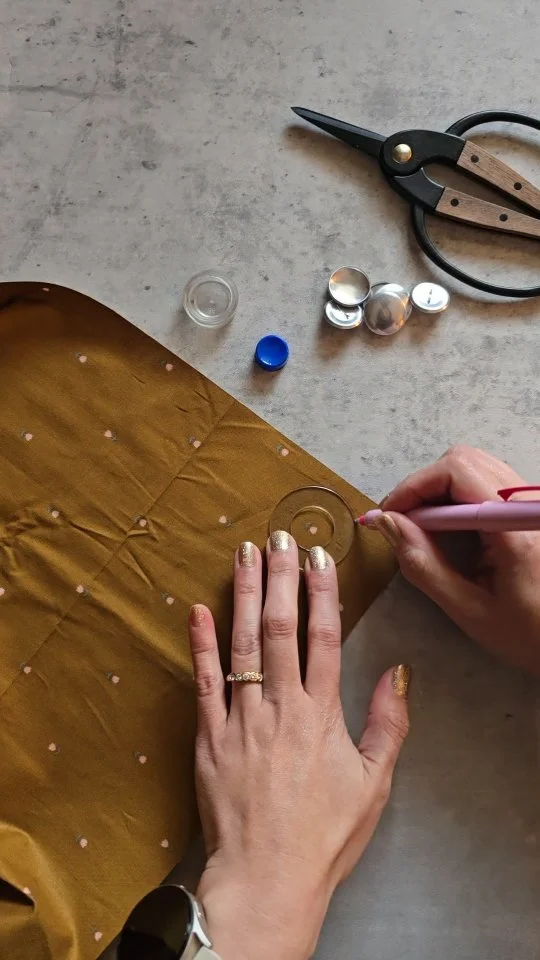
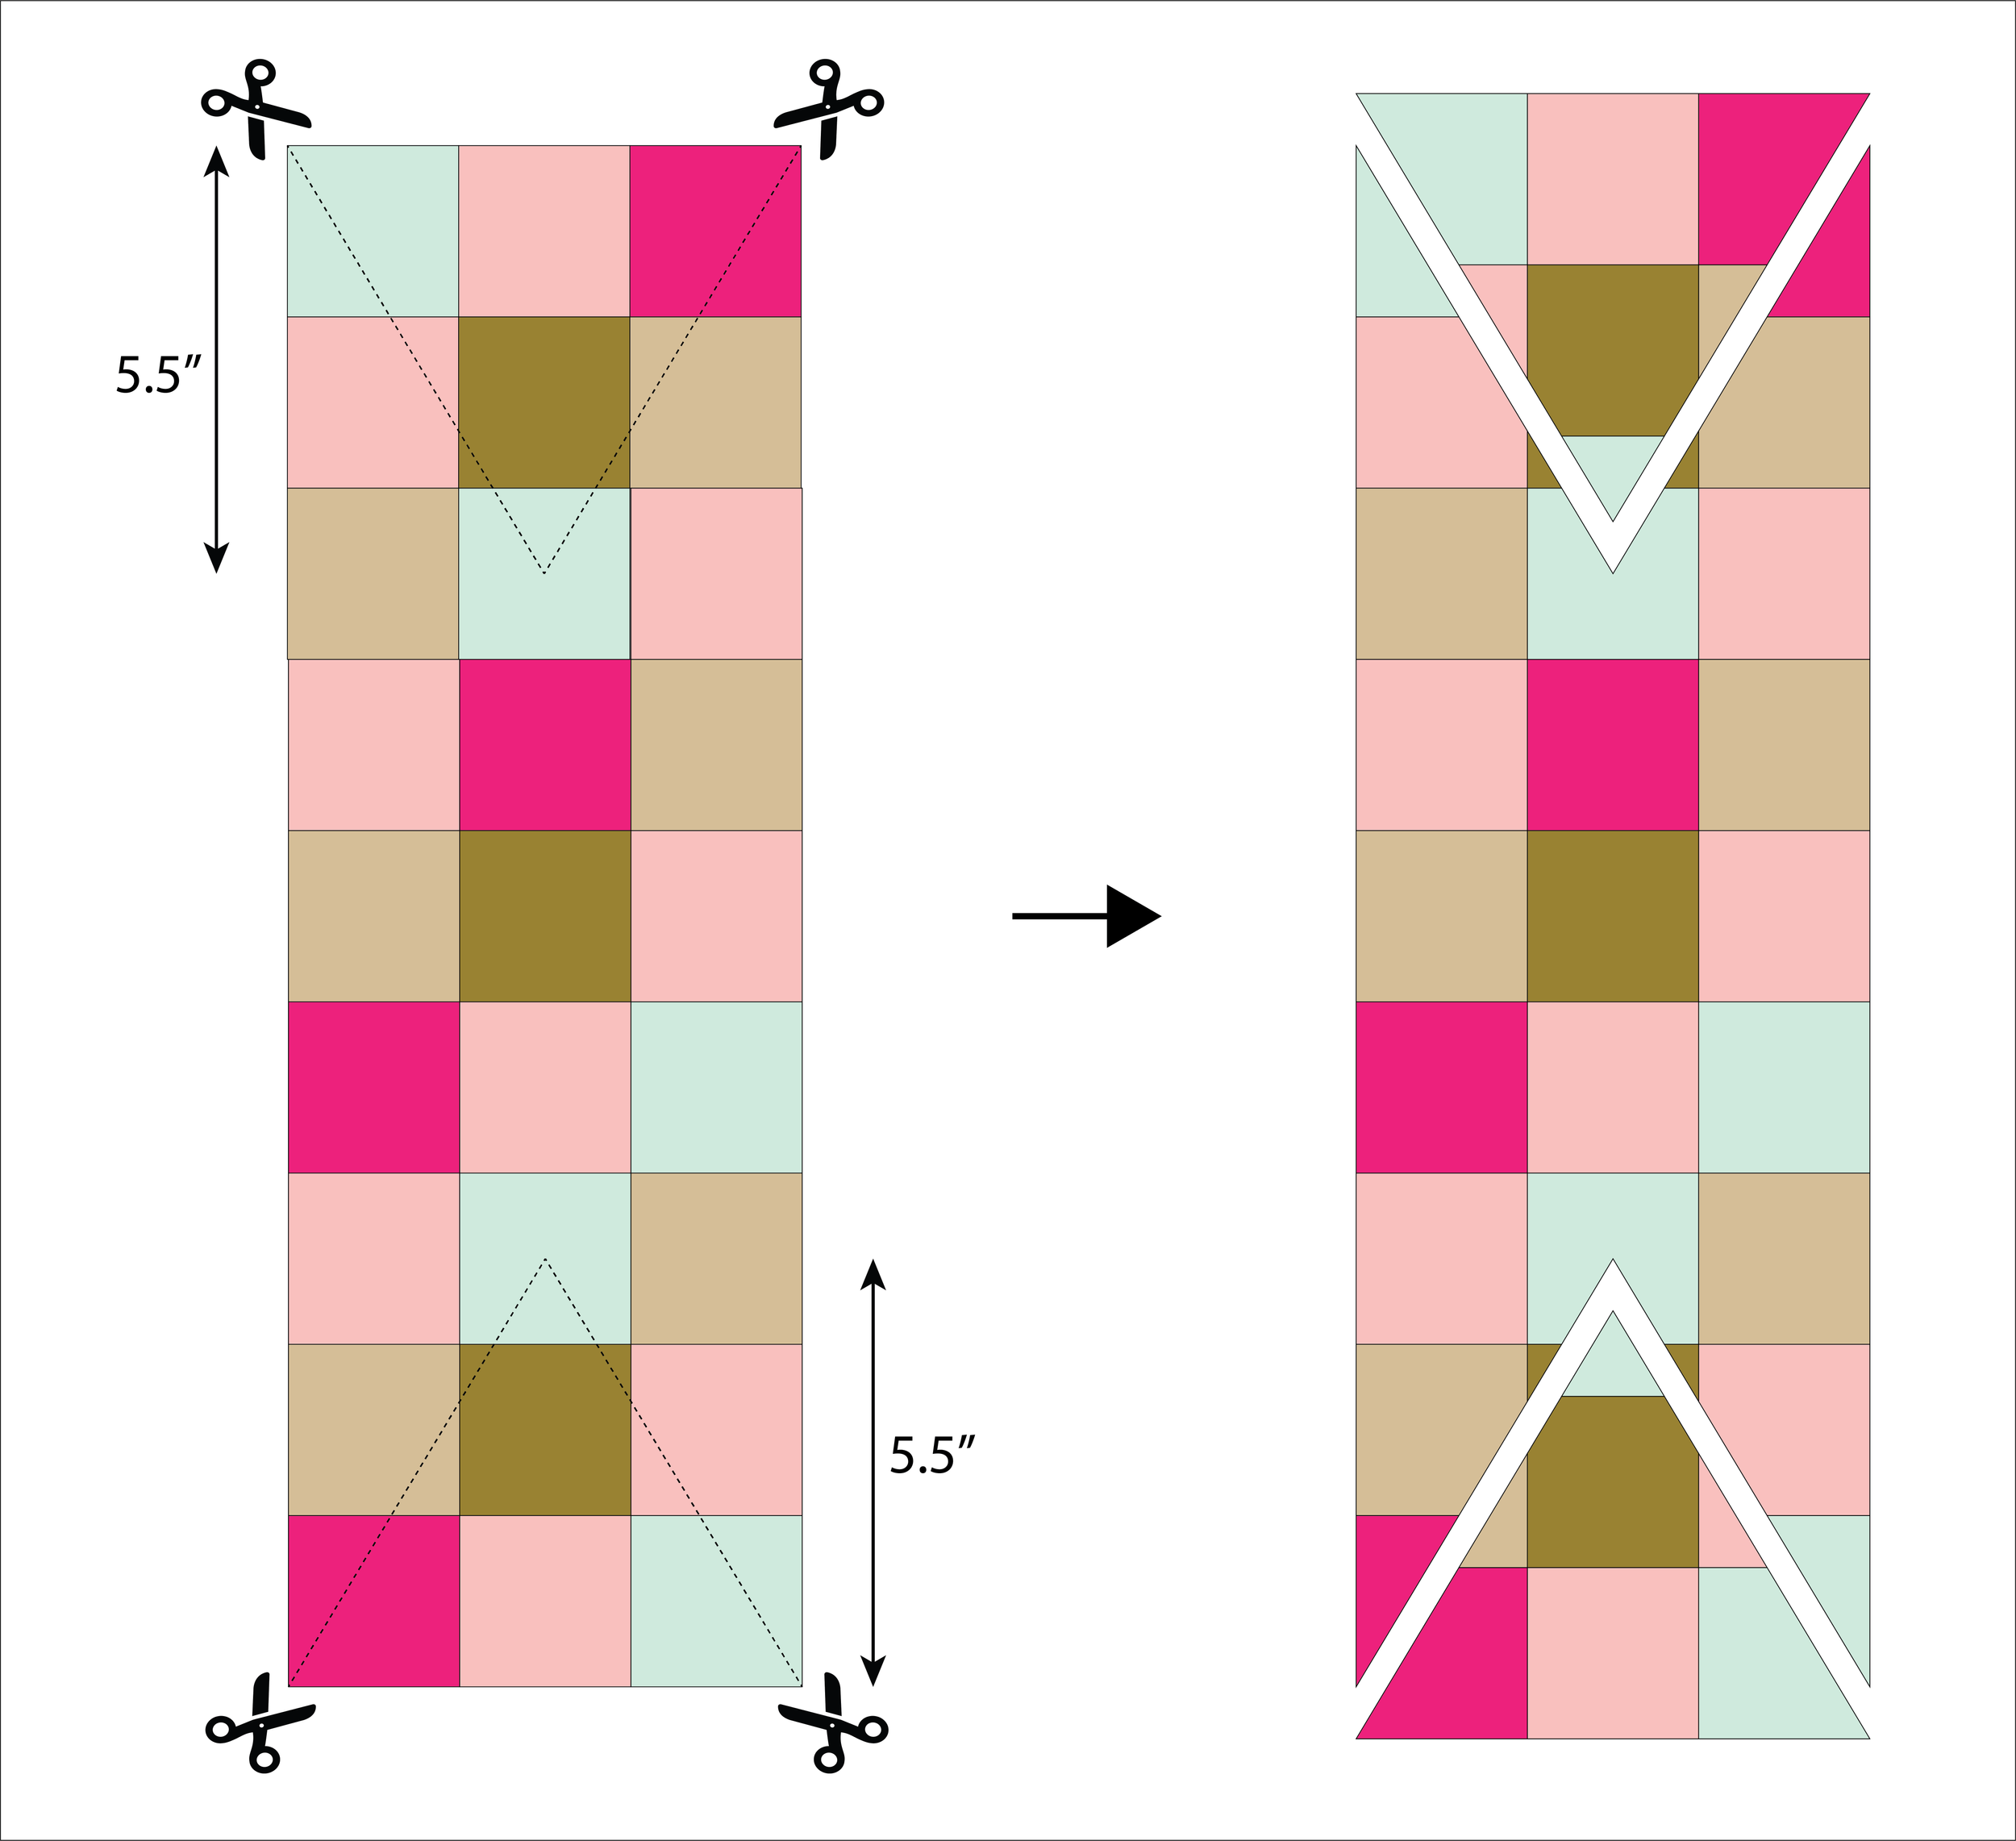
For this version, I finished the bow tails with a notched “V” instead of the 45° angled ends shown in the original tutorial. Find the center of the tail, then measure 5.5" up from the bottom edge and mark this point. Draw a diagonal line from each bottom corner to the marked point to create a “V.” Cut along the marked lines, then sew along the “V” shape following the same construction steps as the original version.

Final Thoughts
Using a jelly roll makes this version especially fun and approachable. It’s a great way to mix prints, use up favorite strips, and let the fabric do the talking without overthinking placement. Each bow turns out a little different, which is part of the magic. I’m curious, are you team Original Oversized Bow or loving this patchwork jelly roll version?
I can’t wait to see how you make this patchwork bow your own. If you try it, tag me on Instagram @ThaiCharmLLC and use the hashtag #ThaiCharmProjects so I can cheer you on and share your work.
Happy Sewing! 🎀✨
You might also like…
This listing is for PDF Pattern (NO Physical item will be sent).
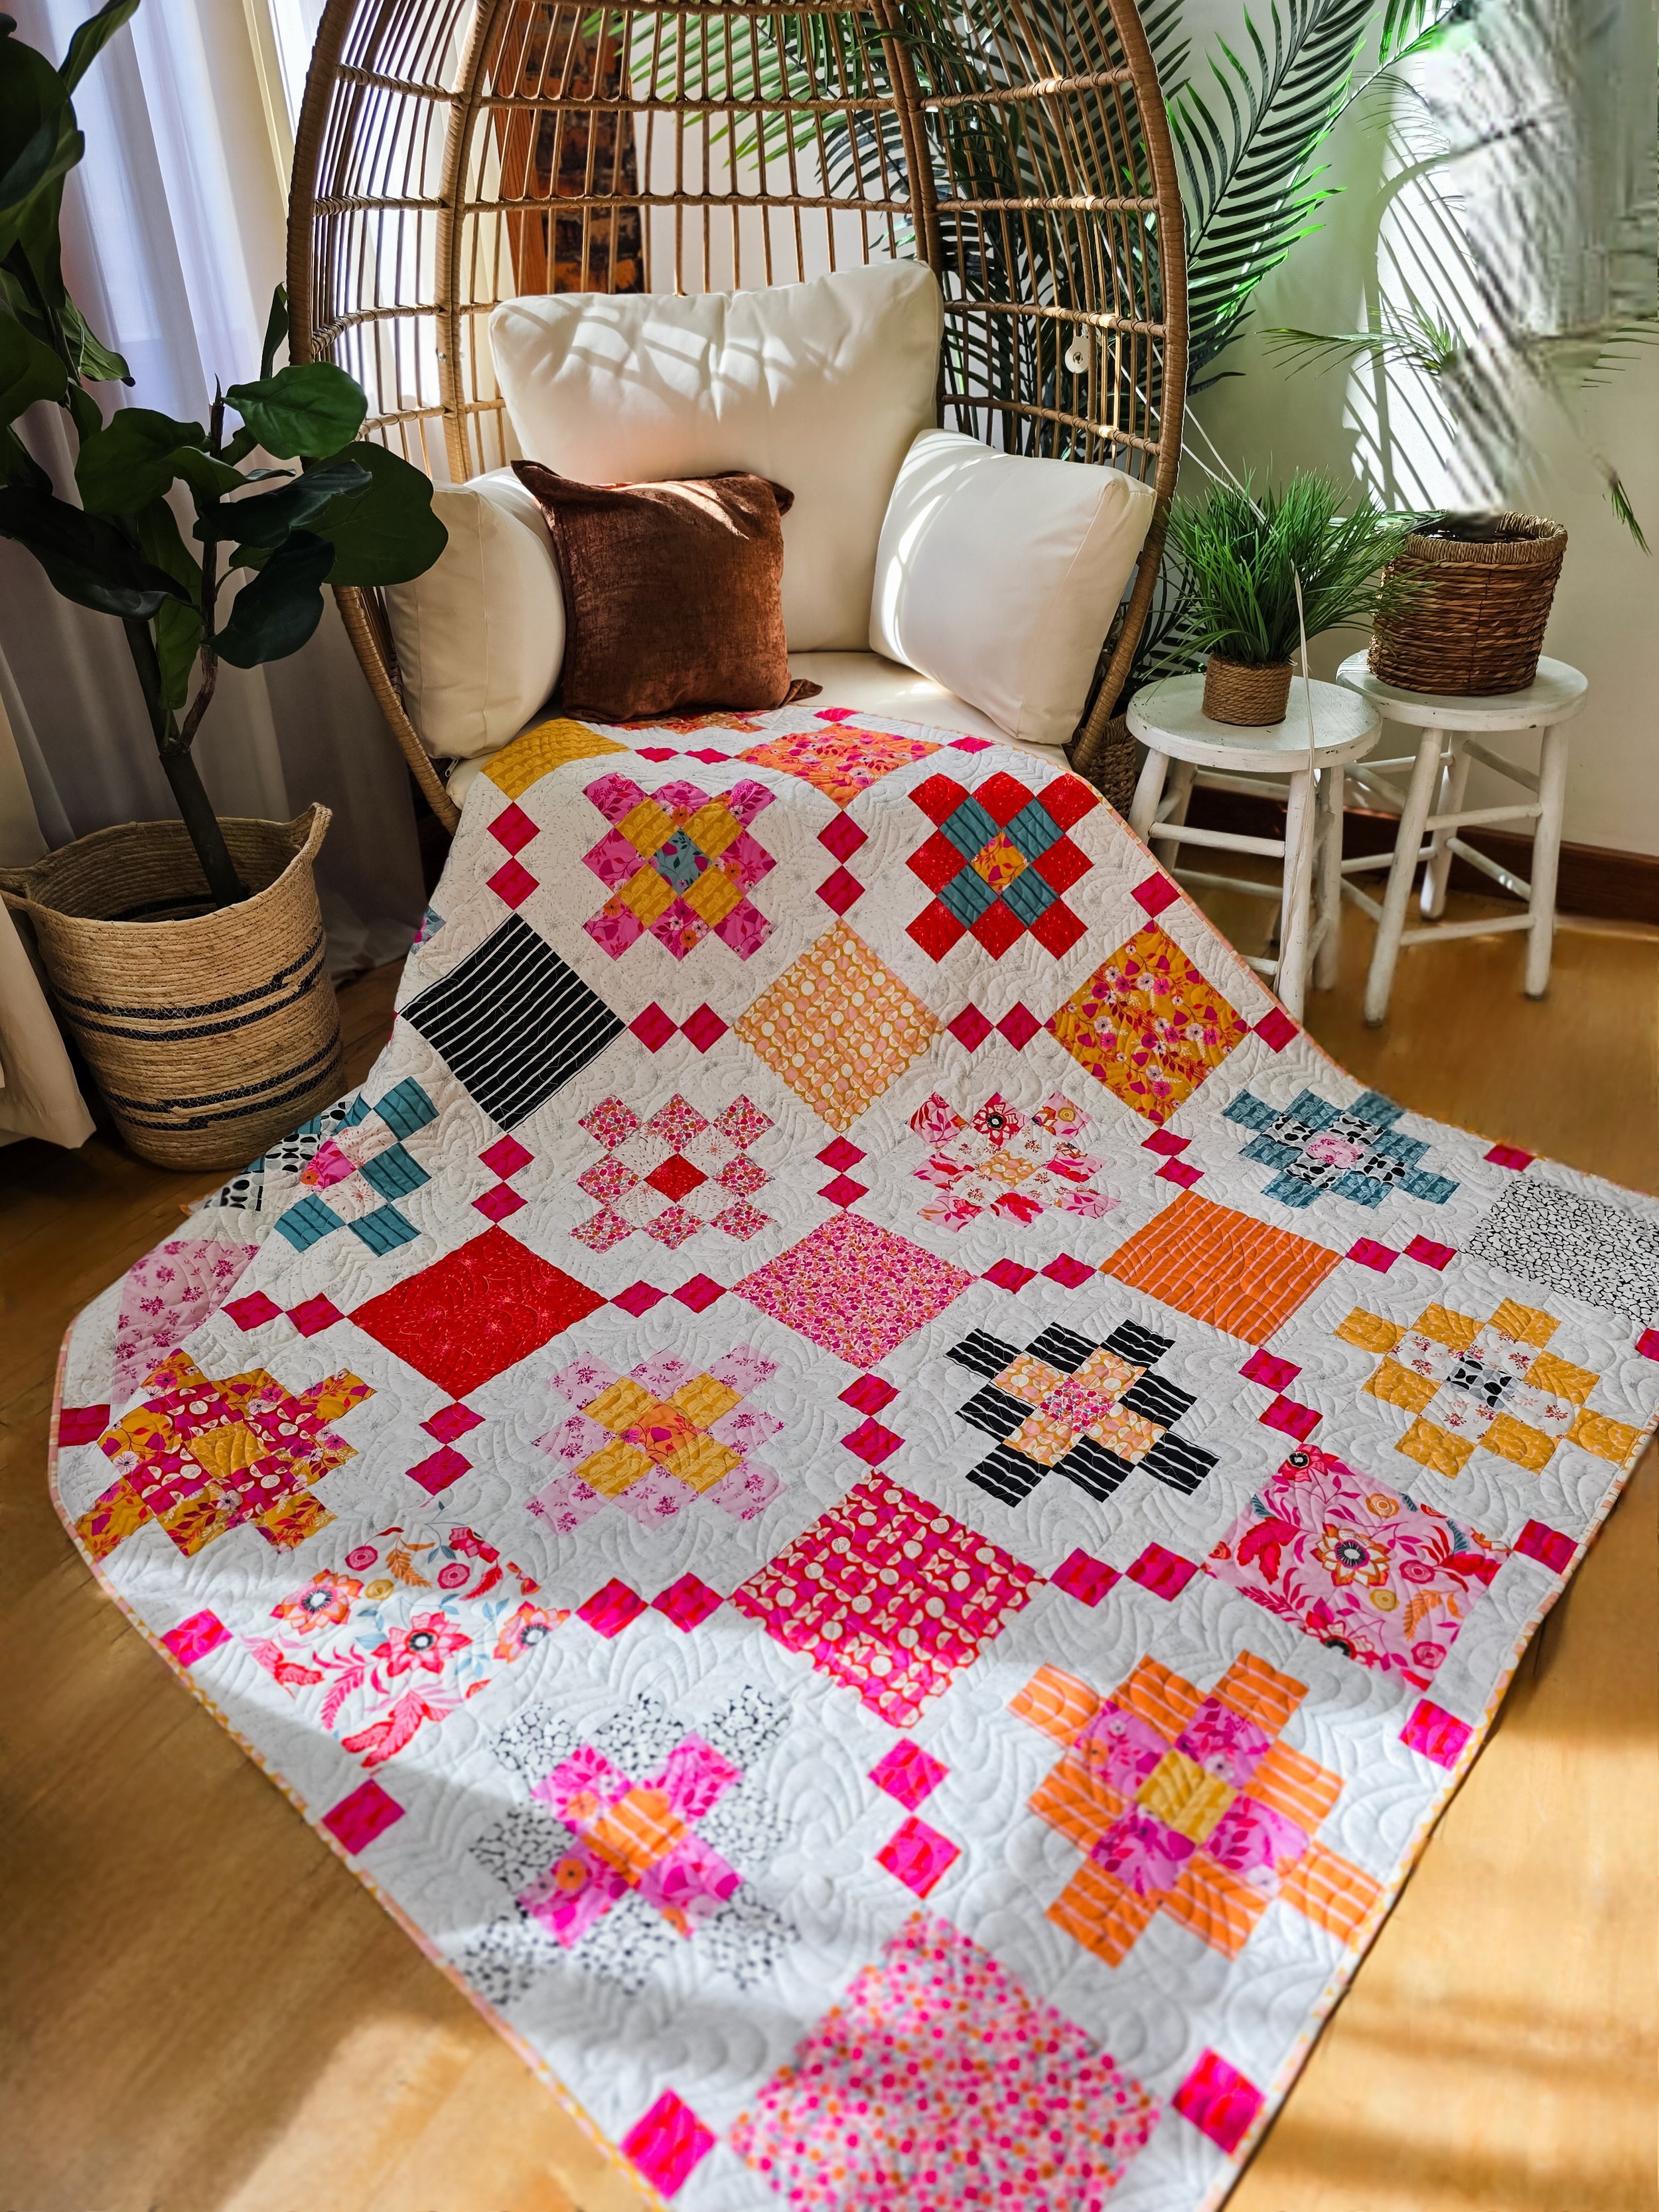
This Meadow Patch Quilt is perfect for all skill levels looking for a quick make but still get to enjoy patchwork looks.
The pattern comes in 2 versions: Modern using yardage and Scrappy using Layer Cake pre-cut bundle.
Finished size: 62.5" x 75"
Happy Quilting!
What’s happening on the ‘Gram …